
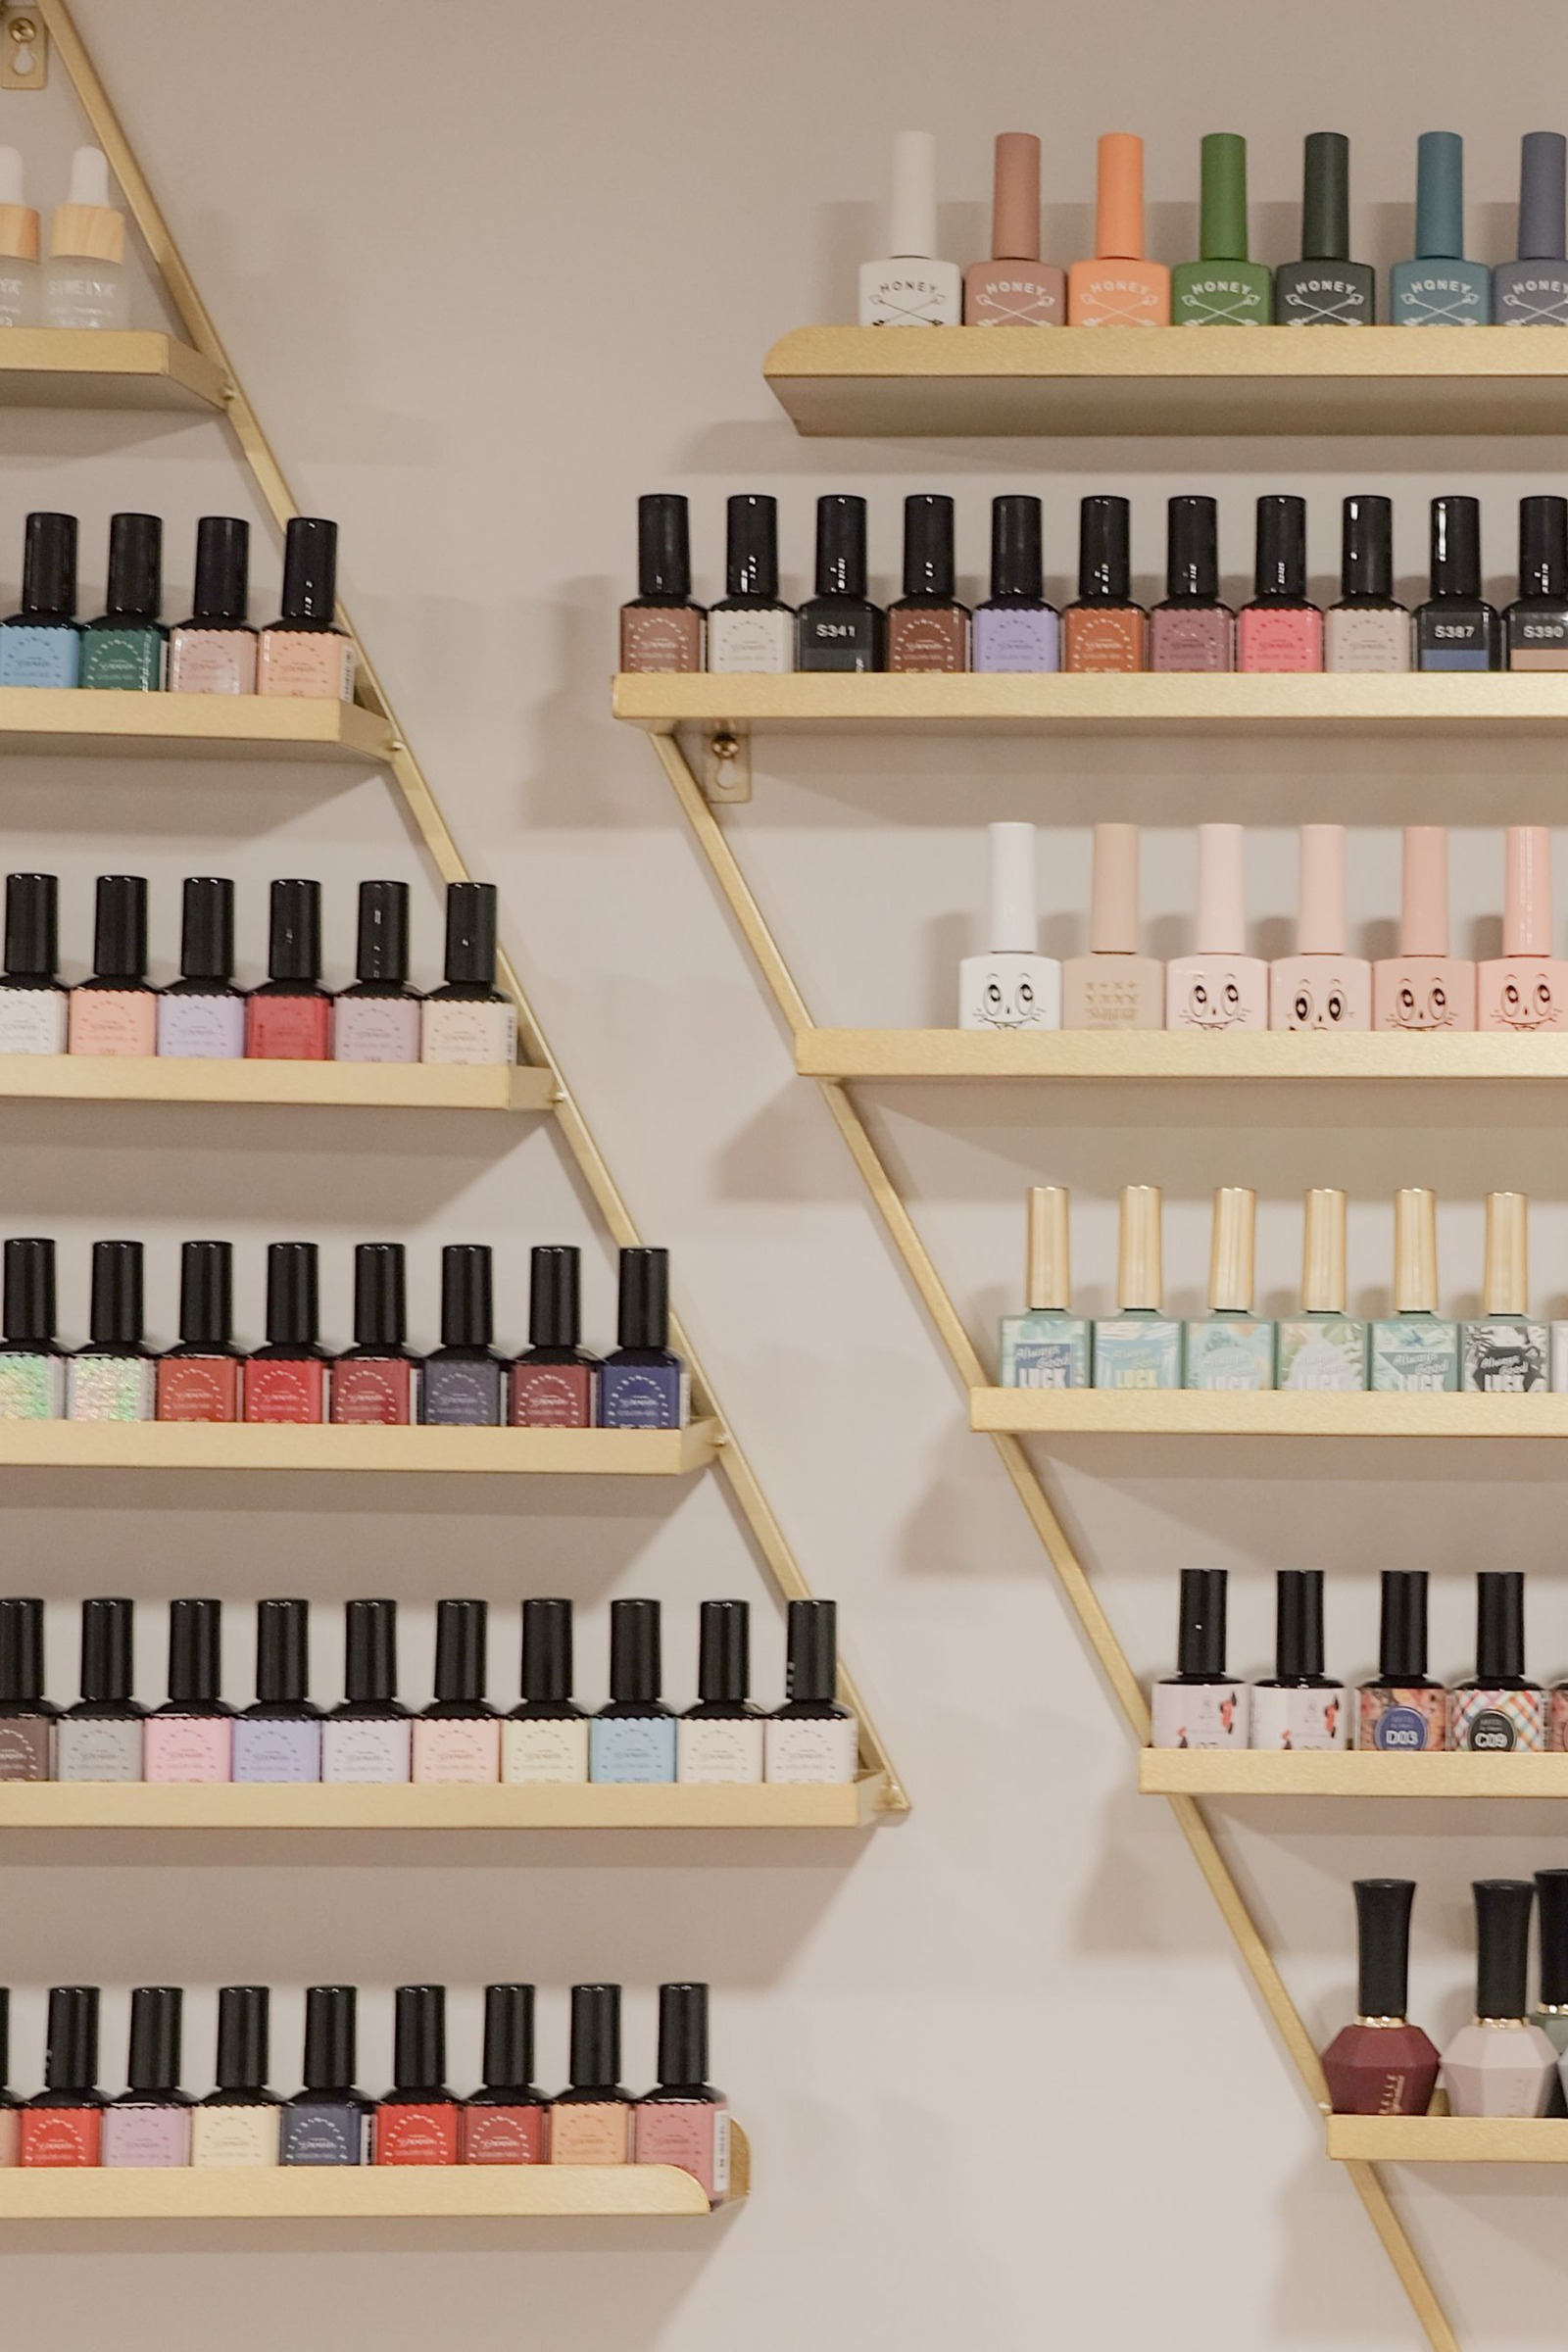
A nail polish collection becomes difficult to use when the bottles lie in a heap, caps are stuck and three similar shades all look identical from above. Better storage is less about owning a display rack and more about keeping bottles upright, labels readable and closures in good working order.
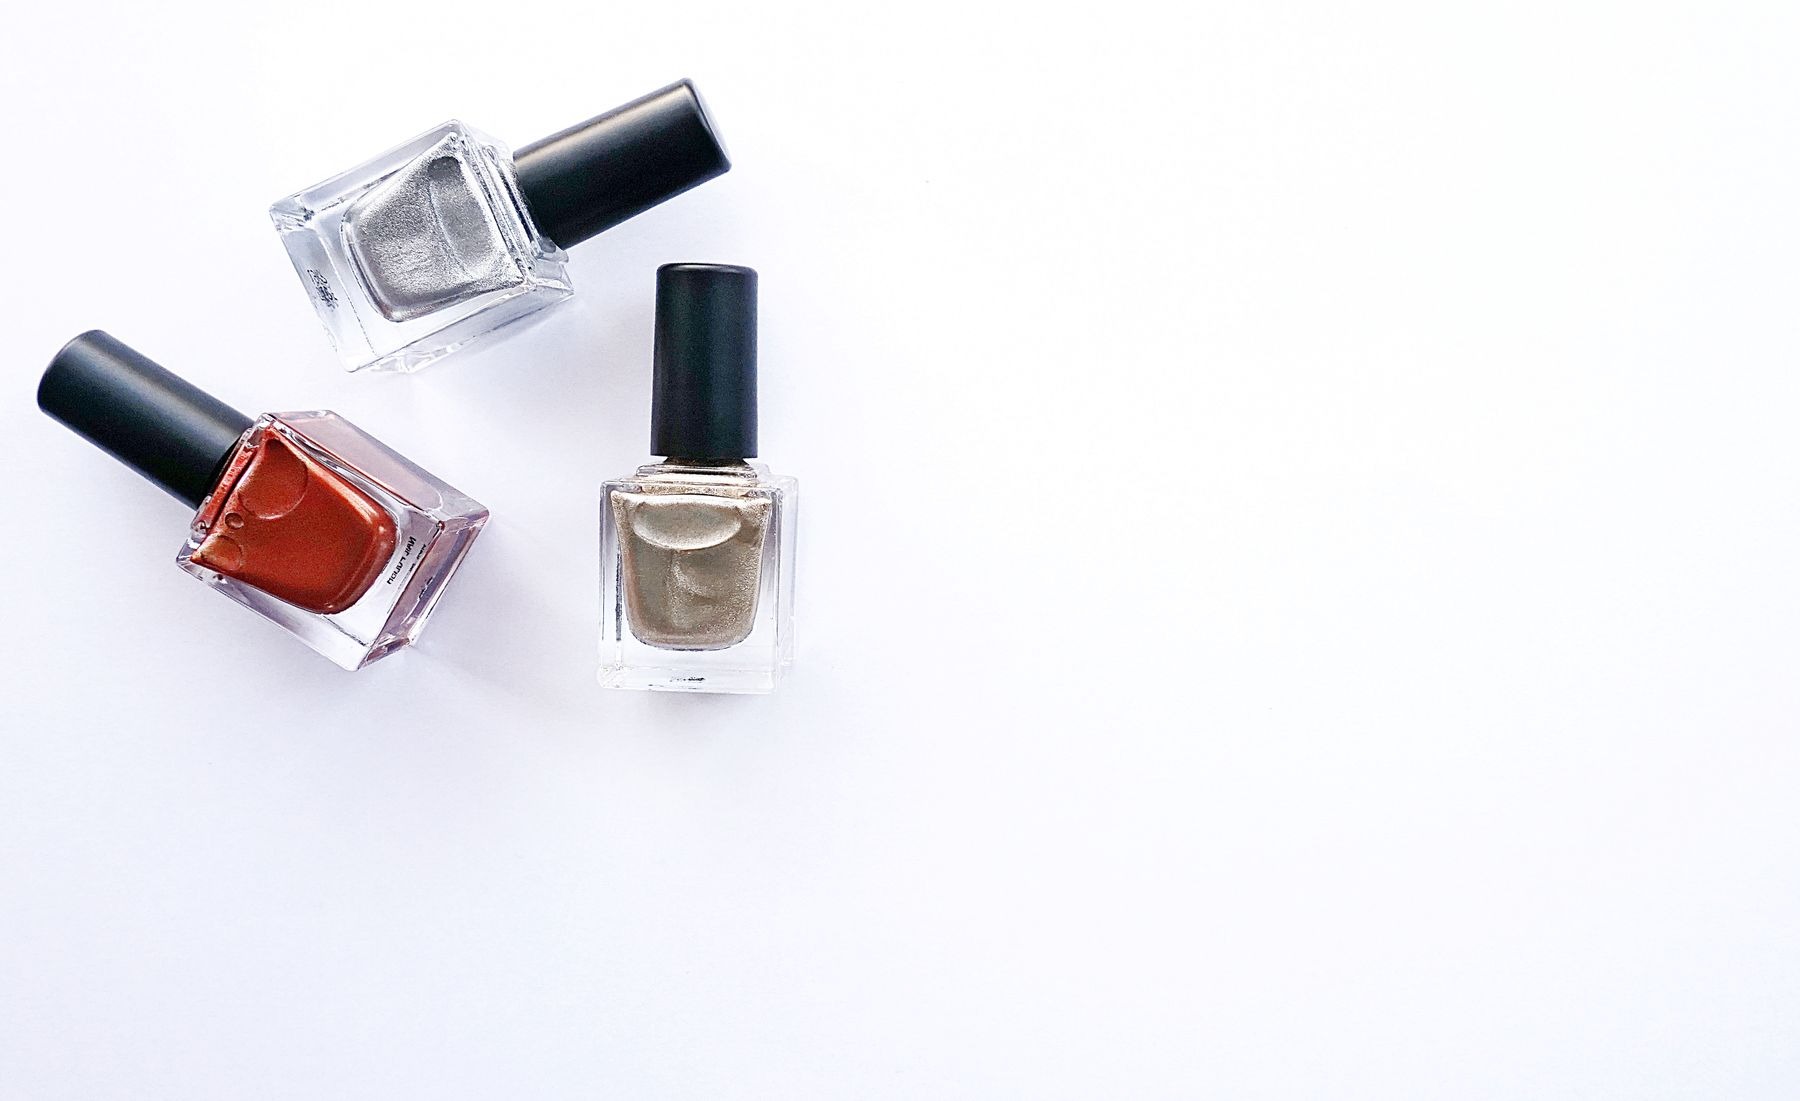
Start with ordinary nail lacquer and follow each product’s storage and handling directions. Gel polishes and other specialist systems may have different requirements. Keep product information with the bottle rather than assuming every small colored container needs the same care.
Choose the location before the organizer
Look for a stable place that meets the label’s guidance, away from unsuitable heat and direct light. Avoid a sunny windowsill merely because the colors look attractive there. A drawer or cupboard can be practical if bottles stand securely and are not crowded against heavy objects.
Consider access as well. If the collection lives beneath several boxes, you may take out more bottles than necessary just to compare two shades. Reserve an area you can reach comfortably and leave enough clearance to lift a bottle without catching the brush cap on the shelf above.
Stand bottles upright with visible identities
Use shallow dividers or a container that keeps bottles stable without wedging them tightly together. Arrange similar heights where possible so shorter bottles do not disappear behind taller ones. If you store them in a drawer, a clearly written shade reference on a separate organizer label can help.
Keep the original bottle labels readable. Do not cover safety information, ingredients or product identifiers with decorative stickers. If two shades are difficult to distinguish, write their names on a simple index card rather than transferring the polish into matching anonymous containers.
Build a useful shade reference
Swatch sticks or cards can help compare colors when used according to the polish directions and allowed to dry fully. Label each sample with the exact bottle name and note the coat count. A one-coat sheer sample and a three-coat opaque sample are not a fair comparison.
Check the neck after a manicure
Before putting the bottle away, look for wet polish around the opening. Follow the manufacturer’s directions for cleaning the neck and closure. Use an appropriate method and keep any cleaning materials away from the contents unless the instructions specifically say otherwise.
Do not force a cap over a thick crust of dried lacquer and assume the bottle is secure. Equally, do not scrape the neck with a sharp tool while holding an open bottle over your clothes. Set up a stable cleanup area and deal with accessible residue carefully.
Do not turn storage into formula repair
If the polish looks separated, thick or otherwise different, check the product guidance for mixing and continued use. Do not automatically add nail polish remover, water or household solvents to change the texture. A product intended for removal is not interchangeable with a manufacturer-approved thinner.
- Use only the mixing method directed for that lacquer.
- Keep the cap and brush paired with their original bottle.
- Do not combine leftover colors to reduce the bottle count.
- Set aside a bottle that will not close reliably.
For a stuck cap, follow the maker’s advice rather than applying heat or using excessive force. Broken glass and spilled lacquer are not worthwhile trade-offs for reopening a bottle immediately. Keep the problem bottle separate from the ready-to-use group until you know how to handle it.
Arrange by the way you choose color
If you usually compare depth, place pale, medium and deep shades in small groups. If you choose by color family, group reds, pinks, neutrals and other colors instead. There is no need to maintain several overlapping systems. Pick the one that makes your ordinary decision faster.
Keep base and top coats visibly separate from color so similar clear bottles are not confused. Put frequently used products toward the front. A collection is easier to navigate when each bottle has a defined place and there is room to return it without rearranging everything.
Make the final return a quick check
After each manicure, confirm that the closure is secure, the exterior is clean enough to handle and the bottle is upright in its assigned spot. Store and dispose of products according to their labels and local requirements. The useful result is a collection you can read and use, with fewer searches and fewer unpleasant surprises when the next cap is opened.