

Store Nail Polish So You Can Find the Shade and Close Every Bottle Properly
A nail polish collection becomes difficult to use when the bottles lie in a heap, caps are stuck and three similar shades all look identical from above. Better storage is less about owning a display rack and more about keeping bottles upright, labels readable and closures in good working order.
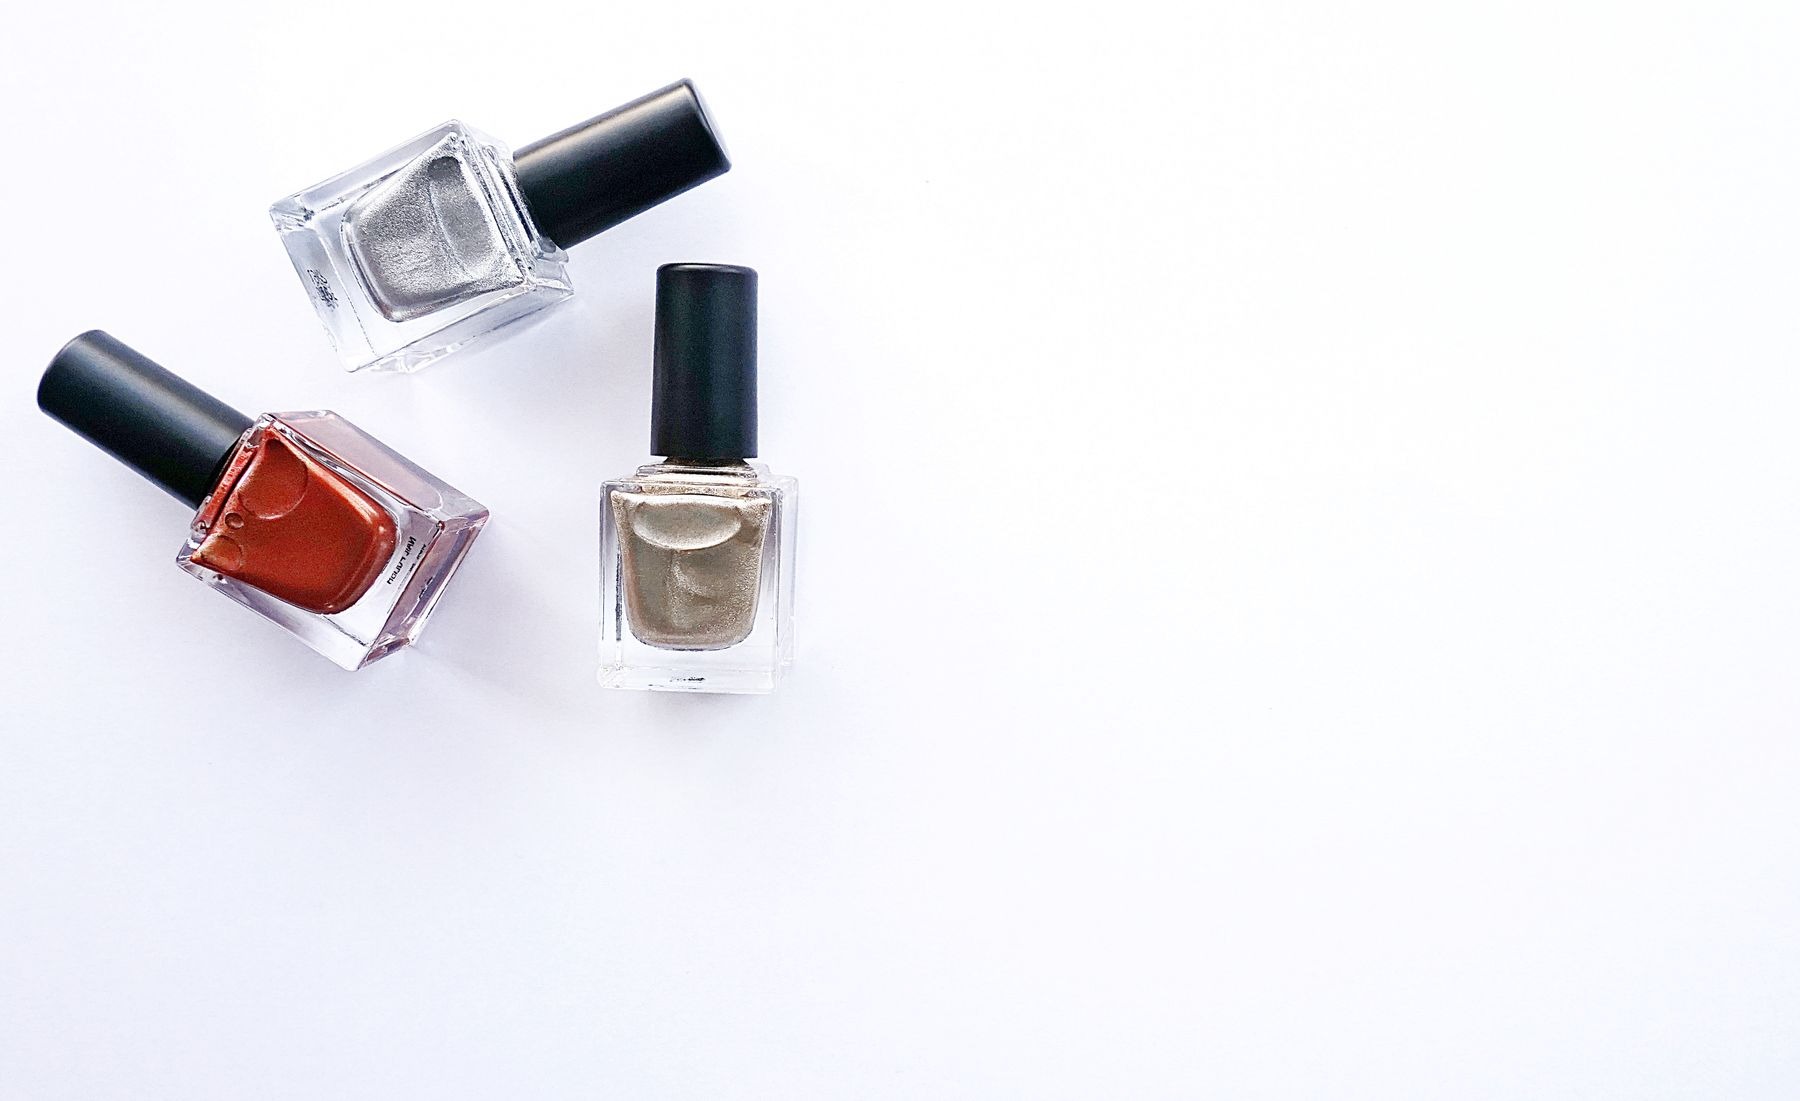
Start with ordinary nail lacquer and follow each product’s storage and handling directions. Gel polishes and other specialist systems may have different requirements. Keep product information with the bottle rather than assuming every small colored container needs the same care.
Choose the location before the organizer
Look for a stable place that meets the label’s guidance, away from unsuitable heat and direct light. Avoid a sunny windowsill merely because the colors look attractive there. A drawer or cupboard can be practical if bottles stand securely and are not crowded against heavy objects.
Consider access as well. If the collection lives beneath several boxes, you may take out more bottles than necessary just to compare two shades. Reserve an area you can reach comfortably and leave enough clearance to lift a bottle without catching the brush cap on the shelf above.
Stand bottles upright with visible identities
Use shallow dividers or a container that keeps bottles stable without wedging them tightly together. Arrange similar heights where possible so shorter bottles do not disappear behind taller ones. If you store them in a drawer, a clearly written shade reference on a separate organizer label can help.
Keep the original bottle labels readable. Do not cover safety information, ingredients or product identifiers with decorative stickers. If two shades are difficult to distinguish, write their names on a simple index card rather than transferring the polish into matching anonymous containers.
Build a useful shade reference
Swatch sticks or cards can help compare colors when used according to the polish directions and allowed to dry fully. Label each sample with the exact bottle name and note the coat count. A one-coat sheer sample and a three-coat opaque sample are not a fair comparison.
Check the neck after a manicure
Before putting the bottle away, look for wet polish around the opening. Follow the manufacturer’s directions for cleaning the neck and closure. Use an appropriate method and keep any cleaning materials away from the contents unless the instructions specifically say otherwise.
Do not force a cap over a thick crust of dried lacquer and assume the bottle is secure. Equally, do not scrape the neck with a sharp tool while holding an open bottle over your clothes. Set up a stable cleanup area and deal with accessible residue carefully.
Do not turn storage into formula repair
If the polish looks separated, thick or otherwise different, check the product guidance for mixing and continued use. Do not automatically add nail polish remover, water or household solvents to change the texture. A product intended for removal is not interchangeable with a manufacturer-approved thinner.
- Use only the mixing method directed for that lacquer.
- Keep the cap and brush paired with their original bottle.
- Do not combine leftover colors to reduce the bottle count.
- Set aside a bottle that will not close reliably.
For a stuck cap, follow the maker’s advice rather than applying heat or using excessive force. Broken glass and spilled lacquer are not worthwhile trade-offs for reopening a bottle immediately. Keep the problem bottle separate from the ready-to-use group until you know how to handle it.
Arrange by the way you choose color
If you usually compare depth, place pale, medium and deep shades in small groups. If you choose by color family, group reds, pinks, neutrals and other colors instead. There is no need to maintain several overlapping systems. Pick the one that makes your ordinary decision faster.
Keep base and top coats visibly separate from color so similar clear bottles are not confused. Put frequently used products toward the front. A collection is easier to navigate when each bottle has a defined place and there is room to return it without rearranging everything.
Make the final return a quick check
After each manicure, confirm that the closure is secure, the exterior is clean enough to handle and the bottle is upright in its assigned spot. Store and dispose of products according to their labels and local requirements. The useful result is a collection you can read and use, with fewer searches and fewer unpleasant surprises when the next cap is opened.

Check Sleeveless Dress Armholes for Gaping, Rubbing and Side Coverage
A sleeveless dress can feel roomy through the body while still being uncomfortable at the armholes. An edge may rub, stand away from the chest or reveal more at the side than you expected. These details deserve a separate fitting check because adding a cardigan only hides them temporarily; it does not change how the dress fits underneath.
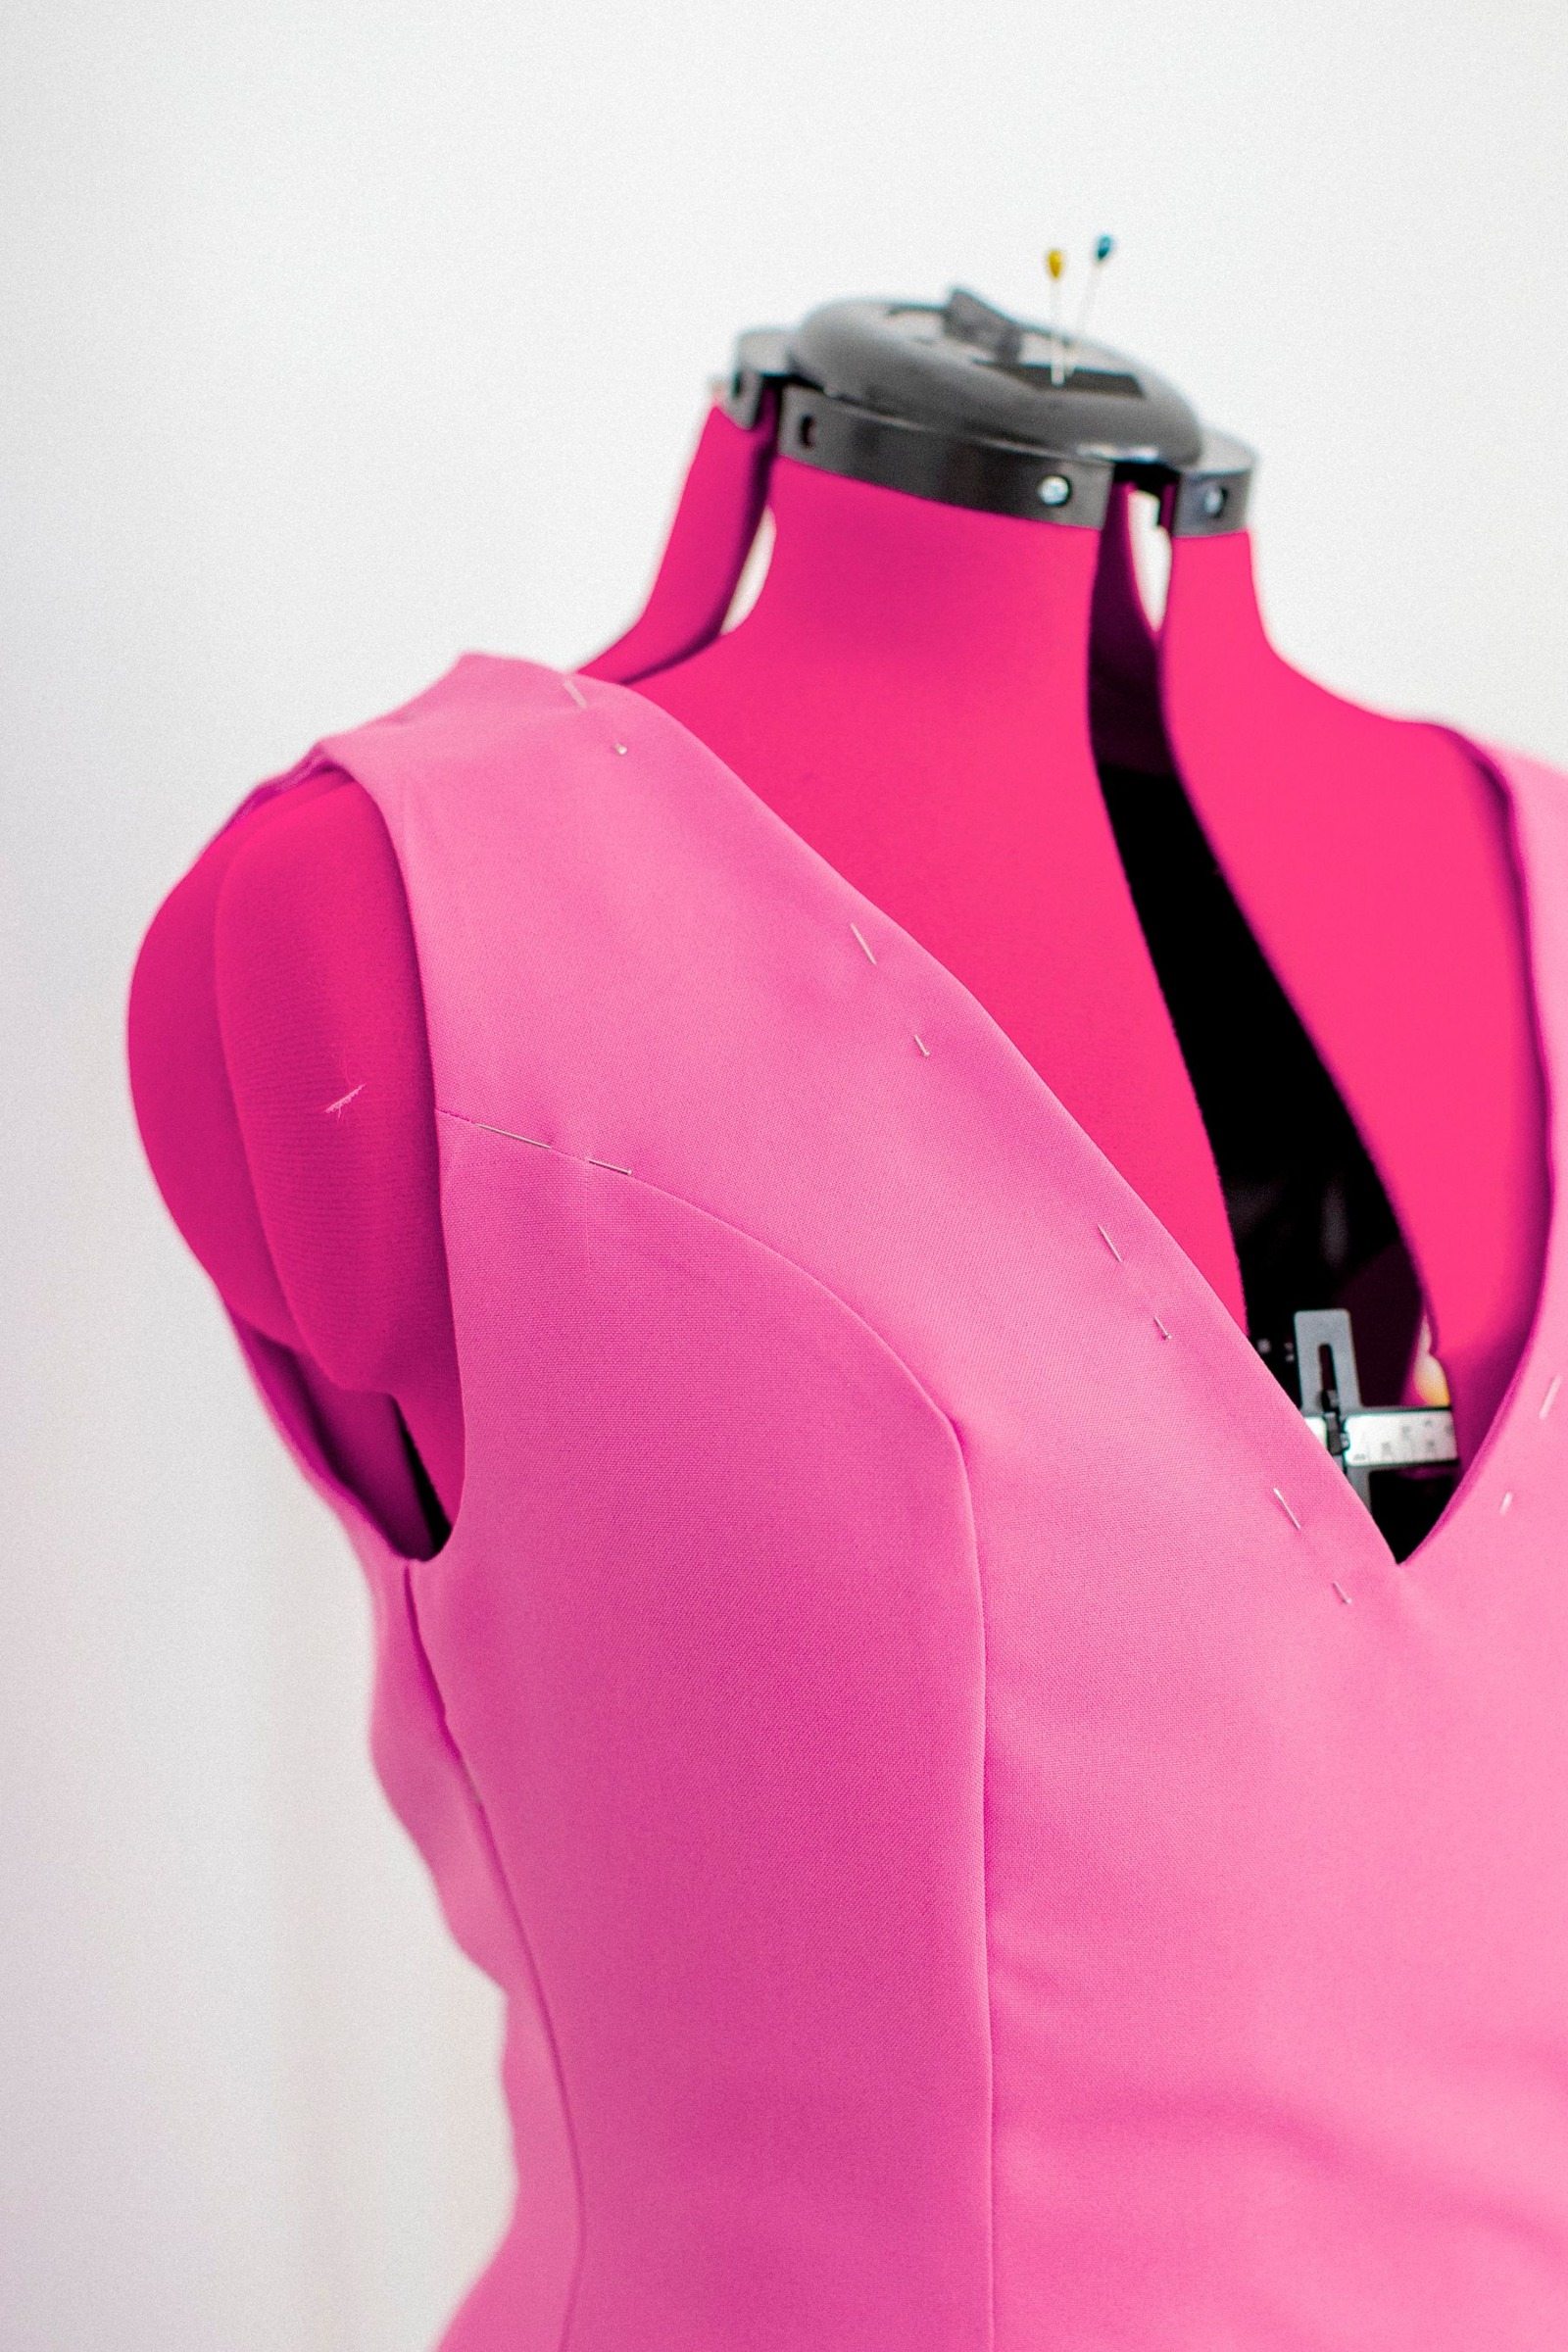
Start with the underwear you intend to wear and the straps adjusted as the design allows. Stand naturally with your arms down. Holding your arms away from your sides can disguise rubbing, while pressing them tightly against the dress can hide an opening. Use your ordinary posture as the reference.
Inspect the armhole from the side
A front mirror view often misses the deepest part of the armhole. Turn slightly or use a second mirror to see how the edge follows the body. Notice whether the fabric lies comfortably, cuts inward or forms a pronounced opening. Decide what side coverage you actually want rather than assuming every sleeveless design should sit equally high.
A lower armhole can be an intentional part of a relaxed cut. If you enjoy that shape, choose an underlayer whose visible edge feels deliberate. If you prefer the underwear to stay hidden, look for a different armhole depth instead of relying on an exact arm position throughout the day.
Check the bust and upper back together
Gaping near the front armhole does not always mean the whole dress is too large. The bodice shaping may not match where you need room, or the neckline and shoulder arrangement may affect the edge. Look for pulling across the chest or back before deciding to size down.
Likewise, an armhole that presses may involve insufficient room through the upper body rather than an isolated narrow opening. Reach forward gently and notice where the tension begins. If the chest pulls and the armhole digs at the same time, compare another cut rather than planning to trim the armhole without considering the rest.
Look for hidden construction problems
- A lining can pull the armhole edge inward even when the outer fabric has room.
- A facing may roll outward and make the edge appear thicker.
- A twisted strap can change the opening on one side.
- A rough seam or decorative edge can rub despite adequate space.
Adjust straps without moving the whole bodice
If straps are adjustable, make small changes and check both sides. Shortening them raises the armhole, but also lifts the neckline, bust shaping and waist. An adjustment that hides underwear may create pulling elsewhere. Choose the strap length that supports the dress’s intended position before judging whether its coverage meets your preference.
For fixed straps, do not assume shortening is a simple isolated solution. A tailor can assess what it would do to the armholes and bodice length. Thick straps, linings and decorative panels can complicate the change. Ask to see the proposed result marked on the garment while you wear it.
Move as you would during the day
Reach forward to a table, lift an arm to a comfortable shelf height and bring your hands together. Watch whether the armhole edge stays comfortable and returns to place. Some movement in the fabric is normal; persistent rubbing or a dress that remains shifted afterward deserves attention.
Try your usual bag on the shoulder too. Its strap can push the dress strap outward, opening the armhole more than expected. A crossbody can pull the bodice diagonally. Remove the bag and compare, so you can distinguish a dress issue from a particular accessory pairing.
Choose the most dependable solution
A smooth camisole can make an intentionally open armhole wearable when there is enough room for it and you like the visible layer. It will not remove pressure from a tight edge or correct a lining that twists. Choose an underlayer for coverage, not as a substitute for comfortable construction.
Before keeping the dress, check the side view once more after sitting and walking. The best option provides the coverage you chose and leaves your arms free without continual adjustment. A different neckline or shoulder design may solve the problem more completely than changing sizes repeatedly within a cut that does not work for you.

Towel-Dry Hair Without Rough Rubbing or a Heavy Twisted Wrap
Towel-drying is easy to treat as the unimportant space between washing and styling. Yet the way you handle the towel can leave the hair more tangled, disturb a curl pattern or create an awkward heavy bundle on top of the head. A few controlled movements make the transition from wet hair to the next styling step simpler.

The aim is to remove excess water gently, not to make the hair completely dry by friction. Work with the length, texture and styling instructions relevant to your hair. There is no single wrapping method that suits every haircut or every wash routine.
Prepare a towel before you wash
Choose a clean towel or hair wrap with a surface you find comfortable and a size you can manage. A very large bath towel may be awkward for a small amount of hair, while a tiny wrap may not contain long lengths without forceful twisting.
Check the fastening if you use a purpose-made wrap. A button, loop or elastic should be intact and easy to release. Keep the towel within reach so you do not have to move around with dripping hair while searching for it. The simpler the setup, the less temptation there is to rush the handling.
Remove the first excess water with your hands
After rinsing, bring the lengths together gently and squeeze in sections without wringing them into a tight rope. Let the water fall into the basin or shower. Keep your grip comfortable and avoid pulling the hair downward from the roots.
For short hair, light pressing may be enough. For longer hair, work along the lengths rather than squeezing only the very ends. This preliminary step reduces how much water the towel must take up and makes a wrap feel less immediately saturated.
Press the towel instead of scrubbing
Place the towel around a section and press gently, then release. Move to a drier part of the fabric when the first area becomes wet. Rubbing rapidly back and forth can disturb the arrangement of the hair and create tangles that make the next step more difficult.
Keep the movement consistent with your style
If you plan to preserve a natural curl pattern, use the handling method that fits your familiar styling routine rather than flattening and scrubbing the hair first. If you intend to smooth the hair later, you still do not need aggressive towel friction to prepare it.
Work around the hairline carefully. The short sections there can become caught in a tight wrap or rubbed in several directions at once. A small amount of targeted pressing is easier to control than vigorously moving the entire towel over the head.
Use a wrap only if it feels manageable
Follow the wrap’s instructions and gather the hair without forcing the lengths into a compact knot. The fastening should hold the fabric, not require a strong pull on the hair. If the wrap feels heavy, unbalanced or uncomfortable at the roots, take it off and use a lighter pressing method.
- Keep the neck in a comfortable position while arranging the fabric.
- Avoid twisting tightly just to reach the fastening.
- Make sure shorter front sections are not caught awkwardly.
- Release the wrap gently rather than dragging it backward.
A wrap is a convenience, not a required stage. You can leave the hair resting on a towel over the shoulders or press sections individually if that fits your routine more comfortably. Choose the arrangement that supports the next task without constant readjustment.
Stop when the next step is ready
Use your styling-product directions to decide how damp the hair should be before application. Some products are intended for wet hair, others for towel-dried or dry hair. Do not keep towel-drying automatically if it takes the hair beyond the state your next product requires.
If you detangle at this stage, use a method appropriate to your hair and work gently through manageable sections. Do not force a brush through a knot created by the towel. Pause and separate the problem area rather than pulling the whole length at once.
Dry the towel after the hair is released
Spread the used towel where it can dry rather than leaving it bundled on a chair or sealed in a laundry basket while wet. Wash it according to its care instructions. A straightforward drying routine ends with both the hair ready for its next step and the towel on a clear path back to clean storage.
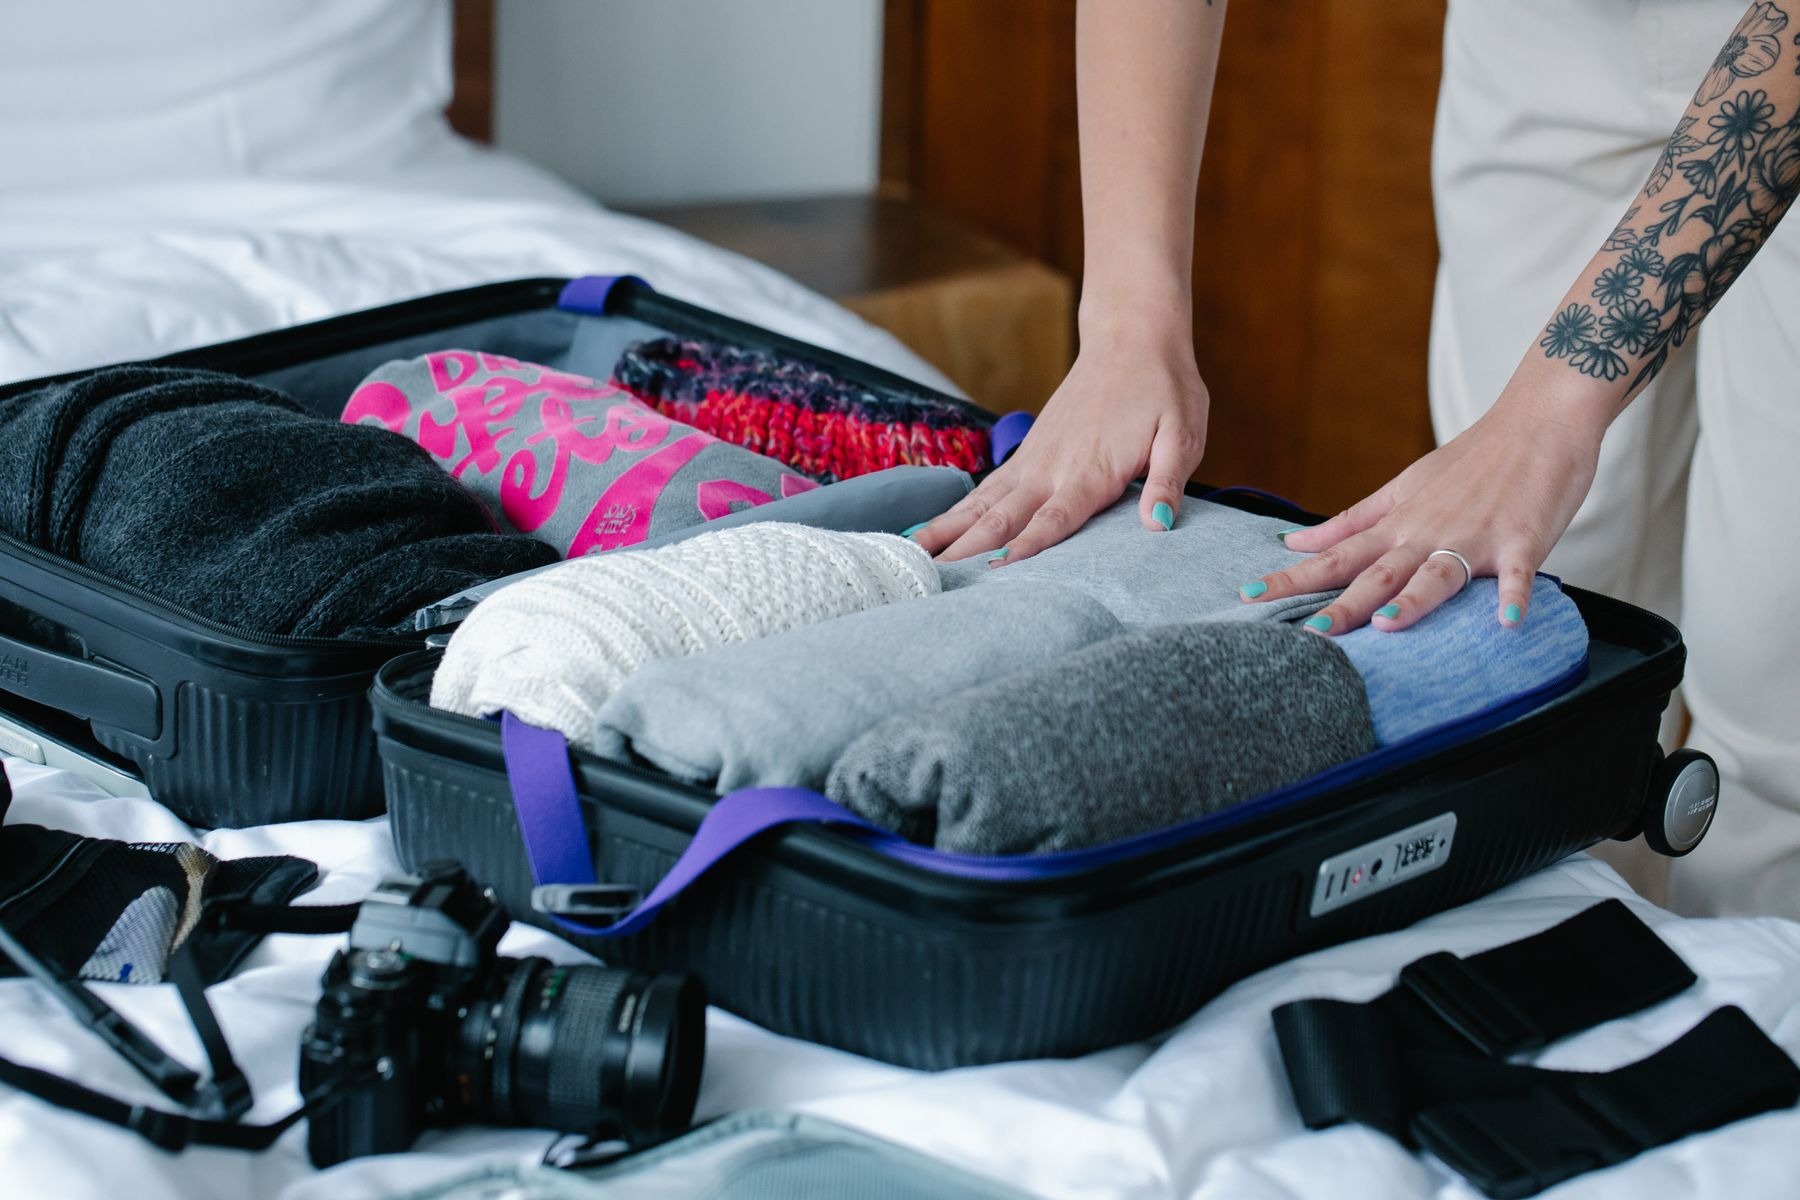
Pack Dresses Around Their Seams to Reduce Awkward Creases
A packed dress does not need to emerge looking freshly pressed, but you can avoid some awkward folds by working with its construction. A thick waist seam, raised buttons or a structured bodice changes how the garment fits into a bag. Treat those features as packing information rather than forcing every dress into the same tight rectangle.
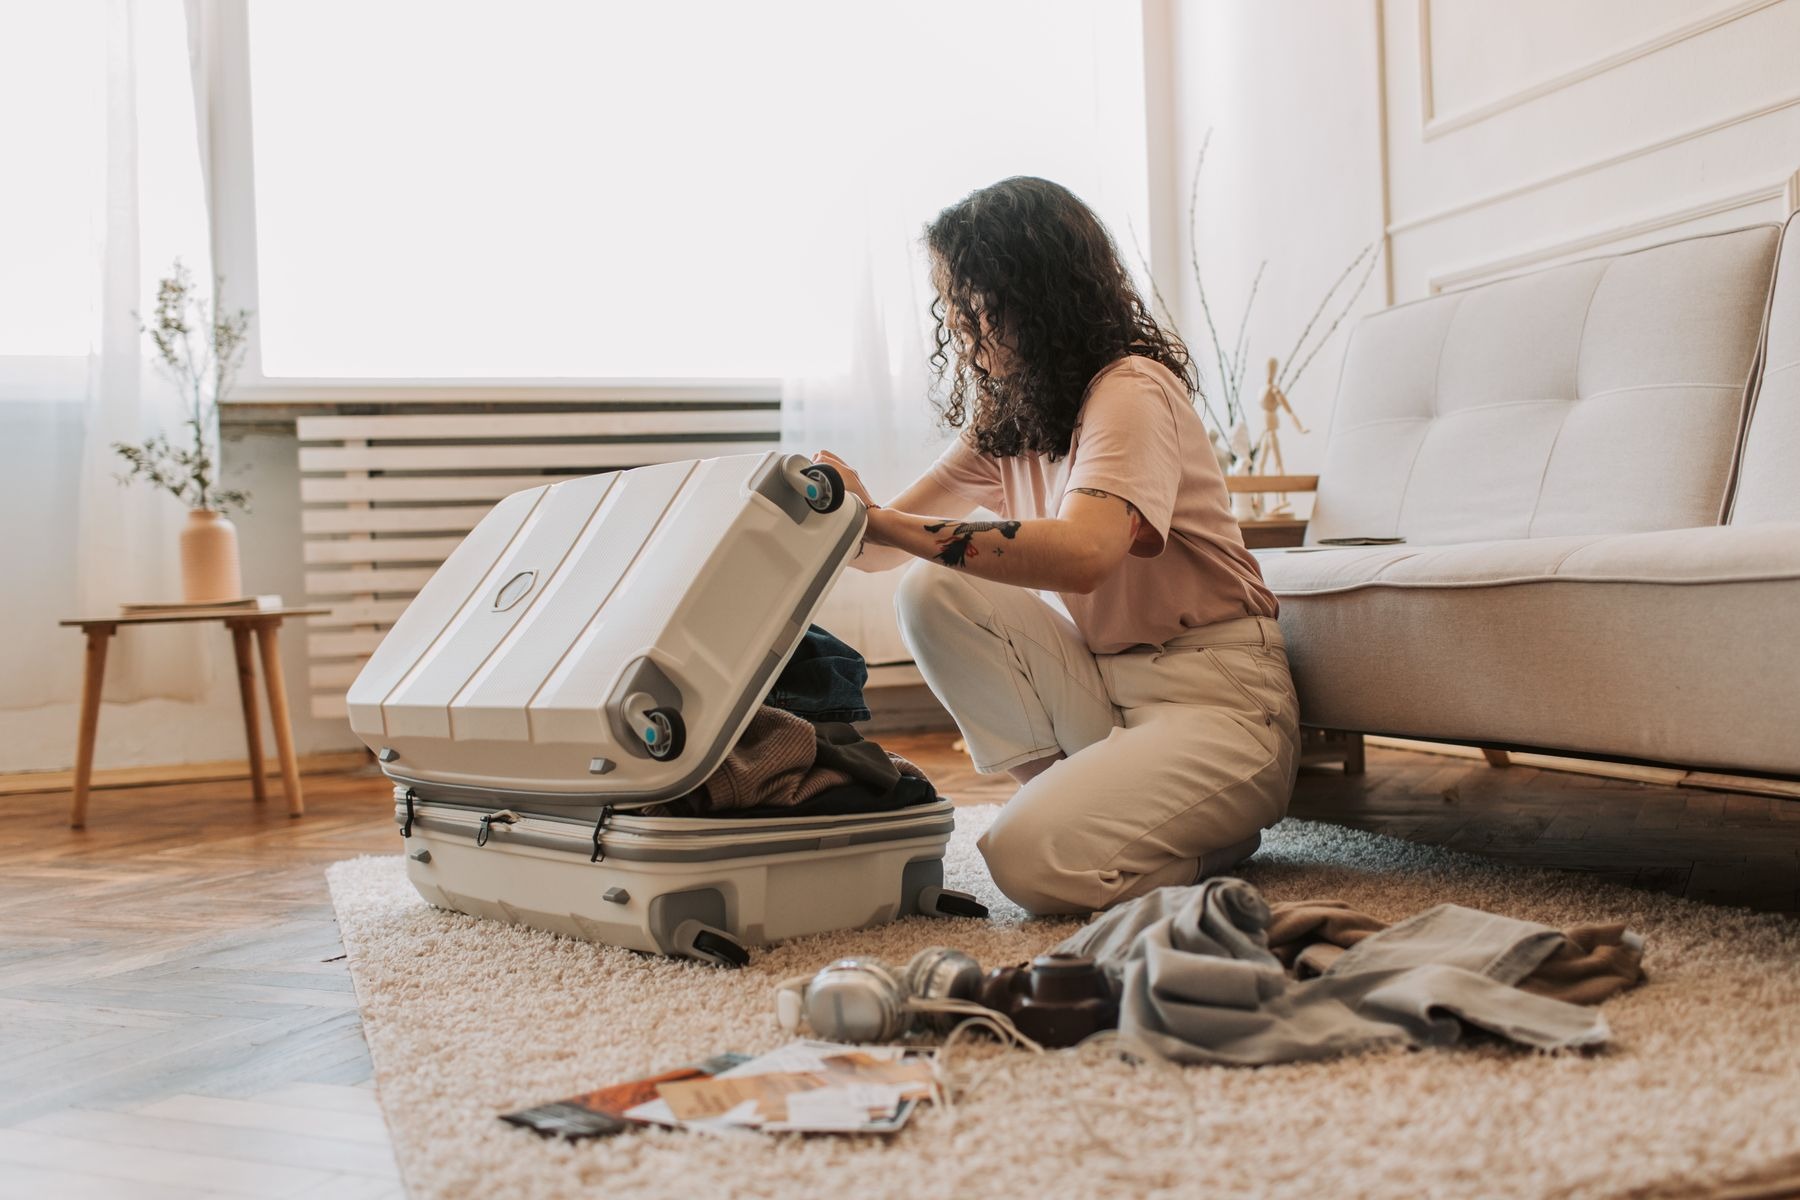
Start with a clean, fully dry dress and enough space to lay it out. Check its care instructions so you know which finishing options are available after arrival. If a dress needs equipment or handling you will not have, choose another one rather than relying on an uncertain last-minute rescue.
Examine the parts that should not be crushed
Look at collars, shaped bodices, bows, pleats and any raised decoration. A firm collar can acquire an awkward fold when pressed beneath shoes, while a heavy buckle can leave an impression against thin fabric. Remove detachable belts or accessories when the design allows and pack them separately with their fastenings protected.
Fasten the dress in a way that helps it keep its natural shape without placing closures under strain. Smooth the lining independently before arranging the outer skirt. A lining twisted during packing can create extra creases and make the dress seem distorted when you unpack it.
Use broad folds for simple woven dresses
For a straightforward woven dress, lay it flat and bring the sleeves inward without sharply folding the sleeve heads. Fold the skirt along its natural width, keeping thick seams from stacking directly on top of one another where possible. Make the smallest number of broad folds that fits your bag.
A loose roll can suit some soft, unstructured dresses, but it is not a universal wrinkle-prevention method. It may compress collars, pleats or raised details. Compare the shape of the packed garment with the space available, and stop tightening when the roll begins to feel like a hard bundle.
Give special details their own plan
- Keep embellished areas away from rough hardware on other items.
- Arrange pleats in their existing direction rather than folding across them repeatedly.
- Lay a soft sash flat so it does not form a dense knot.
- Support a structured bodice instead of flattening it beneath heavy objects.
Separate smooth fabric from rough contents
Pack shoes, zippers and abrasive accessories so they cannot rub directly against the dress. Clean packing cubes or suitable garment bags can help keep items organized, but do not overfill them. A tightly compressed cube may create the same pressure folds as an overpacked suitcase.
For a garment you particularly want to protect, a clean smooth barrier between folds can reduce direct contact with buttons or trim. Check that any packing material is appropriate for the fabric and will not transfer color. Avoid heavily scented or printed materials when you do not know how they will behave against the dress.
Place the dress according to weight, not convenience
Keep heavy objects from pressing concentrated points into the garment. A dress near the top of a bag may avoid some pressure, but it still needs to be secured so it does not slide into a crumpled corner. Leave enough space to close the bag without kneeling on it or forcing the zip.
If using a garment carrier, check the dress’s length and support its lower section rather than letting it bunch heavily at the bottom. Protect straps and delicate shoulder details from the hanger. Hanging transport is useful for some garments, but the carrier’s shape still needs to suit the dress.
Unpack before deciding what needs pressing
Remove the dress soon after arrival and arrange it using a suitable hanger or flat surface according to its care needs. Straighten the lining and let the garment settle before assessing creases. Some folds may soften with rest; others will need an allowed pressing or steaming method.
Use only the finishing method and temperature the garment permits. Do not press directly over raised decorations or assume a hot iron suits an unfamiliar lining. A small test in a concealed area can prevent a visible mistake. Good packing reduces unnecessary compression, while careful unpacking lets you address the remaining folds without rushing or improvising.
For a return journey, separate worn dresses from damp towels and toiletries. Check that every garment is dry before closing the bag. Protecting the fabric from moisture and leaks matters as much as arranging folds neatly for the outward trip.

Organize a Skincare Shelf Around Pumps, Jars and Products in Use
A skincare shelf can look beautifully coordinated while making the daily routine harder. Tall bottles hide shorter ones, jars need two free hands and several nearly finished products compete with unopened replacements. Organizing by packaging and current use is often more practical than sorting everything by label color.

Begin with the products already in the space. This is a storage reset, not a reason to add steps to your skincare routine. The aim is to reach the intended bottle easily, read its information and put it away securely without knocking over the rest of the shelf.
Separate what is open from what is waiting
Place products currently in use in one group and unopened replacements in another. Check labels for storage instructions, use periods and any specific handling requirements. Do not invent one expiration rule for every formula; the packaging and manufacturer’s guidance are the relevant references.
If a product’s opening date matters to its instructions, record it clearly without covering the original label. Keep any important outer packaging information accessible. An anonymous decanted jar may look tidy, but it can remove the very details you need to identify and handle the product properly.
Give pump bottles room to work
A pump needs space above the nozzle and enough clearance for a hand. Place it where you can use it without angling the bottle toward the edge of the shelf. If the shelf above is too low, move the bottle rather than repeatedly removing the pump or tilting the container.
Wipe exterior residue using a method suitable for the packaging and keep the nozzle as directed. Do not add water to a bottle to make the remaining product easier to dispense. If the pump stops working, follow the maker’s guidance instead of dismantling it with household tools.
Keep jars where both hands can reach
Place jars on a stable surface with enough room to set down the lid. Avoid stacking several open-use jars in a tower that must be rebuilt twice a day. A lower, accessible position is often more useful than displaying them at eye level behind tall bottles.
Handle the product as directed
Use clean, dry hands or the applicator specified by the product. If a spatula is supplied, follow its cleaning and storage instructions rather than leaving it resting across an open jar. Close the lid securely after use and avoid balancing it upside down on a wet basin.
A small tray can define the area, but it should not become a collection point for standing water. Check beneath bottles and wipe the shelf when needed. The tray is there to make handling simpler, not to turn every container into part of a tightly packed display.
Make labels readable from the front
Turn similar containers so their names are visible and avoid placing lookalike bottles directly behind each other. If you use separate morning and evening products, organize the storage around that distinction only where it helps you identify them. Do not create elaborate categories that take longer to maintain than the routine itself.
- Put frequently used products within an easy reach.
- Keep replacements in a separate dry storage area when appropriate.
- Leave room around fragile glass containers.
- Store each product according to its own label.
Do not assume all skincare belongs in a refrigerator or on a bathroom windowsill. A product may specify particular conditions, and decorative convenience should not override them. Use a protected cupboard or drawer when that best matches the instructions and your available space.
Review the nearly empty containers
Keep only the products you are actually using at the front. If a bottle is nearly finished, make it easy to reach rather than hiding it behind the replacement. Do not combine leftovers from different products or top up one jar from another to make the shelf look simpler.
If a container has changed unexpectedly in smell, color or texture, consult the product guidance rather than reorganizing it out of sight. Set aside packaging that no longer closes properly. A tidy arrangement should reveal handling problems, not conceal them.
Leave space for the routine to happen
Return each item to its practical position after use and close the cupboard or drawer only when surfaces are dry. The best shelf has a little empty room for lifting lids and reaching pumps. It does not need to resemble a shop display. Its success is that the right product remains identifiable, accessible and securely stored.
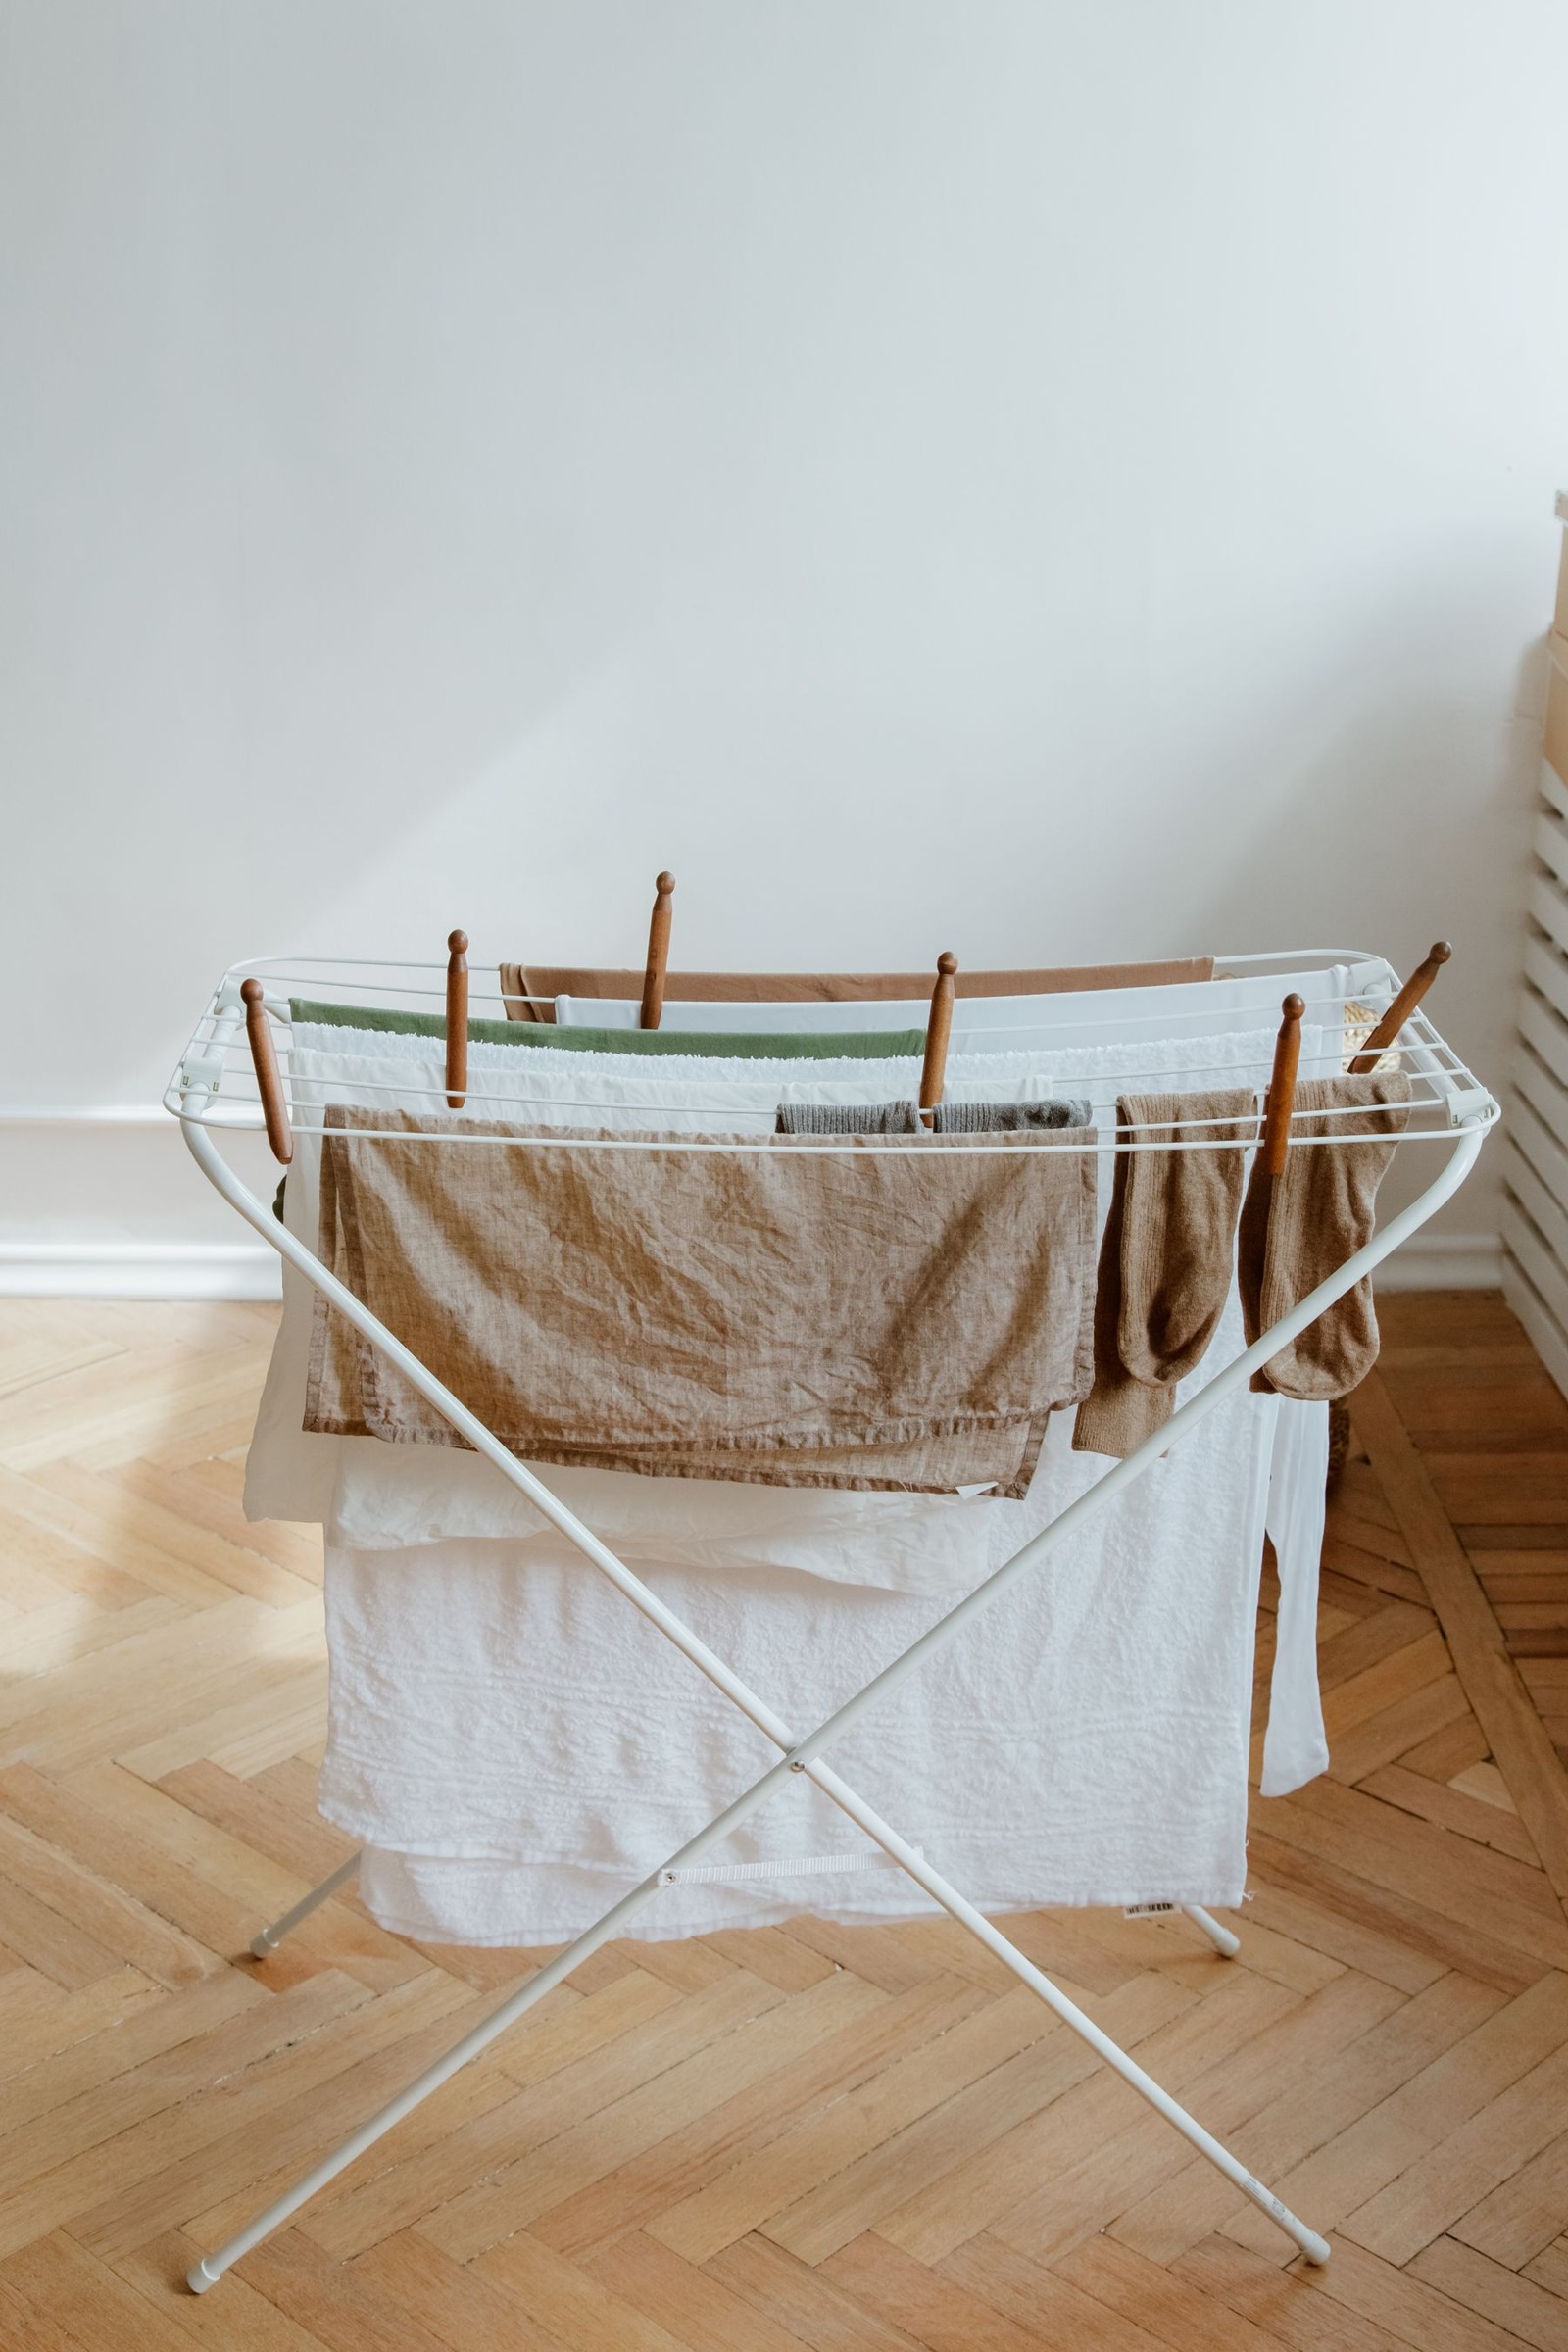
Wash and Dry Everyday Dresses Without Losing Track of Their Shape
Dress care is easier when you look at the whole garment rather than only the main fabric. A cotton outer layer may contain a lining, decorative trim or a fastening that needs different handling. Before washing, read the care label and check the construction so your chosen method suits the actual dress.
Keeping shape involves more than selecting a wash temperature. How you support the garment when wet, arrange its seams and dry it can affect the result. Build a simple routine around the label’s instructions instead of applying one familiar laundry setting to every everyday dress.
Inspect the dress before it enters the wash
Empty pockets and look inside them for tissues, clips or loose items. Check the underarm area, neckline and hem for marks that need attention. Note any loose stitching, pulled trim or partly detached buttons. Addressing a small construction problem first can prevent the wash from making it harder to repair.
Fasten closures as appropriate for the garment and protect delicate details according to its instructions. Turn the dress inside out if the care guidance supports doing so. Separate pale items from strongly colored ones and consider any dye-transfer warning rather than relying only on whether the dress has been washed before.
Match the method to the complete garment
Follow the washing, bleaching, drying and ironing symbols together. Permission to wash does not automatically mean permission to tumble dry. A garment labeled for professional cleaning should not be treated as machine washable merely because its main fiber often appears in washable clothing. Construction and finishes matter too.
If using a permitted machine wash, choose the instructed cycle and detergent amount for the load. Avoid packing the drum so tightly that the dress has little room to move. A mesh bag can protect suitable small or delicate garments, but it does not override care restrictions or make an unsuitable cycle gentle enough.
Check the details most likely to catch
- Tie loose sashes only as the garment’s care guidance allows.
- Keep hook fastenings from catching on open weaves.
- Look for decorative pieces that may strike or snag other clothing.
- Inspect the lining separately for trapped items or twisted sections.
Treat marks without creating a second problem
Identify the mark and check whether the fabric allows the treatment you intend to use. Follow the product’s instructions and test a hidden area first. Avoid vigorous rubbing on a delicate surface, which can change its appearance even when the original mark fades. Stronger treatment is not automatically more effective.
Keep incompatible cleaning products separate and do not combine them in an attempt to improve results. If you cannot identify a suitable method for a valued dress, ask an appropriate cleaner to assess it. That is a specific care decision, not a reason to apply a general household remedy to every fabric.
Support the dress while it is wet
Lift a wet dress with its weight supported rather than pulling it up by thin straps or one shoulder. If hand washing is permitted, remove excess water using the instructed method and avoid twisting the garment aggressively. A long, heavy wet skirt can put considerable strain on small attachment points.
Arrange the dress for the drying method shown on its label. If flat drying is required, use a suitable clean surface and set the seams in their natural positions. If hanging is allowed, choose support appropriate to the garment rather than a narrow hanger that leaves strong pressure points in soft fabric.
Finish only after the dress is fully dry
Check that the outer fabric and lining are both dry before storing the dress. Smooth straps, unfold pocket bags and inspect the hem. If pressing or steaming is permitted, follow the stated temperature and method, testing a concealed area where useful. Do not assume the same setting suits both shell and lining.
Try on the dress after care if its shape seems different. A twisted lining or folded seam can look like a fit change until it is arranged properly. Keep a brief care note for dresses with unusual instructions. A repeatable routine built around the actual garment is more dependable than trying to repair avoidable distortion after each wash.
When storing the dress, remove a heavy belt if it pulls on small loops. Keep detachable pieces together in a labeled place so the next wear does not depend on finding a missing sash or fastening after the garment is already on.
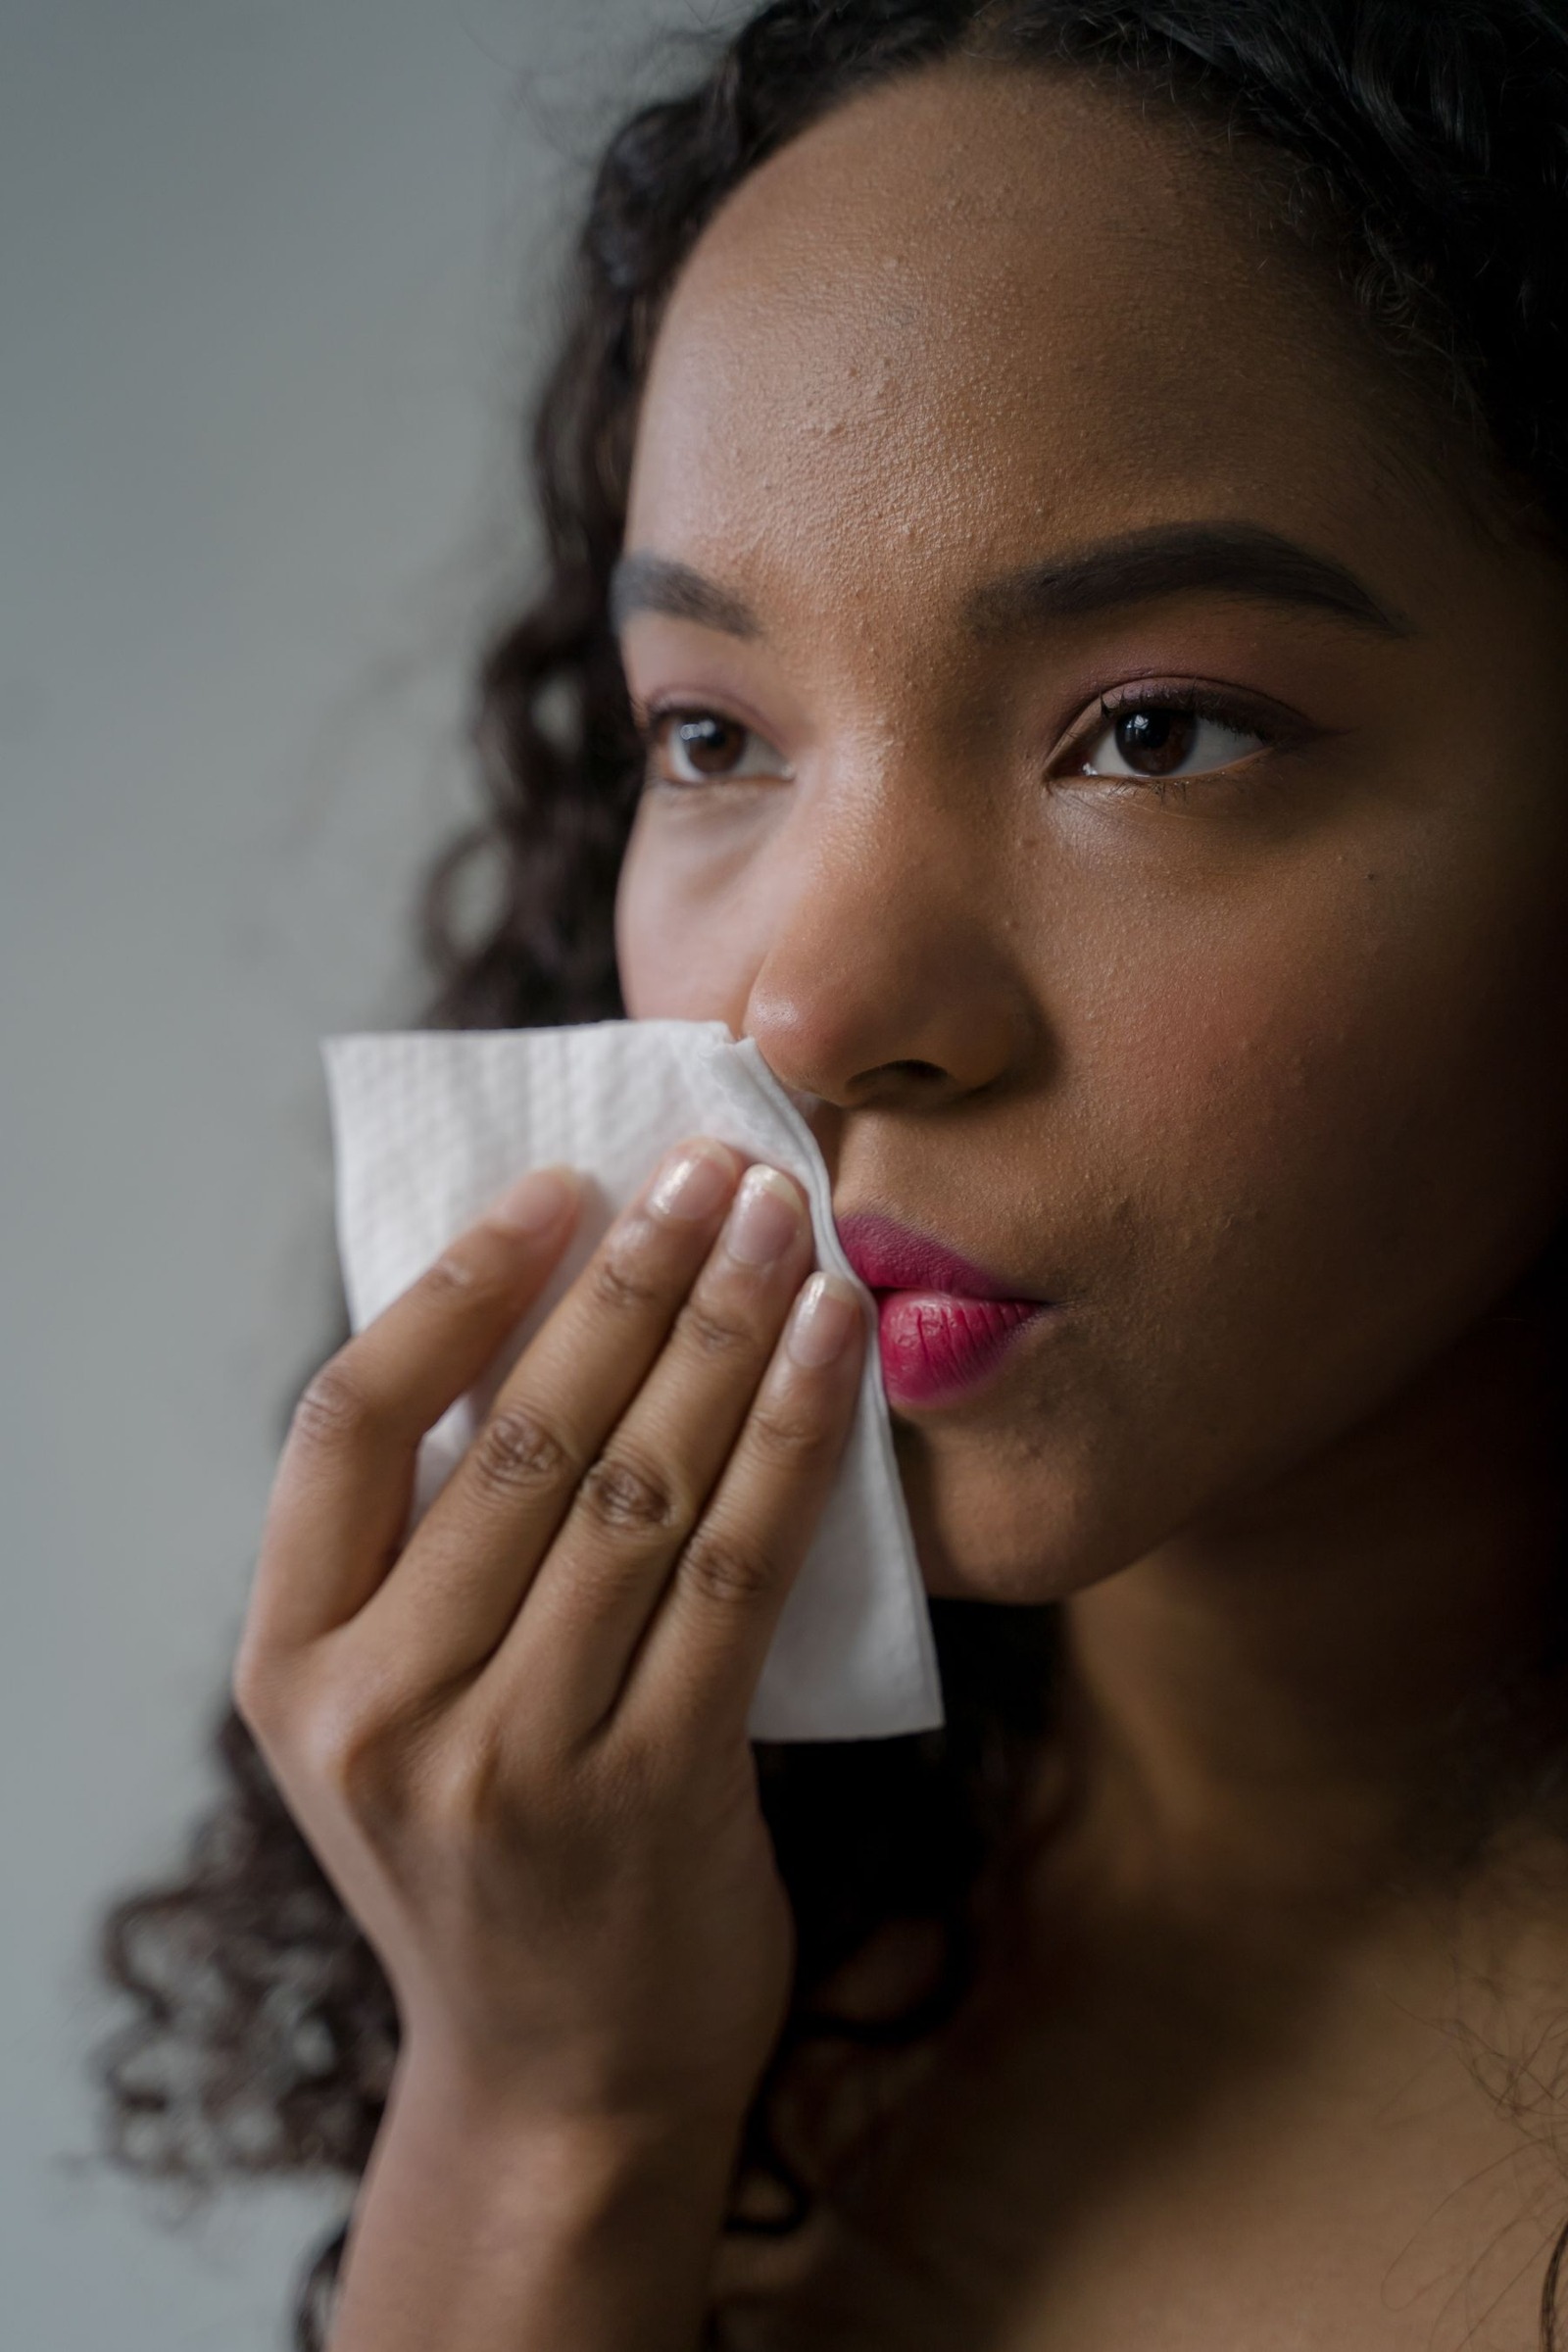
Remove Long-Wear Lip Color Without Smearing It Across Your Face
Removing a long-wear lip color can become messier than applying it. A dry tissue drags at the coating, a large cleansing pad spreads pigment beyond the mouth and repeated wiping leaves the edge difficult to see. A controlled removal sequence gives the remover time to work and keeps the used color contained.

Start with the lipstick’s removal directions and a product intended for the lip area. Some formulas have a specified remover or method. Do not assume an eye product, a household oil or a general face cleanser is automatically suitable simply because it feels slippery.
Prepare the small things first
Move hair away from the face and take off a scarf or high collar that could catch pigment. Set out a mirror, the chosen remover and several suitable clean pads or cloth sections. Use a surface that is easy to wipe if a colored drop escapes.
Choose a moment when you can finish the process without rushing. Half-removing a dark lipstick and then searching through a cupboard for more cotton makes it easier to transfer color onto handles, sleeves and the rest of the face. Keep the clean supplies apart from the used ones.
Let the formula loosen before moving it
Apply the remover as directed, using the appropriate amount and contact time. Keep your mouth relaxed and avoid pressing the lips together repeatedly. The aim is to soften the coating enough that it lifts with controlled movements, not to scrub it away while it is still firmly attached.
If the first pad barely changes the color, review the directions before increasing pressure. A different compatible remover may be needed. Adding force can turn a product mismatch into an uncomfortable routine without making the removal cleaner.
Keep the working area close to the lips
Use a manageable folded pad or cloth section rather than a large loose surface that sweeps across the chin. Support the movement with a clear view in the mirror. Keep the product out of the mouth and follow any rinsing instructions on the remover.
Lift pigment in short, contained passes
Work on one section of the lip at a time, moving gently and replacing the contact area as it becomes colored. A used pad can redeposit pigment, so turn to a clean section before the next pass. Keep the movement within the lip boundary whenever possible.
Check the corners separately. Color often collects where the lips meet, but there is no need to dig with a fingernail or sharp tool. Use a small suitable clean section and the remover’s recommended method. If a little pigment reaches the surrounding skin, address that patch with a fresh tool rather than widening the same wipe.
Distinguish remaining coating from a stain
After the first removal, look at the texture as well as the color. A smooth trace of pigment can be different from a visible layer still sitting on the surface. Some lip colors leave a residual tint, and more rubbing does not necessarily make the result more comfortable.
- Check whether an actual coating remains.
- Use fresh remover only as the instructions allow.
- Do not scrape dry flakes or pick at the lip surface.
- Stop a method that feels uncomfortable.
A magnifying mirror can encourage repeated correction of a trace that is barely visible normally. Step back before deciding another pass is needed. The endpoint is removal of the product through its intended method, not a demand that every natural variation in lip color disappear.
Finish according to the remover directions
Rinse or wipe away the remover if required, then dry gently. If you use a familiar lip-care product afterward, apply it to the cleaned area rather than mixing it into remaining lipstick. Do not use an abrasive scrub as an automatic final step.
For an immediate color change, allow the surface to become ready for the next product as its instructions require. A heavy residue of remover or balm can change how a new long-wear formula applies. It may be more practical to choose a simpler lip product than to repeat a full removal and repainting cycle.
Keep the next removal straightforward
Note which remover and contact time worked for the formula, and keep that product accessible. Clean any reusable cloth according to its care instructions and discard used pads. A reliable pairing of lip color and removal method is more useful than collecting several removers that all require the same repeated wiping.
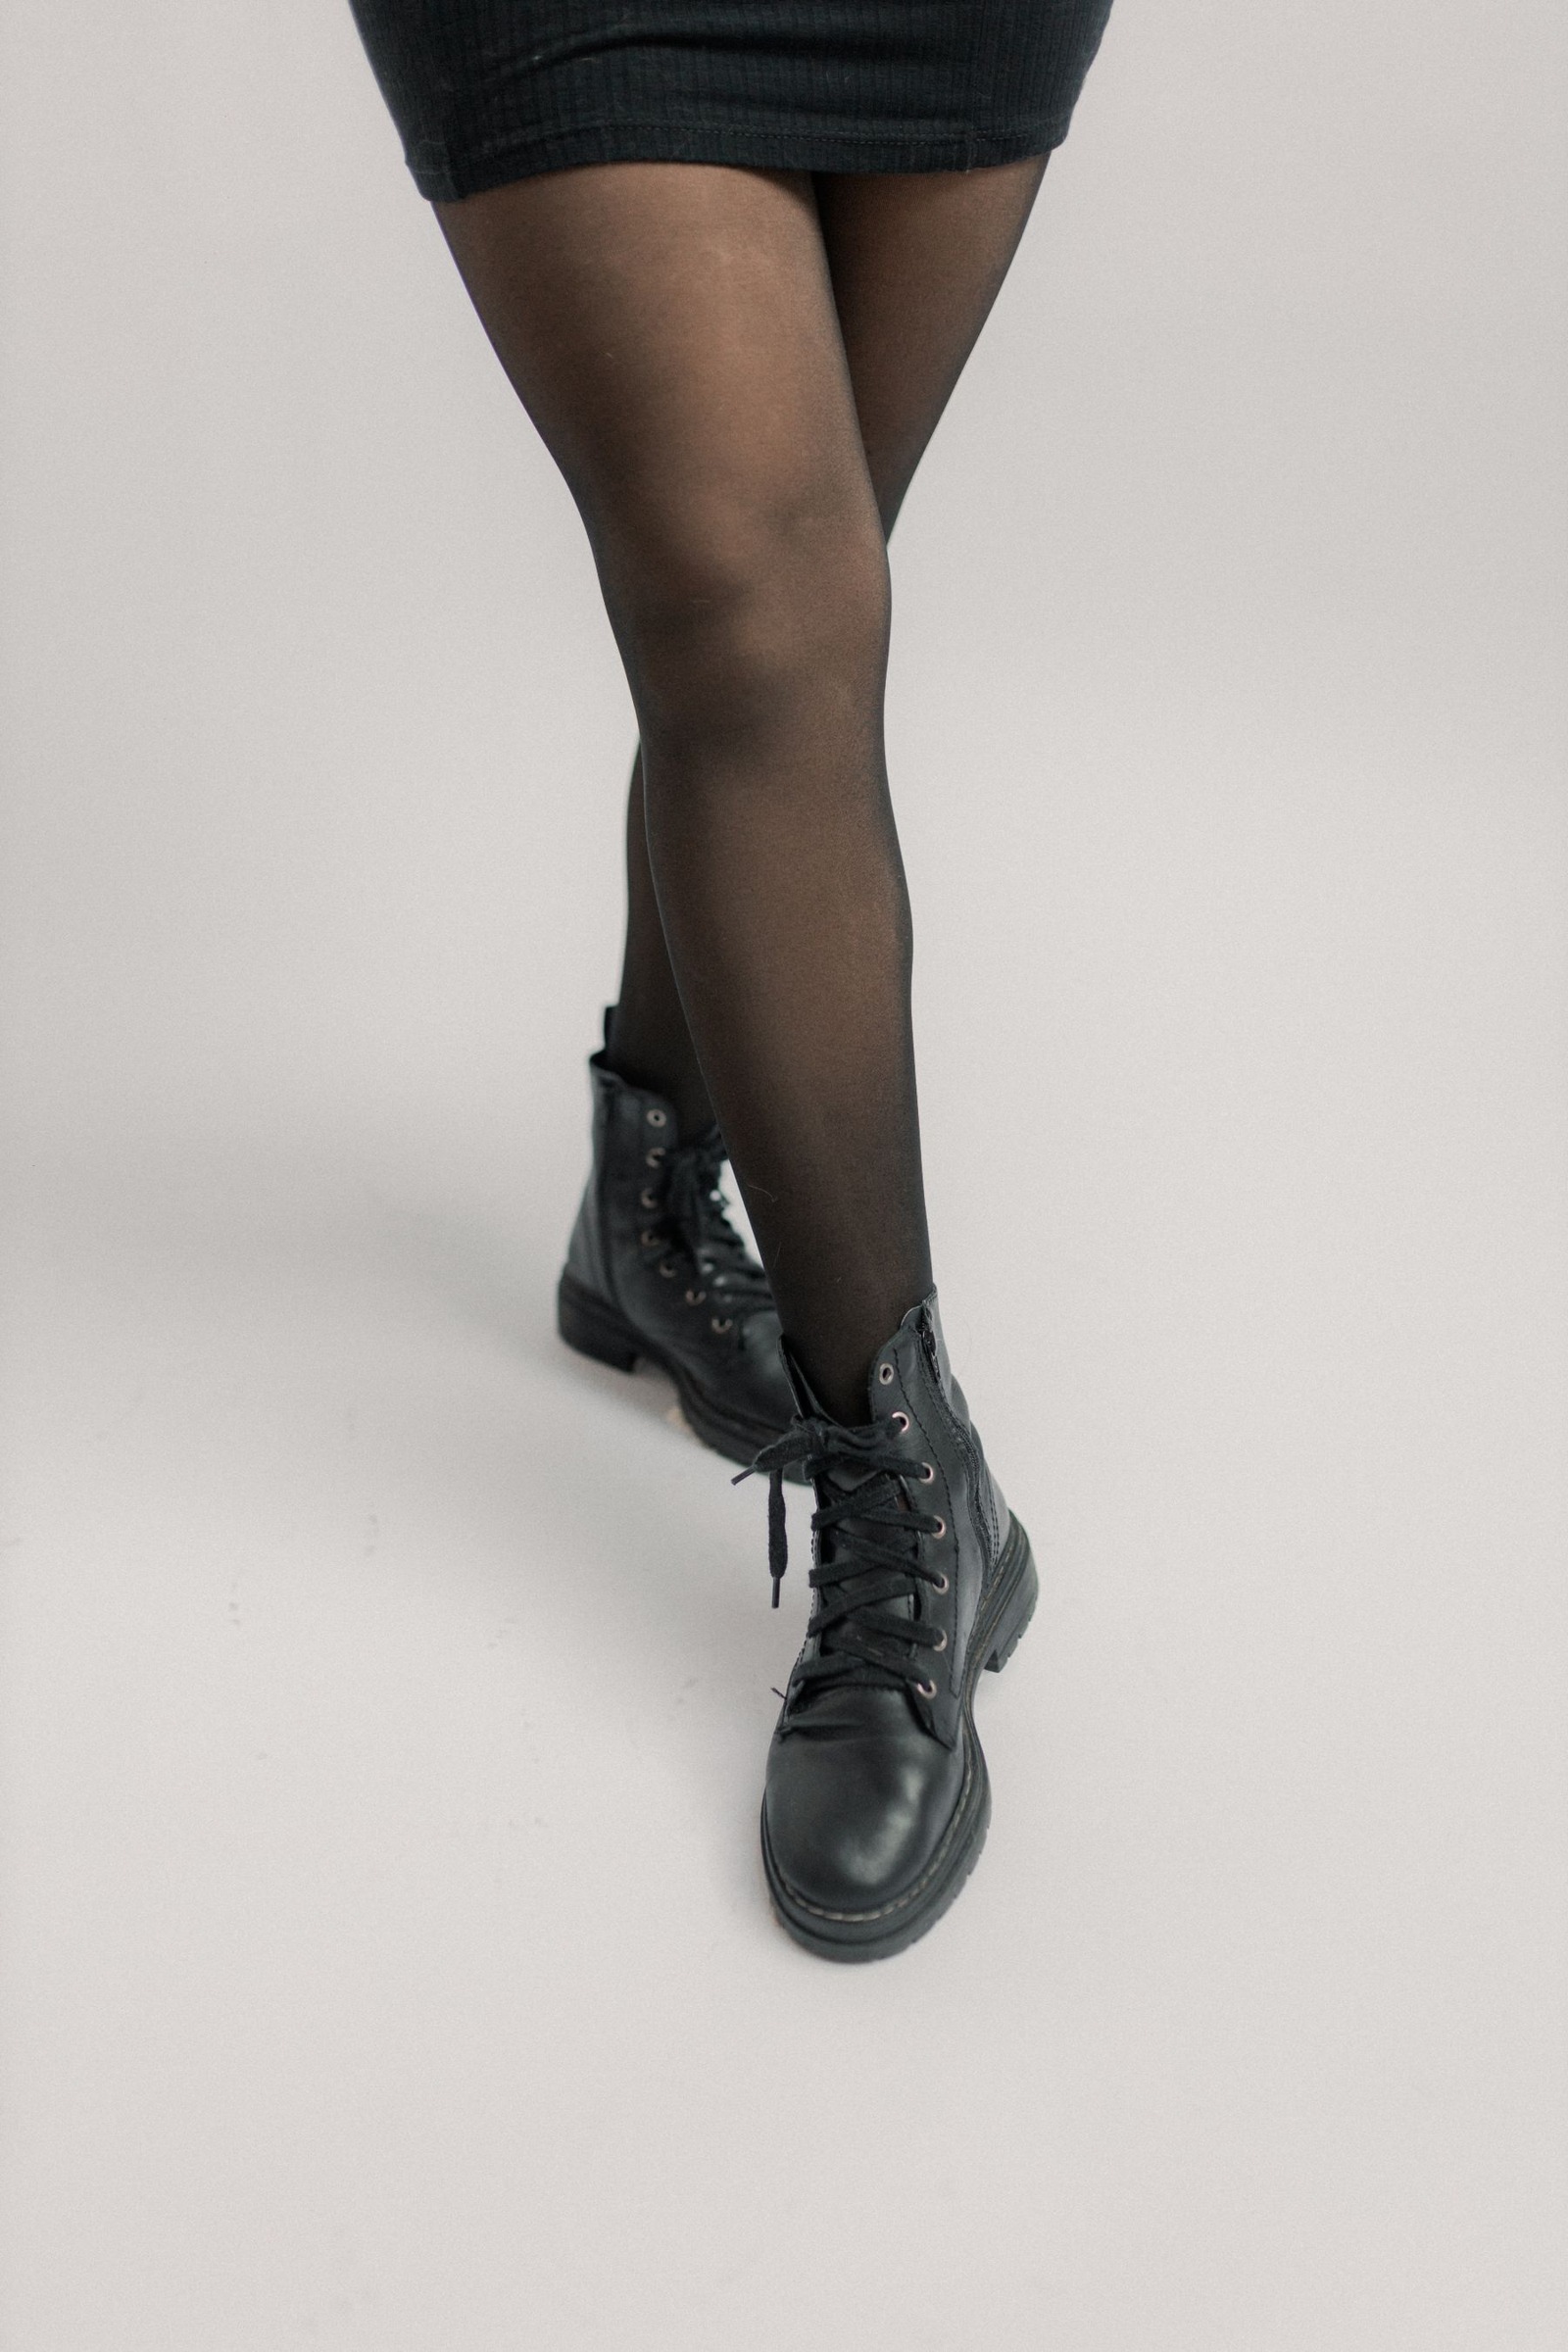
When a Dress Catches on Tights: Find the Layer That Is Causing Cling
A skirt that climbs as you walk can turn a comfortable dress into something you keep pulling down. Before reaching for a product or blaming static, separate the possible causes. The dress may lack room, its lining may be twisted or the surfaces of two layers may simply catch against each other.

Work in a clean indoor space with the dress, tights and any slip you intend to wear. Change only one layer at a time. This makes it easier to tell whether the problem comes from fit, texture or the way the inner layers are arranged, rather than collecting several fixes without knowing which one matters.
Observe the problem before smoothing it away
Walk several normal steps, turn and stop. Look at where the fabric has gathered. Is only the outer skirt raised, or has the lining moved too? Does the problem happen at the knees, hips or upper thighs? Those locations point to different contact areas and help you inspect the relevant part of the outfit.
Check whether the skirt is under tension while standing. A dress that fits tightly through the hips may climb even without tights. Try it briefly without the additional layer, where appropriate, to see whether the same behavior remains. If it does, focus on the cut and available room before changing hosiery.
Arrange the lining independently
Gently straighten the lining beneath the outer skirt. Make sure it has not twisted around a side seam or folded upward at the waist. Sit and stand, then inspect again. If the lining repeatedly rotates, look at the dress’s internal attachment points in a garment you own rather than forcing it back into place throughout the day.
A lining that is narrower than the outer skirt can limit movement even when the dress looks generous. Notice whether it pulls across the lap while the shell remains loose. Adding another slip is unlikely to create more room inside an already tight lining. A different size or a professional assessment may be more relevant.
Compare the surfaces in contact
- Raised patterns on tights may catch a textured lining.
- A rough inner seam can rub against a separate slip.
- A rolled slip hem can stop the outer skirt from falling freely.
- A soft knit dress may grip a bulky underlayer at the hips.
Try a smoother combination
If the dress hangs comfortably without the original tights, compare another suitable pair with a smoother surface. Keep the dress and other layers unchanged. Walk and sit again. You are testing the actual pairing, not assuming that one fiber or hosiery label guarantees a particular result across all garments.
A smooth slip can help separate surfaces when there is enough room for it. Choose an appropriate length and check its lower edge under the dress. The slip should move comfortably without bunching or introducing a new visible ridge. If it rides up too, assess its own fit rather than treating the outer dress as the only problem.
Do not improvise with household coatings
Spraying a dress with products not intended for garment use can leave marks or change the surface. Avoid substituting hair products, oils or cleaners for a fabric treatment. If you choose a garment product, follow its directions and care restrictions, and test compatibility in an inconspicuous area before using it visibly.
Static may contribute to cling, but a treatment cannot supply missing ease or untwist a lining. Check those mechanical causes first. Keep the care labels for all layers in mind, especially when the dress combines delicate fabric, embellishment and a separate lining with different needs.
Confirm the solution after sitting
Once one change seems helpful, wear the outfit through a short sequence of ordinary movements. Sit for a few minutes, stand and walk without smoothing the skirt. A combination that works for three steps but catches again after sitting still needs attention. Note which layer moves first when the issue returns.
Keep the simplest pairing that remains comfortable and falls back into place with minimal adjustment. You may find that one dress works better with a particular slip or without textured tights. That is useful wardrobe knowledge, not a rule about all dresses. The aim is a dependable combination, identified through the fabric behavior you can actually observe.
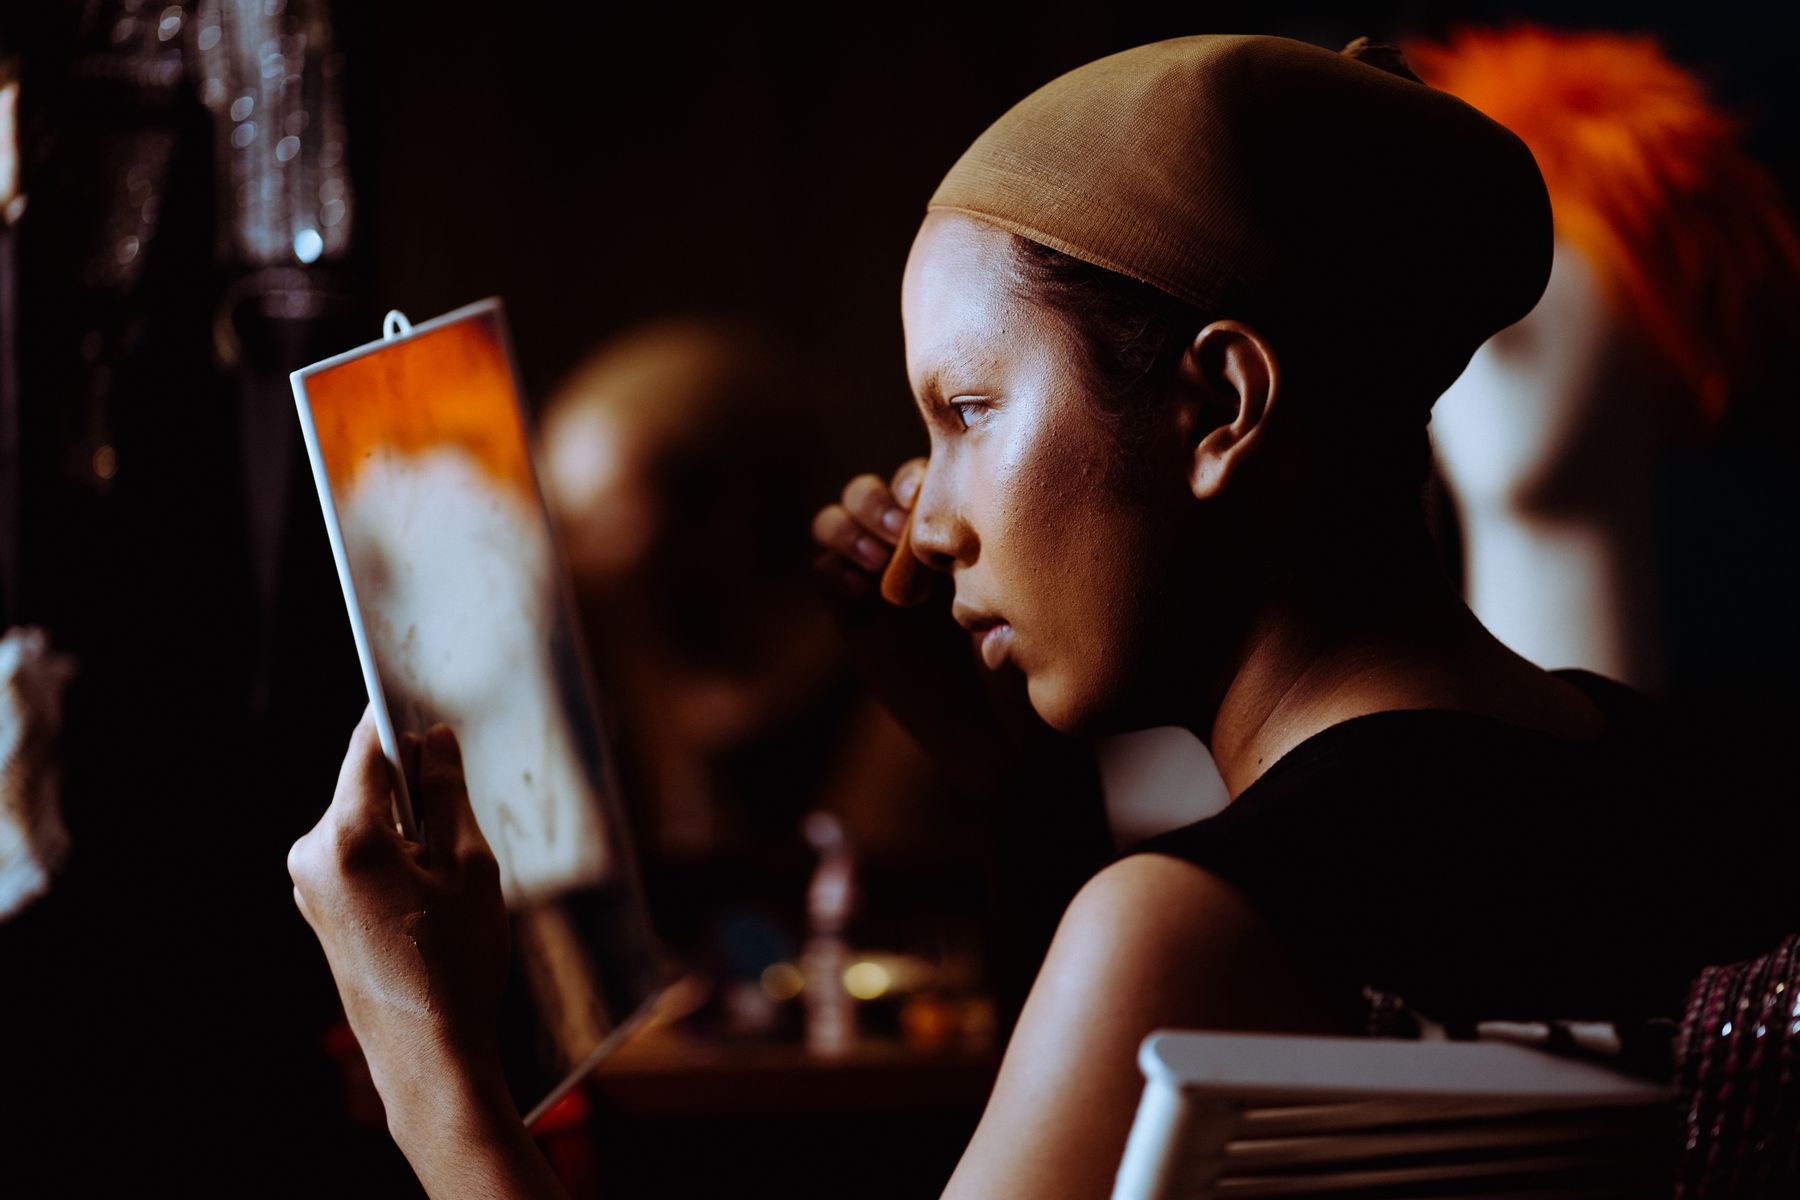
Blot Before You Powder: A Focused Makeup Touch-Up Routine
A shiny patch does not always need another layer of powder. If the makeup beneath it still looks even, pressing away some surface shine may be enough. Repeatedly dusting powder over the same area can change the texture and make a small touch-up more noticeable than the original shine.
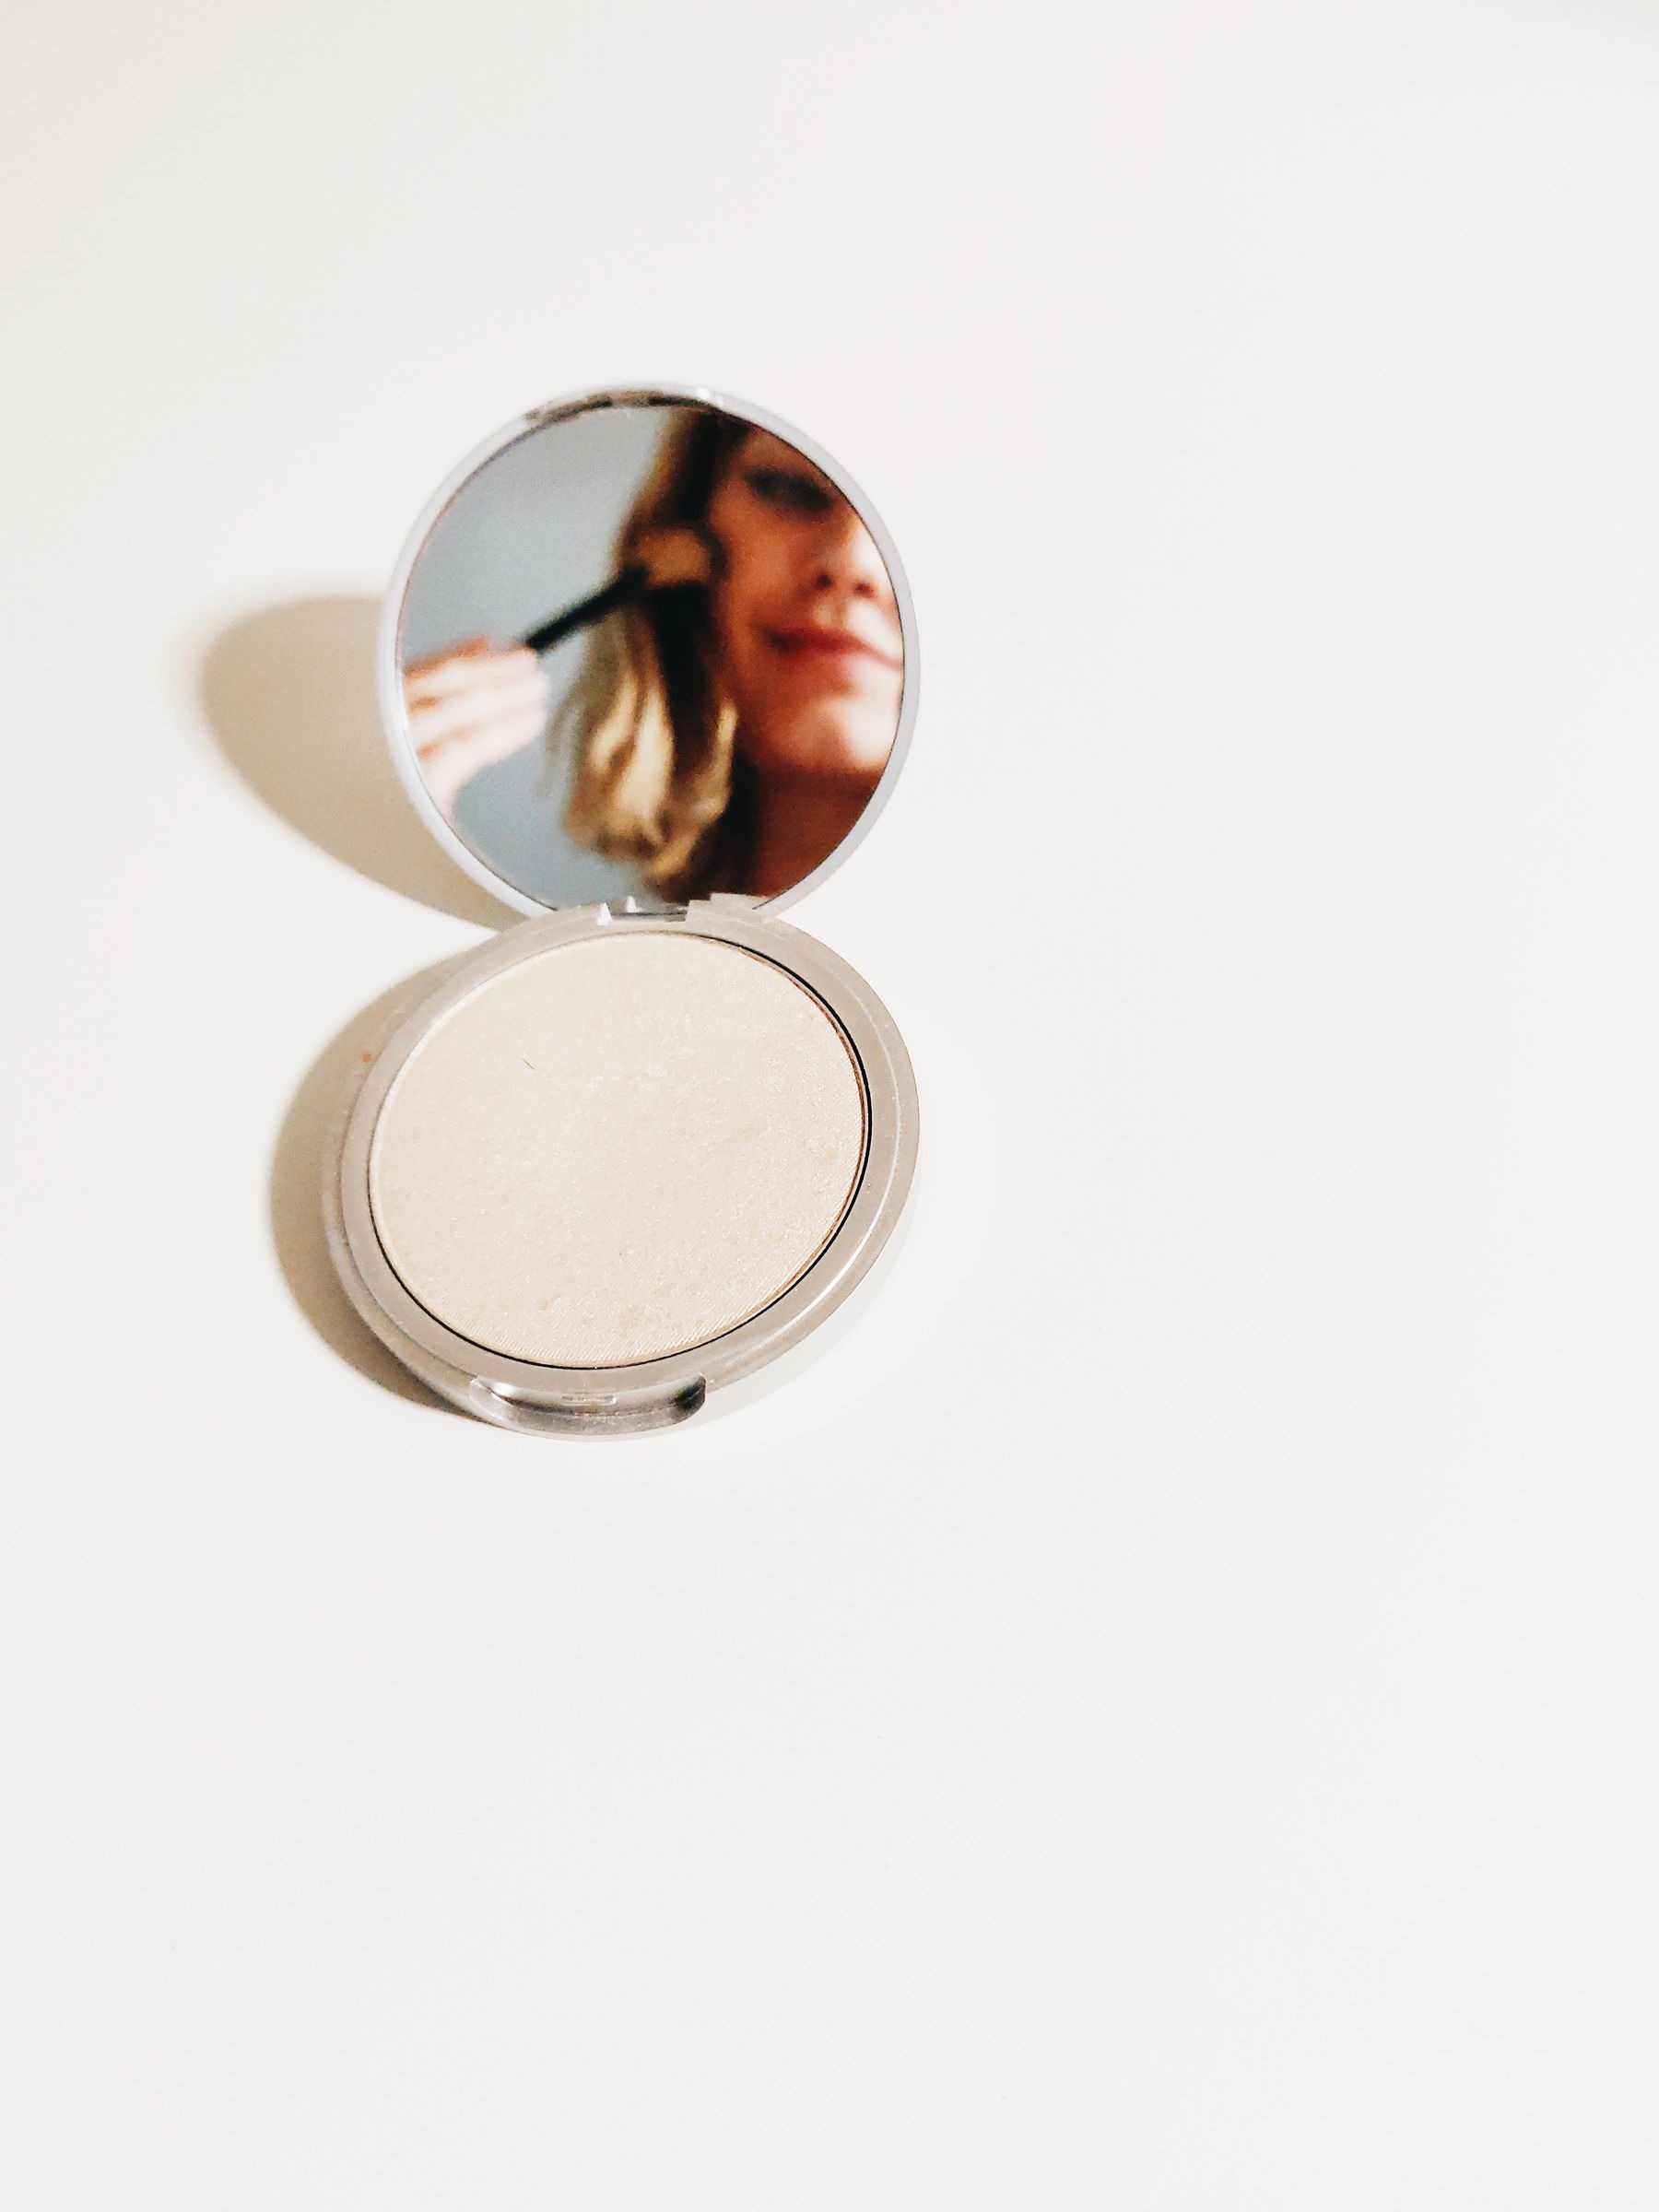
Before reaching for a compact, take a brief look in ordinary light. Separate reflection from missing coverage, creasing and marks left by glasses or clothing. These are different jobs. A blotting sheet can change surface shine, but it will not repaint an area where the base has been rubbed away.
Identify the exact area you want to change
Look at the center of the forehead, beside the nose and around the chin without assuming they all need attention. Leave areas alone when you like their finish. A softly reflective cheek does not have to match a more matte nose for the overall makeup to look intentional.
Check whether the brightness moves as you turn your head. Strong overhead light can exaggerate a reflection that is less obvious at normal conversation distance. The aim is to adjust the finish to your preference, not to eliminate every point of reflected light from the face.
Choose a clean blotting material
Use a blotting paper intended for the face, following its instructions. Some sheets already contain powder, so check the packaging before treating them as a neutral first step. If you use a tissue, choose a clean, soft one that does not leave visible lint and avoid perfumed household papers.
Keep unused sheets protected inside their packet rather than loose at the bottom of a bag. Handle the clean portion as little as possible. A fresh sheet is easier to position precisely than a crumpled piece that has already picked up makeup from several areas.
Press and lift instead of wiping
Place the sheet on the chosen patch with light pressure, then lift it away. Avoid dragging it across the base as though removing makeup. Use another clean part of the sheet if you move to a second area, following the product’s use directions.
Work around small features
Beside the nose, fold the sheet into a manageable shape without making a sharp edge. Keep it clear of the eyes and avoid rubbing back and forth in the crease. A tiny area may need a smaller contact point, not a larger amount of pressure.
Pause and look again after one pass. The surface may already have the finish you wanted. Do not continue pressing simply because the sheet still has unused space. Excessive handling can disturb makeup that was otherwise sitting neatly.
Decide whether powder has a remaining job
If the area looks even and sufficiently matte after blotting, stop. If you still want a softer finish, pick up a small amount of face powder with a clean suitable tool. Apply only where needed rather than repeating a full-face setting step.
- Blot surface shine before assessing powder.
- Use a light pickup rather than a heavily loaded puff.
- Keep powder away from areas whose reflection you like.
- Check the result before returning for another layer.
A puff can place powder precisely, while a brush may distribute it more broadly. Use the tool that suits the area and formula. The important part is controlling the amount, not assuming one applicator guarantees a better finish.
Do not disguise missing makeup with dry layers
If the base has separated, creased or rubbed away, more powder may not solve the visible problem. Blot gently if needed, then assess whether a localized reset is more sensible. Remove a disturbed patch carefully with a suitable product and reapply only the necessary makeup once the surface is ready.
Do not mix several touch-up techniques in the same spot without looking between them. Blotting, adding base and powdering all at once makes it difficult to know what helped or what created a thicker patch.
Keep the routine small enough to repeat
Return the powder applicator to its designated clean compartment and discard the used sheet. Check your face from normal distance before packing everything away. A useful touch-up may take only a few targeted presses and no additional makeup. Remember which areas actually needed attention so the next check begins with observation instead of an automatic all-over powder layer.

Are Those Dress Pockets Useful? Check Placement, Lining and Fabric Pull
Pockets can make a dress more convenient, but their presence alone does not tell you what they can comfortably carry. Some are deep enough for small essentials; others work mainly as a place to rest your hands. Assess pocket placement and construction alongside the dress’s shape rather than treating pockets as an automatic sign of practicality.

Start with empty pockets and a fully fastened dress. Let the skirt settle naturally. If the openings already stand away from the body or the side seams angle forward, check the fit before loading anything inside. A pocket cannot lie smoothly when the surrounding fabric is being stretched across the hips.
Locate the opening with your hands relaxed
Stand normally and reach into each pocket without lifting your shoulder or pulling the dress sideways. An opening that is too high, low or far back may be awkward even if it is generous. Think about how often you will use it and whether reaching inside changes the neckline or waist position.
Side-seam pockets can look discreet when empty, but they may become difficult to find in a very full skirt. Patch pockets are easier to see and introduce a deliberate detail. Neither construction is universally better. Choose the one that fits the dress’s purpose and feels accessible in your normal posture.
Check the pocket bag, not just the opening
Gently feel the inside shape. Is the pocket deep enough to hold the intended item below the opening? Does the lining lie flat, or is it twisted into a narrow space? In a dress you own, turn the garment inside out to see how the pocket bag sits and whether it is caught in nearby seams.
A large outer opening may lead to a shallow interior. Conversely, a deep bag can hang low enough to show beneath a short skirt or through a pale fabric. Check the outside in daylight before deciding the pocket is unobtrusive. Its fabric and edge can be visible even without anything inside.
Compare three ordinary uses
- Rest a hand inside without pushing the skirt outward.
- Place one small, lightweight item in the pocket.
- Walk and sit with that item, then remove it.
- Check whether the skirt returns to its original shape.
Use a realistic load without overfilling
If you expect to carry a phone, test your actual phone carefully in a dress you are permitted to try this way. Size and weight matter. A pocket that holds a card comfortably may sag under a phone. Notice whether the waist drops on one side or the side seam is pulled out of line.
A full skirt can conceal an item’s outline better than a narrow one, but soft fabric may still droop under its weight. Do not assume hidden means well supported. If the garment feels unbalanced, use a bag for heavier essentials and keep the pocket for lighter items it handles without distorting the dress.
Inspect sitting and getting up
Sit on a normal chair and notice where the contents rest. A hard object at the hip can be uncomfortable, and a shallow pocket may release it when you change position. Keep items clear of closures and avoid carrying anything that could snag or mark the fabric from inside.
Stand and walk again. Does the pocket bag remain folded against the lining, or does it hang correctly? A lining caught around the contents can create a visible lump after sitting. Empty the pocket and smooth the layers once to distinguish a temporary fold from a recurring construction problem.
Keep the dress’s main fit in charge
If you love a dress except for pocket bulges, identify whether the cause is inadequate hip room, a twisted pocket bag or the pocket shape itself. A tailor can assess a construction issue in a garment you own. Do not immediately sew the opening shut without understanding whether the fabric around it is already under tension.
For a new purchase, compare another size or cut before accepting a permanent compromise. Useful pockets should support how you intend to wear the dress, not determine the entire buying decision. A comfortable dress with modest pocket capacity can be more practical than one with large pockets that pull its shape apart whenever you use them.