
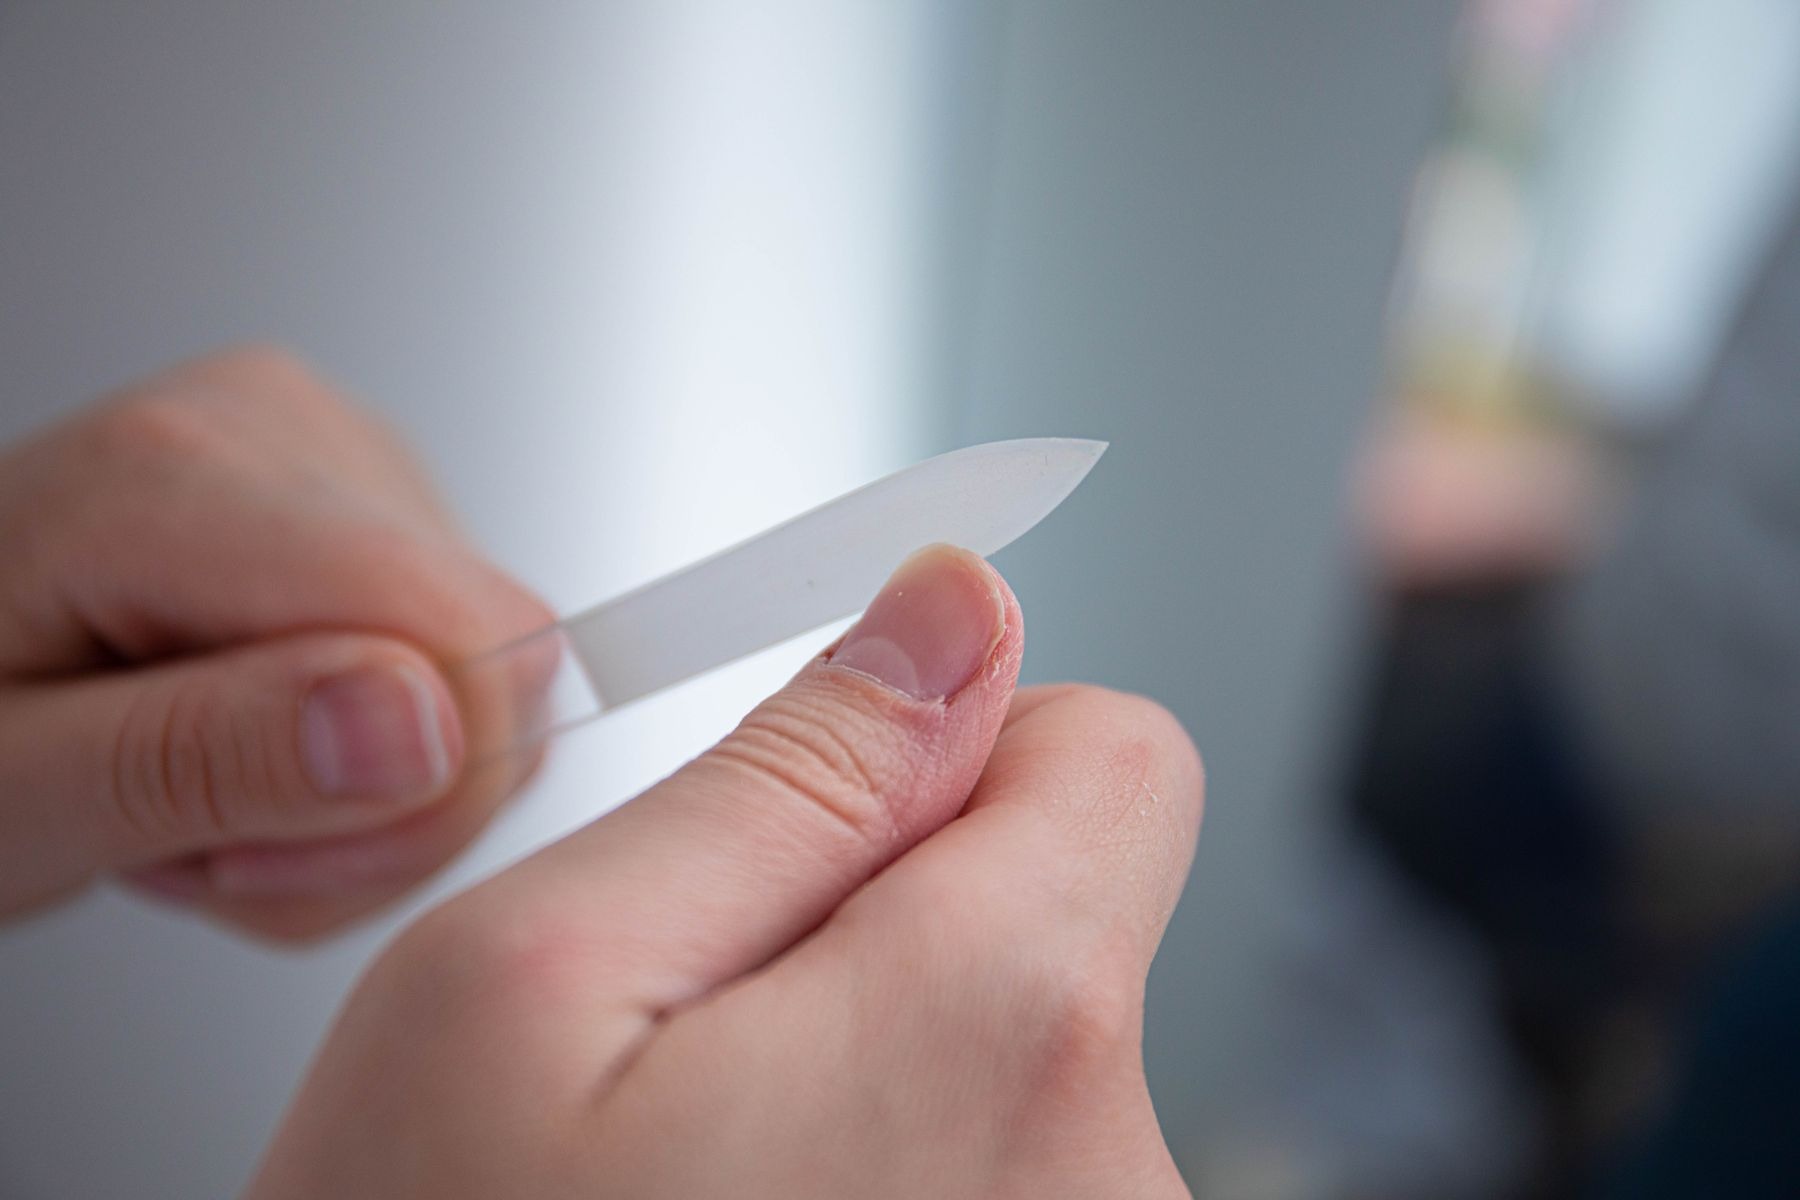
An even manicure begins with a manageable outline, not ten identical nail beds. Natural nails vary in width, curve and length, so copying the same measured shape onto every finger can produce an awkward result. Filing works better when you choose a practical length, follow the visible free edge and compare the whole hand regularly.
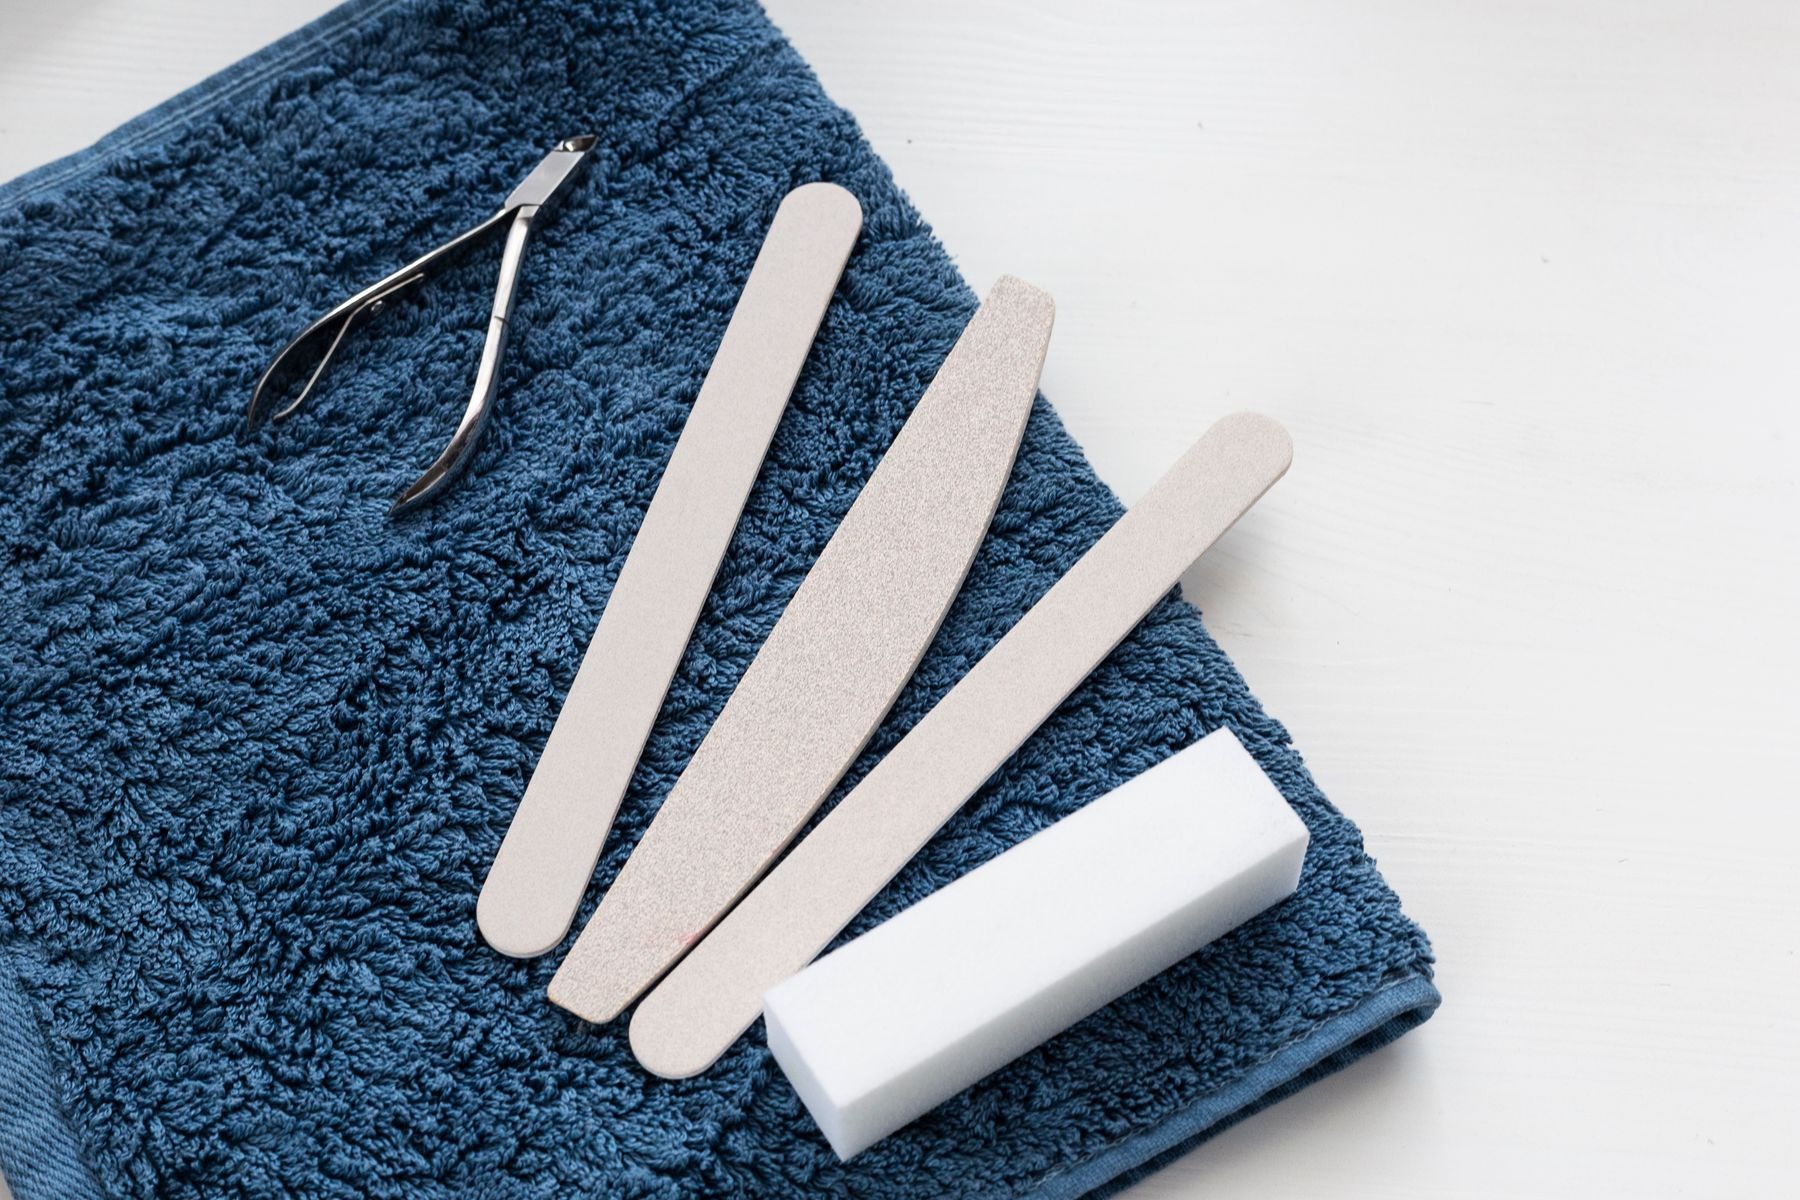
Set aside enough time to work slowly with clean, dry nails and a file intended for natural nails. Remove old polish first so the outline is visible. This guide concerns ordinary shaping of the free edge, rather than thinning the nail surface or reshaping artificial extensions.
Choose the shortest workable reference
Look at all ten nails before shortening the first one. A single short nail does not necessarily require cutting every other nail to the same extreme. Decide whether you want a closely matched set or a slightly varied, practical length while that nail catches up.
Compare how far each free edge extends beyond the fingertip. Nail beds can be different lengths, so equal total nail measurements may not look equal from above. Use the appearance of the hand and the demands of everyday tasks as your reference rather than pursuing a ruler-perfect result.
Pick a shape the existing edge can support
A short rounded shape follows the fingertip and needs little corner length. A softly squared edge keeps a straighter end while easing the corners. A longer oval needs enough free edge to form the curve without filing deeply into the sides. Choose from the material that is actually there.
Do not try to create a narrow almond outline on very short nails by removing the sidewalls. When there is not enough length, a simpler outline looks more deliberate and is easier to repeat. You can change the shape gradually as the free edge becomes longer.
Use two viewing angles
Hold the hand palm down to see the overall shape, then turn it so the free edge faces you. The second view can reveal a slanted tip that is less obvious from above. Keep your hand relaxed in both positions; twisting each finger into a different angle makes comparisons unreliable.
Take off a little, then look again
Use light, controlled file strokes on the free edge, following the tool’s directions. Avoid rapid, forceful sawing just to finish quickly. Support the finger comfortably and pause after a few strokes. It is easier to remove a little more than to replace a corner you have already filed away.
For a softly squared outline, establish the end first and then soften each corner slightly. For a rounded outline, move around the curve in small sections, checking that one side is not becoming steeper than the other. Keep the file away from the skin and do not dig into the grooves beside the nail.
Compare pairs before correcting the set
- Place matching fingers from each hand beside one another.
- Compare the visible free edge rather than the nail bed.
- Check whether the corner curves look balanced.
- Make one small adjustment, then put the hands down again.
Working in pairs helps prevent the final fingers from becoming much shorter than the first. It also reduces the temptation to keep refining one nail until the entire set needs another round. A minor difference that disappears at ordinary viewing distance is rarely worth endless correction.
If you paint your nails later, inspect the outline once more before opening the polish. Color can emphasize a corner that looked inconspicuous on bare nails. Make any final adjustment while the nails are still unpainted, then remove the dust so it does not travel into the lacquer.
Check the edge, not the whole nail surface
Brush away filing dust with a clean, soft brush or wash and dry your hands before the final inspection. Look for an obvious snag at the tip. If there is one, smooth that small section gently. Do not automatically buff the entire nail surface simply because the file is already in your hand.
Clean reusable tools according to their instructions, and replace worn files that no longer work evenly. Keep a compact file for an occasional snag, but save full reshaping for a calm moment with good light. The useful endpoint is a set of comfortable, coherent edges that suit your hands, not a shape that needs constant attention to remain perfect.