
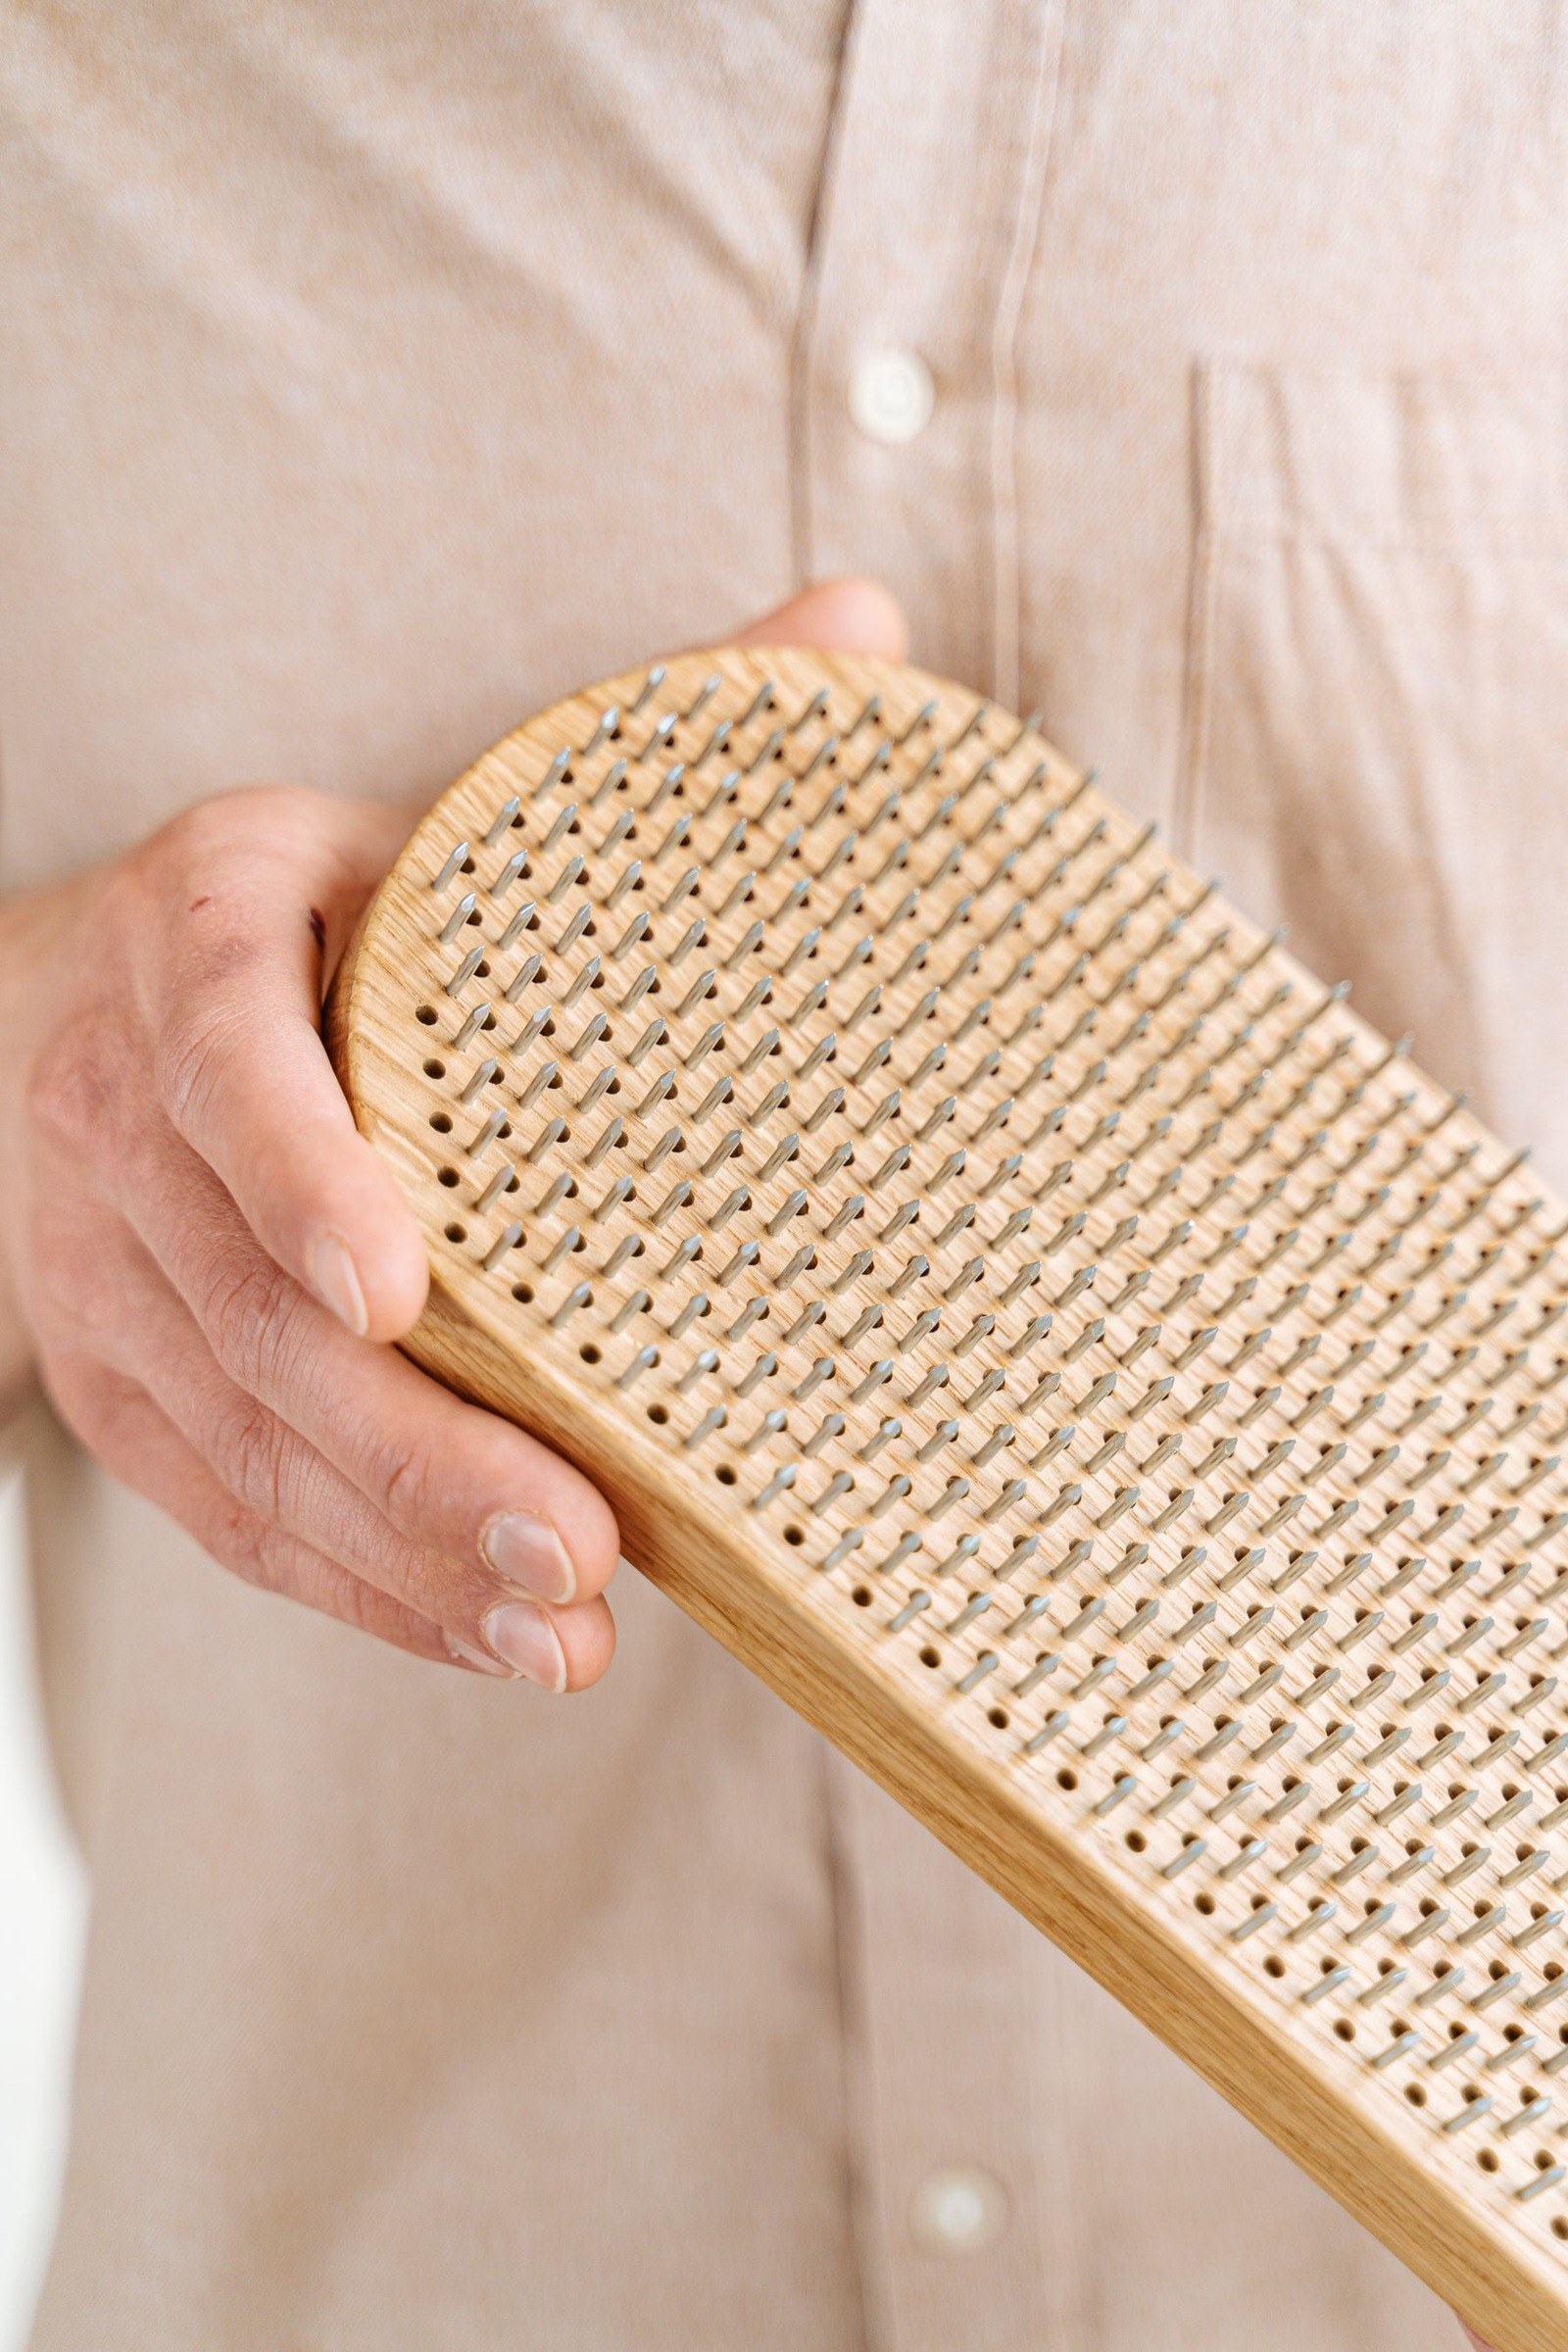
Hair wrapped around a brush is easy to notice. The film beneath it, the lint between the bristles and the moisture trapped in a cushion are less obvious. Cleaning a brush well begins with understanding its construction, because a plastic detangling brush and a wooden cushioned brush should not automatically receive the same treatment.
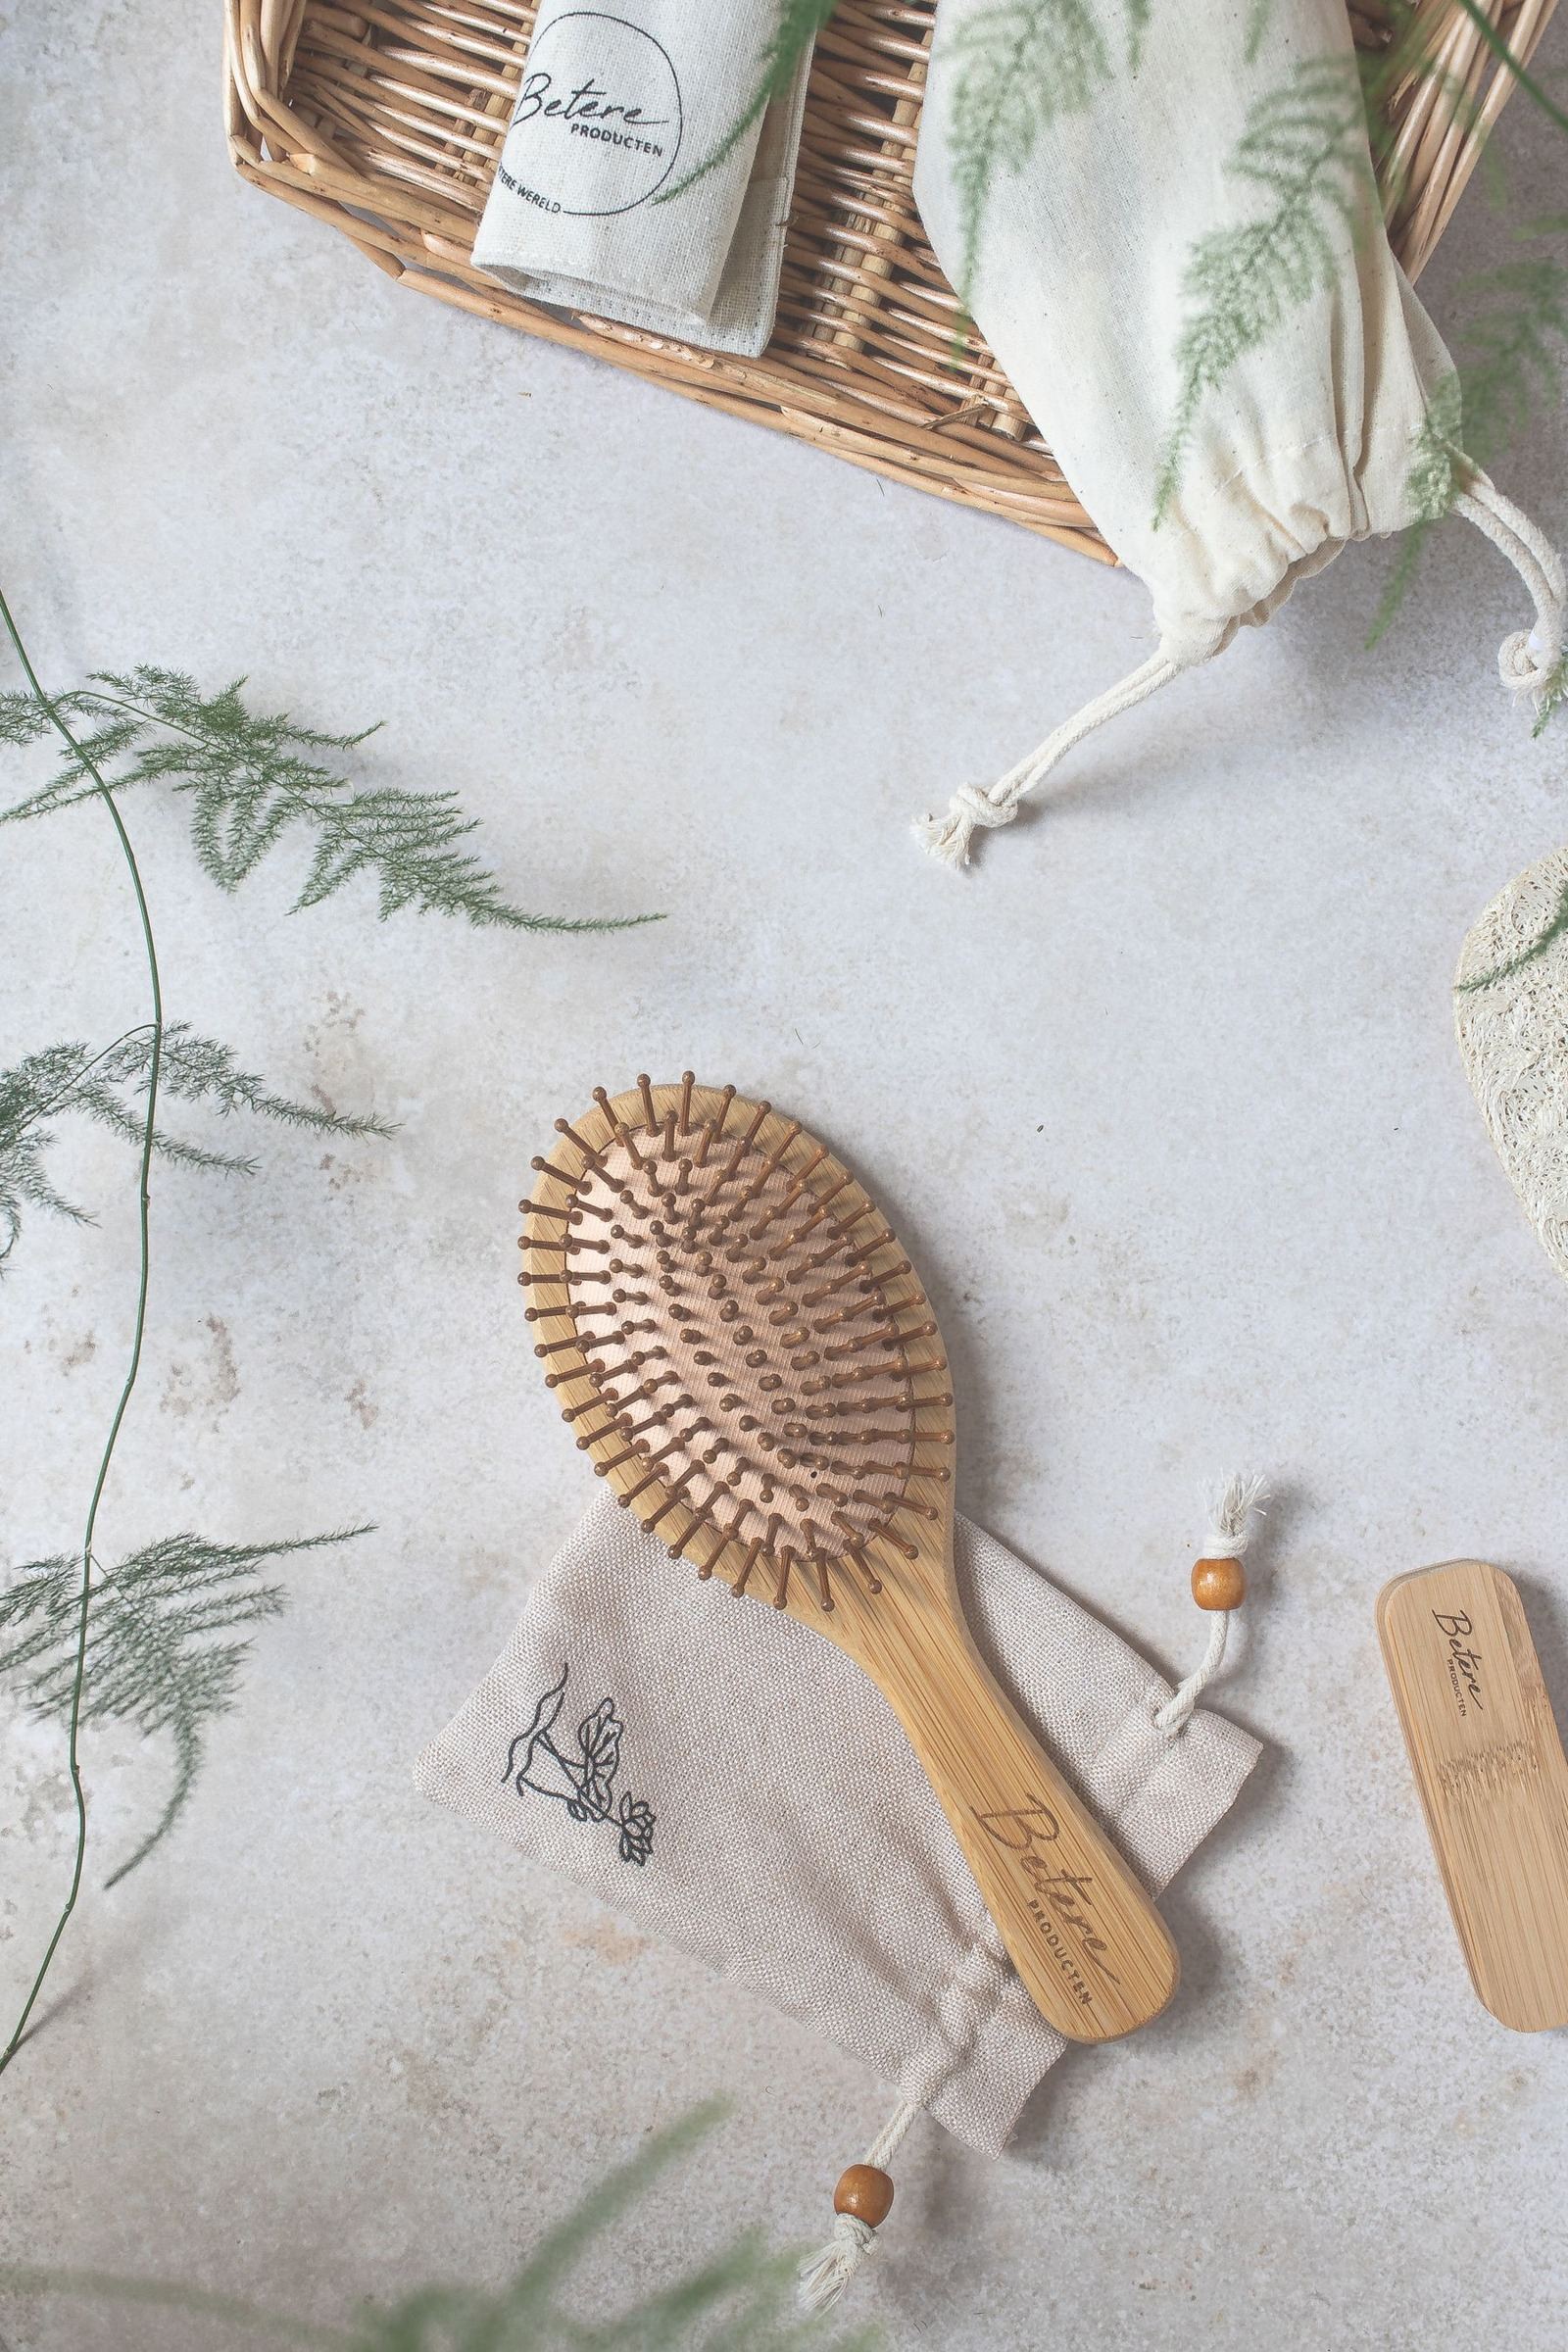
Gather the brushes you actually use and inspect them individually. Check the manufacturer’s care directions where available. A short, suitable cleaning routine is better than soaking every tool in one bowl and discovering afterward that a handle, coating or cushion was not meant to get wet.
Identify the parts that need different handling
Look at the bristles, their tips, the base holding them and the handle. Note whether the brush has natural bristles, a wooden body, glued decorations or a hollow section. An opening in a cushion can be part of the design rather than a missing bristle; do not plug or pick at it without checking.
Inspect for sharp broken bristles, loose pins and cracks. Cleaning does not repair those problems. Set aside a damaged brush instead of returning it to the drawer simply because the visible hair has been removed. An intact tool is easier to use comfortably and easier to maintain.
Remove trapped hair while the brush is dry
Lift hair gently with your fingers or a suitable brush-cleaning tool. Work in small sections and avoid yanking against the bristles. A comb can help on some designs, but forcing its teeth through a dense cushion may bend pins or tear the base.
For tightly wrapped strands, loosen a little at a time rather than levering the entire mat upward. Keep sharp blades away from the bristles and cushion. The purpose is to clear the tool without scratching the working surface or turning a simple cleanup into a repair job.
Choose a wet or mostly dry method
For a brush designed to be washable
Follow its instructions for water temperature, cleanser and contact time. Use a gentle cleaning movement between the bristles, then rinse as directed until visible residue is gone. Do not assume a long soak is better than a brief wash. Pay attention to any removable parts and reassemble only as instructed.
For wood, natural bristles or delicate construction
Use the care method recommended for that particular brush. This may involve limited moisture on a cloth or targeted cleaning rather than immersion. Keep water away from areas the maker says should remain dry. If the instructions are missing, seek the product information instead of treating the brush like a solid plastic comb.
Clean the handle without flooding the base
Wipe away visible styling-product residue with a cloth suitable for the finish. Use only as much moisture as the construction allows and dry the handle afterward. Avoid running water into seams simply because the bristles themselves are washable.
- Keep cleaning products appropriate to the brush materials.
- Do not mix household cleaners for an improvised treatment.
- Check the neck where handle and head meet.
- Remove residue from textured grips without scraping the finish.
A brush used alongside hairspray or styling cream may need attention at the handle as well as the bristles. Cleaning only the visible hairs can leave the part you hold sticky and unpleasant.
Let the brush dry as its maker directs
Place the brush in the recommended position with room for air to circulate. Keep it away from direct heat unless its instructions specifically permit that method. A radiator or hot hairdryer is not a universal shortcut. Cushions and dense bristles can take longer to dry than the handle.
Before putting the brush into a closed drawer or pouch, check the base and the spaces between bristles. Do not judge readiness by the dry tips alone. If moisture remains, leave it out longer in a suitable place rather than hiding it among clean accessories.
Make maintenance fit the tool
Remove loose hairs regularly so they do not build into a dense layer. Review cleaning needs based on visible residue, how often the brush is used and its care instructions, rather than following one schedule for every brush. Keep the cleaning tool nearby, but separate it from the brush’s working surface. A clean, fully dry brush should return to storage ready to use, not carrying yesterday’s hair and product film.