

When one bobby pin slips, it is tempting to add another and then another until a small side section becomes a metal lattice. Often the problem is not the number of pins. The section may be too large, the pin may be stretched or the insertion may not catch any stable hair beneath the section.
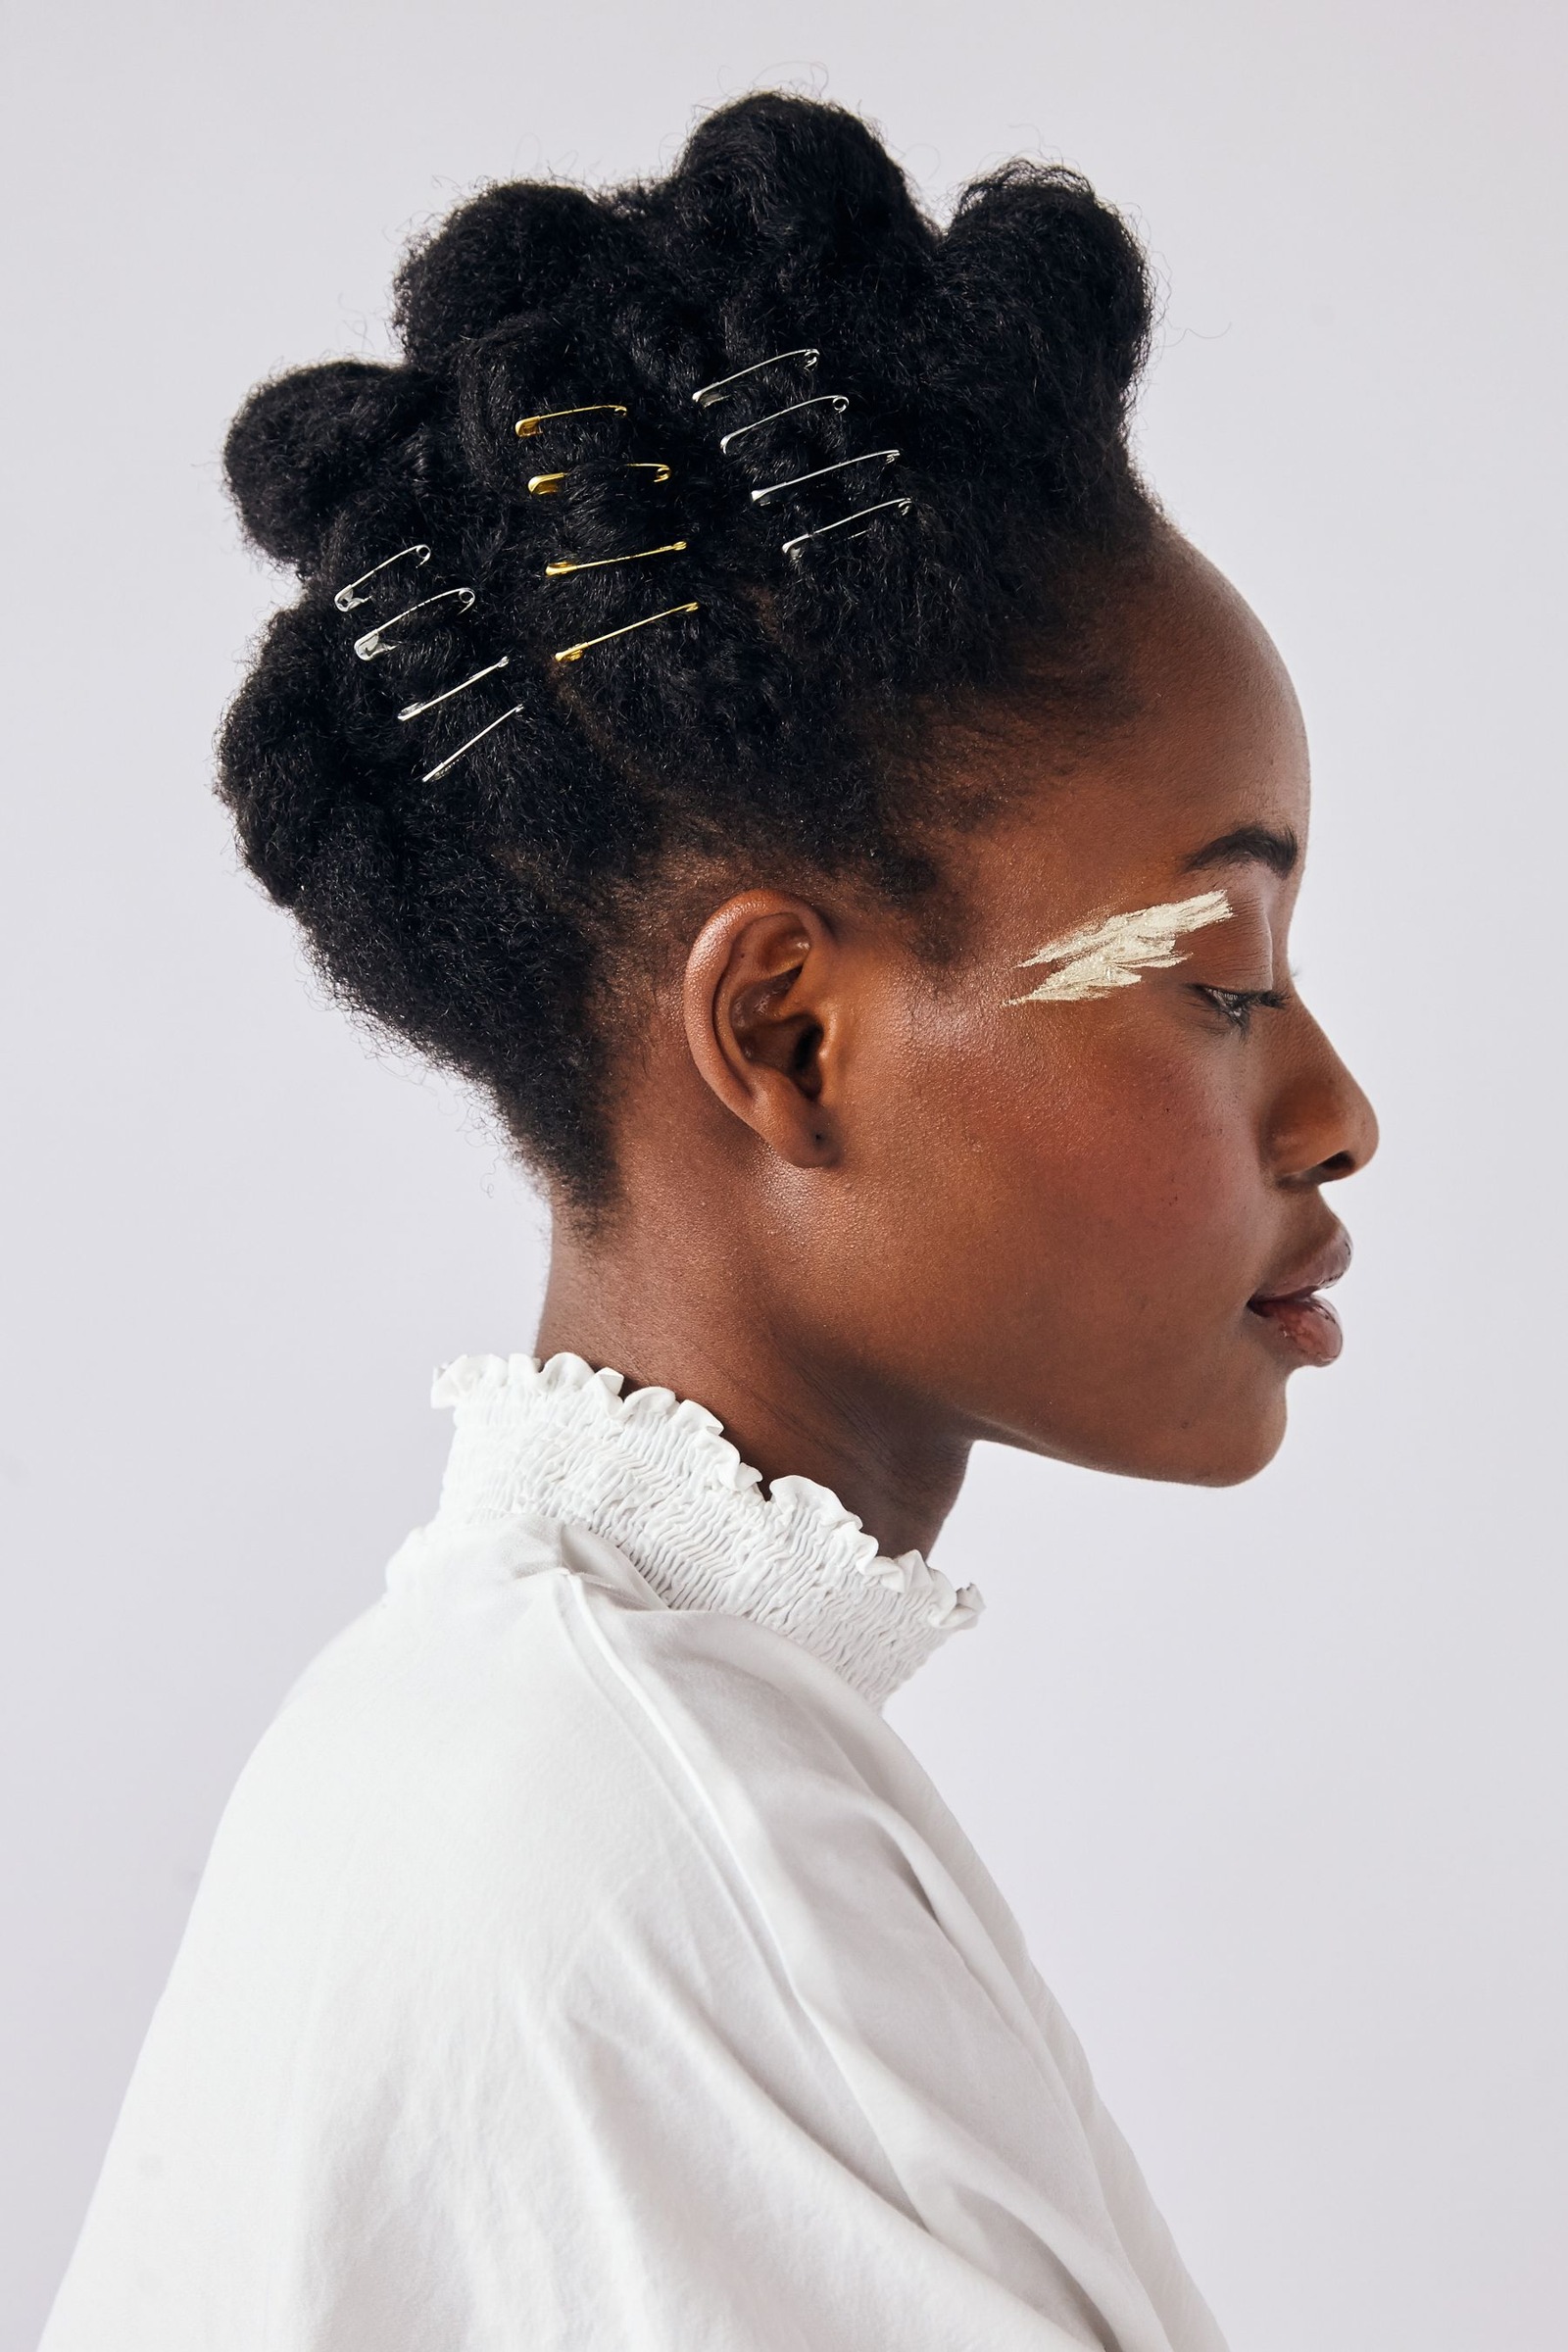
Start with a modest task, such as keeping a front layer behind the ear or securing the end of a small twist. A bobby pin is useful for targeted placement, but it is not a replacement for a clip designed to hold a full bundle of hair.
Choose a sound pin for the job
Inspect the coating, tips and tension before putting the pin into your hair. Set aside pins with missing protective tips, sharp edges or a gap that no longer closes properly. A damaged pin can snag on removal and may not hold consistently, regardless of the technique.
Compare length with the section you want to secure. A very short pin may not reach the underlying hair, while an unnecessarily long one may protrude from a small tuck. Choose a color close to the hair if you want it discreet, or use a decorative design deliberately rather than partly hiding an ornamental end.
Keep the section small enough
Separate the section with your fingers and arrange it in the intended direction without pulling hard at the roots. If it forms a thick rope, reduce the amount of hair or choose another accessory. The pin needs room to close around the section while also catching a little hair beneath it.
For a side tuck, start with the layer that actually falls forward rather than gathering every strand above the ear. Keeping the task small makes it easier to place the pin neatly. Loose hair around the section can remain part of the style instead of becoming another problem to pin down.
Catch supporting hair beneath the section
Follow the design of your pin and guide it into the arranged section so it picks up a small amount of the stable hair underneath. Keep it close enough to the head to lie neatly without pressing or scratching the scalp. Use your fingers to feel the path instead of forcing it through resistance.
Use a twist when the section needs structure
A gentle twist can give a loose front section a clearer shape to secure. Hold the twist with one hand and place the pin with the other, catching the edge and some underlying hair. The twist should remain relaxed enough to feel comfortable; tightening it repeatedly is not a solution for a poorly fitting pin.
If the pin stops halfway, remove it and try a smaller section. Do not use extra pressure to drive it through a dense bundle. A clean second attempt is easier to control than bending the pin in place while hoping it will disappear.
Test one pin before adding another
Release your supporting hand slowly and turn your head. If the section falls forward immediately, check what the pin actually caught. If it holds but rotates, the section may need a second anchor point. Add another pin only when it solves that identifiable movement.
- Change the section size if the pin cannot close.
- Change the angle if it catches only loose surface hairs.
- Change the pin if its tension is weak.
- Choose a different accessory for a much larger section.
Crossing two pins can be useful in some arrangements, but it should not become an automatic response to every slip. Make sure the crossing does not create a hard point that presses when you lean back.
Hide the working end thoughtfully
Use a mirror to see whether a nearby loose section can fall naturally over the pin. Do not comb aggressively over it, which can dislodge the work. A discreet placement is usually easier when the pin follows the direction of the style rather than sitting across an exposed surface.
When removing it, support the section and slide the pin back along its insertion path. Free any caught strands gently and store usable pins together. The useful goal is a small section held with a clear purpose, not a hairstyle that needs a handful of hidden metal to remain in place.