
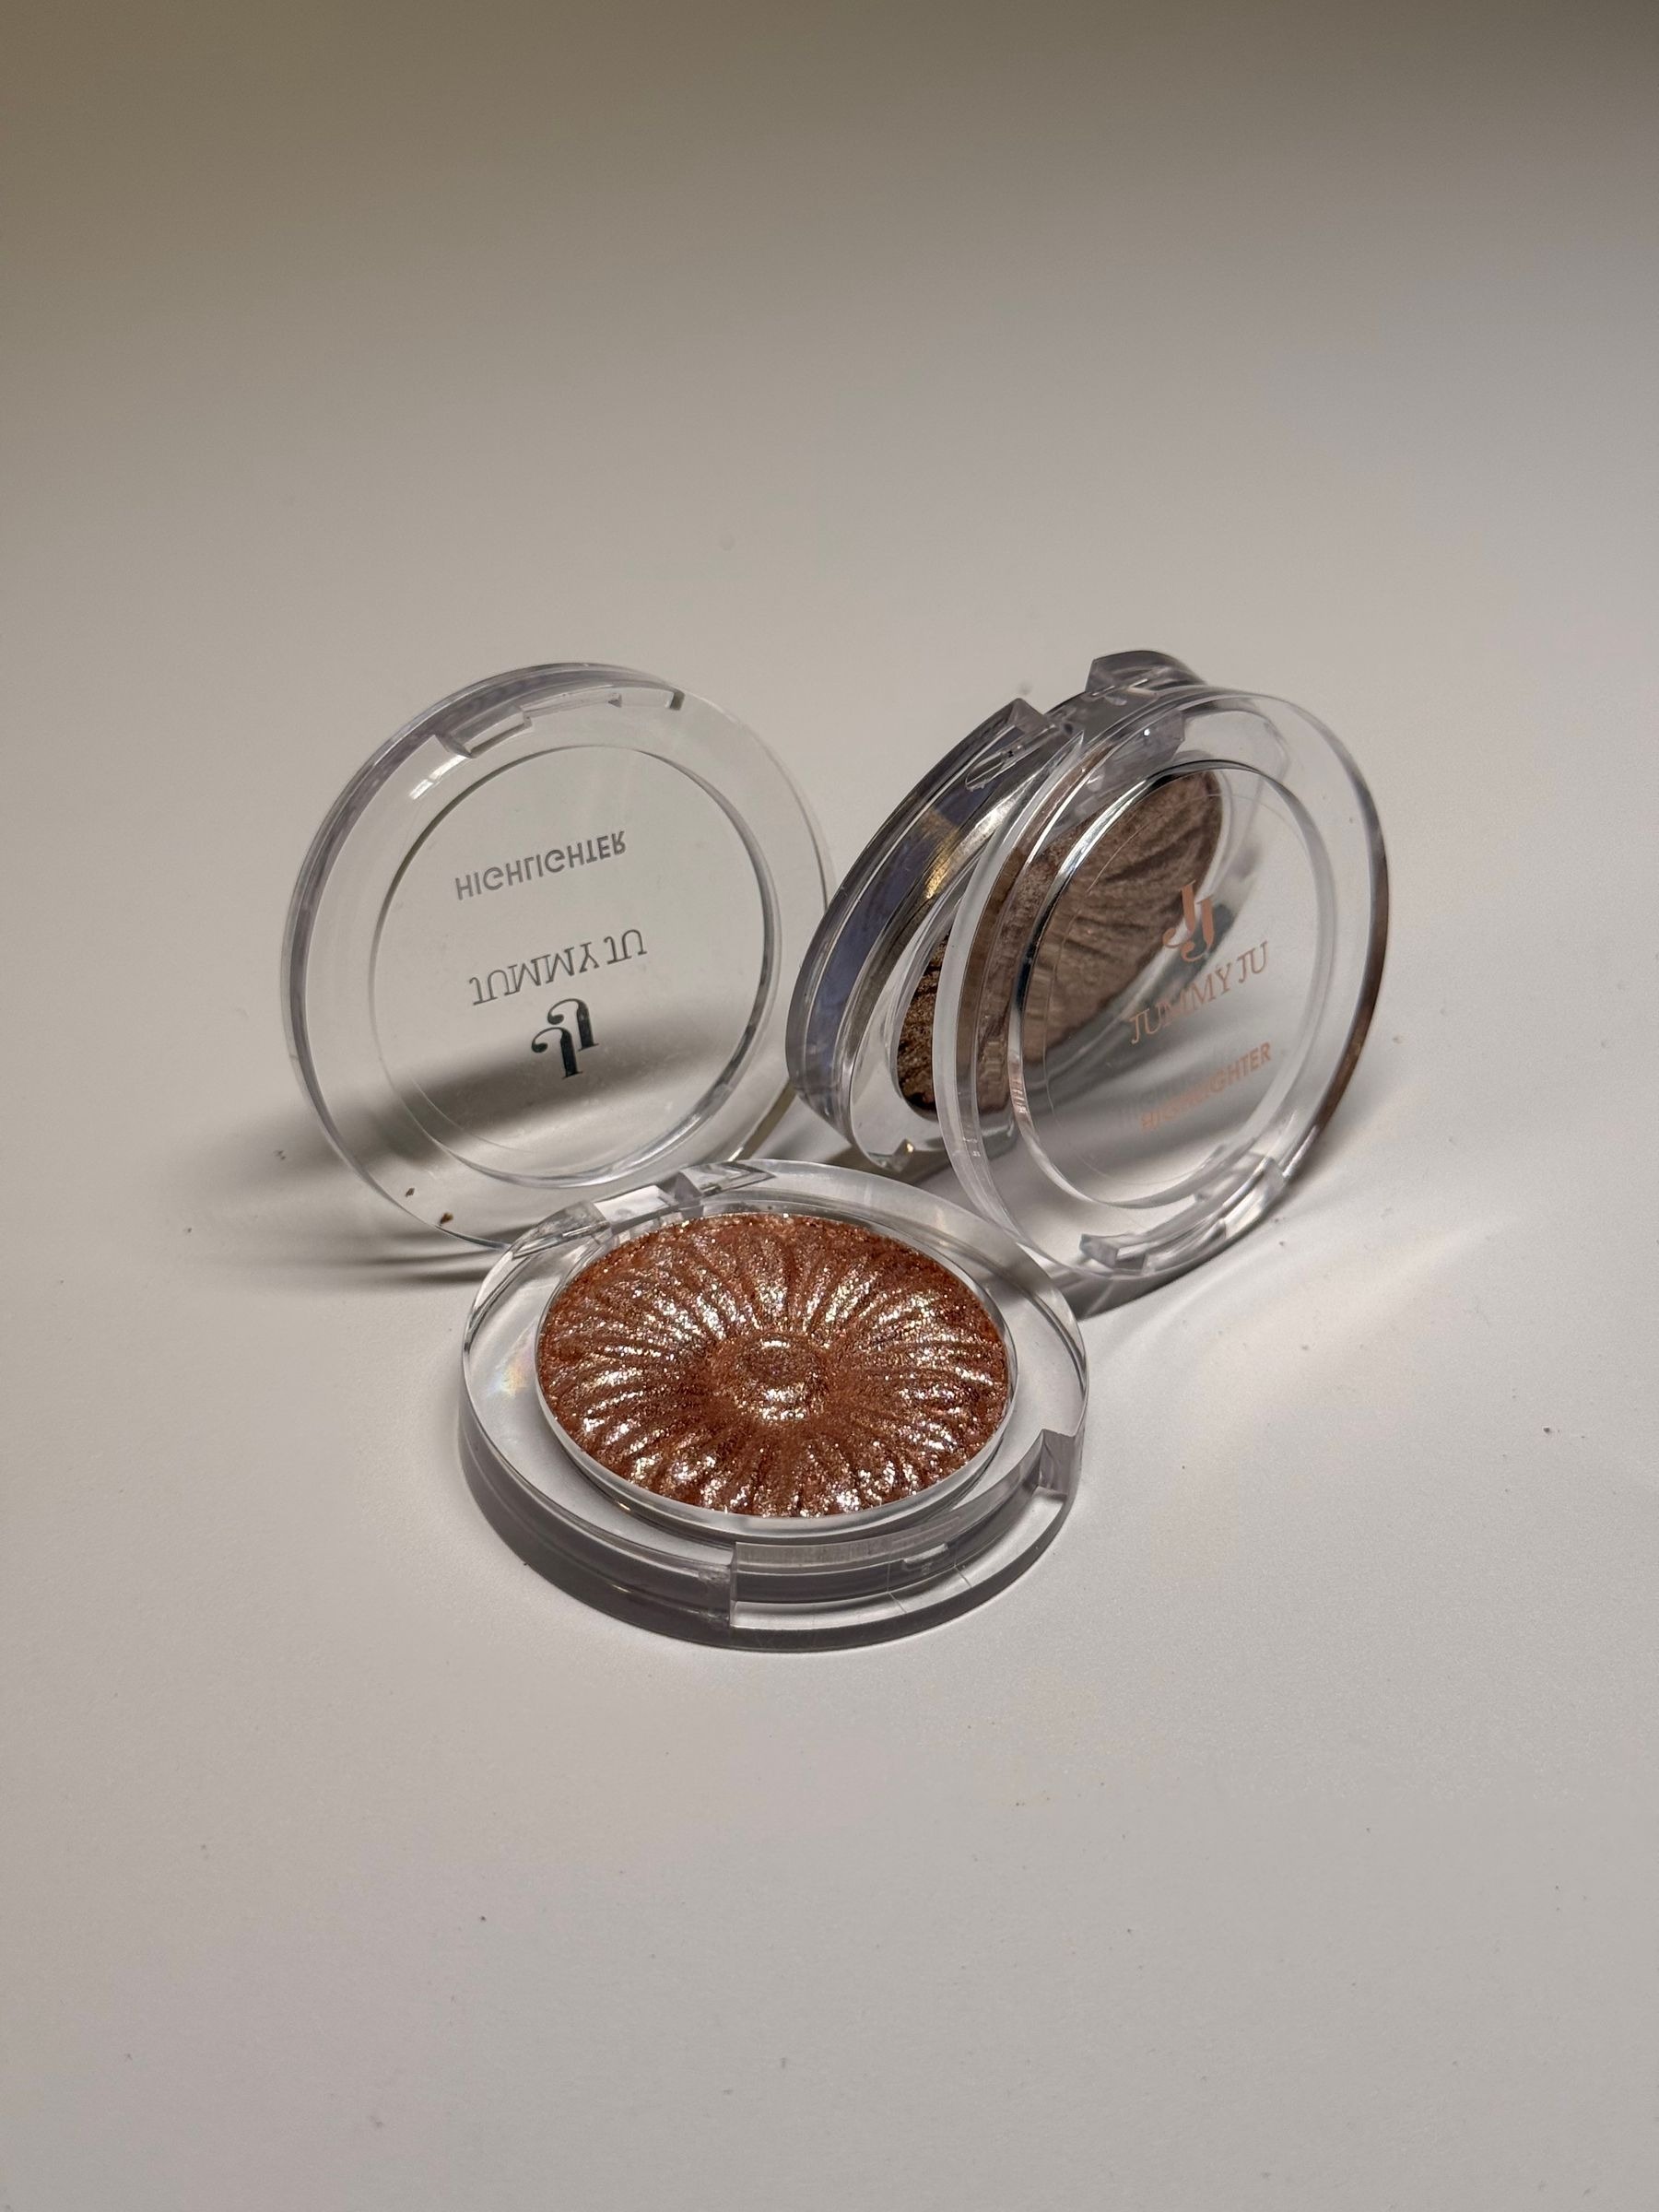
Highlighter can look subtle from one angle and become a distinct band when you turn your head. The difference often comes from placement, product quantity and the direction of the light. Instead of drawing a preset stripe along the cheekbone, use the mirror to find where a small amount creates the reflection you actually want.
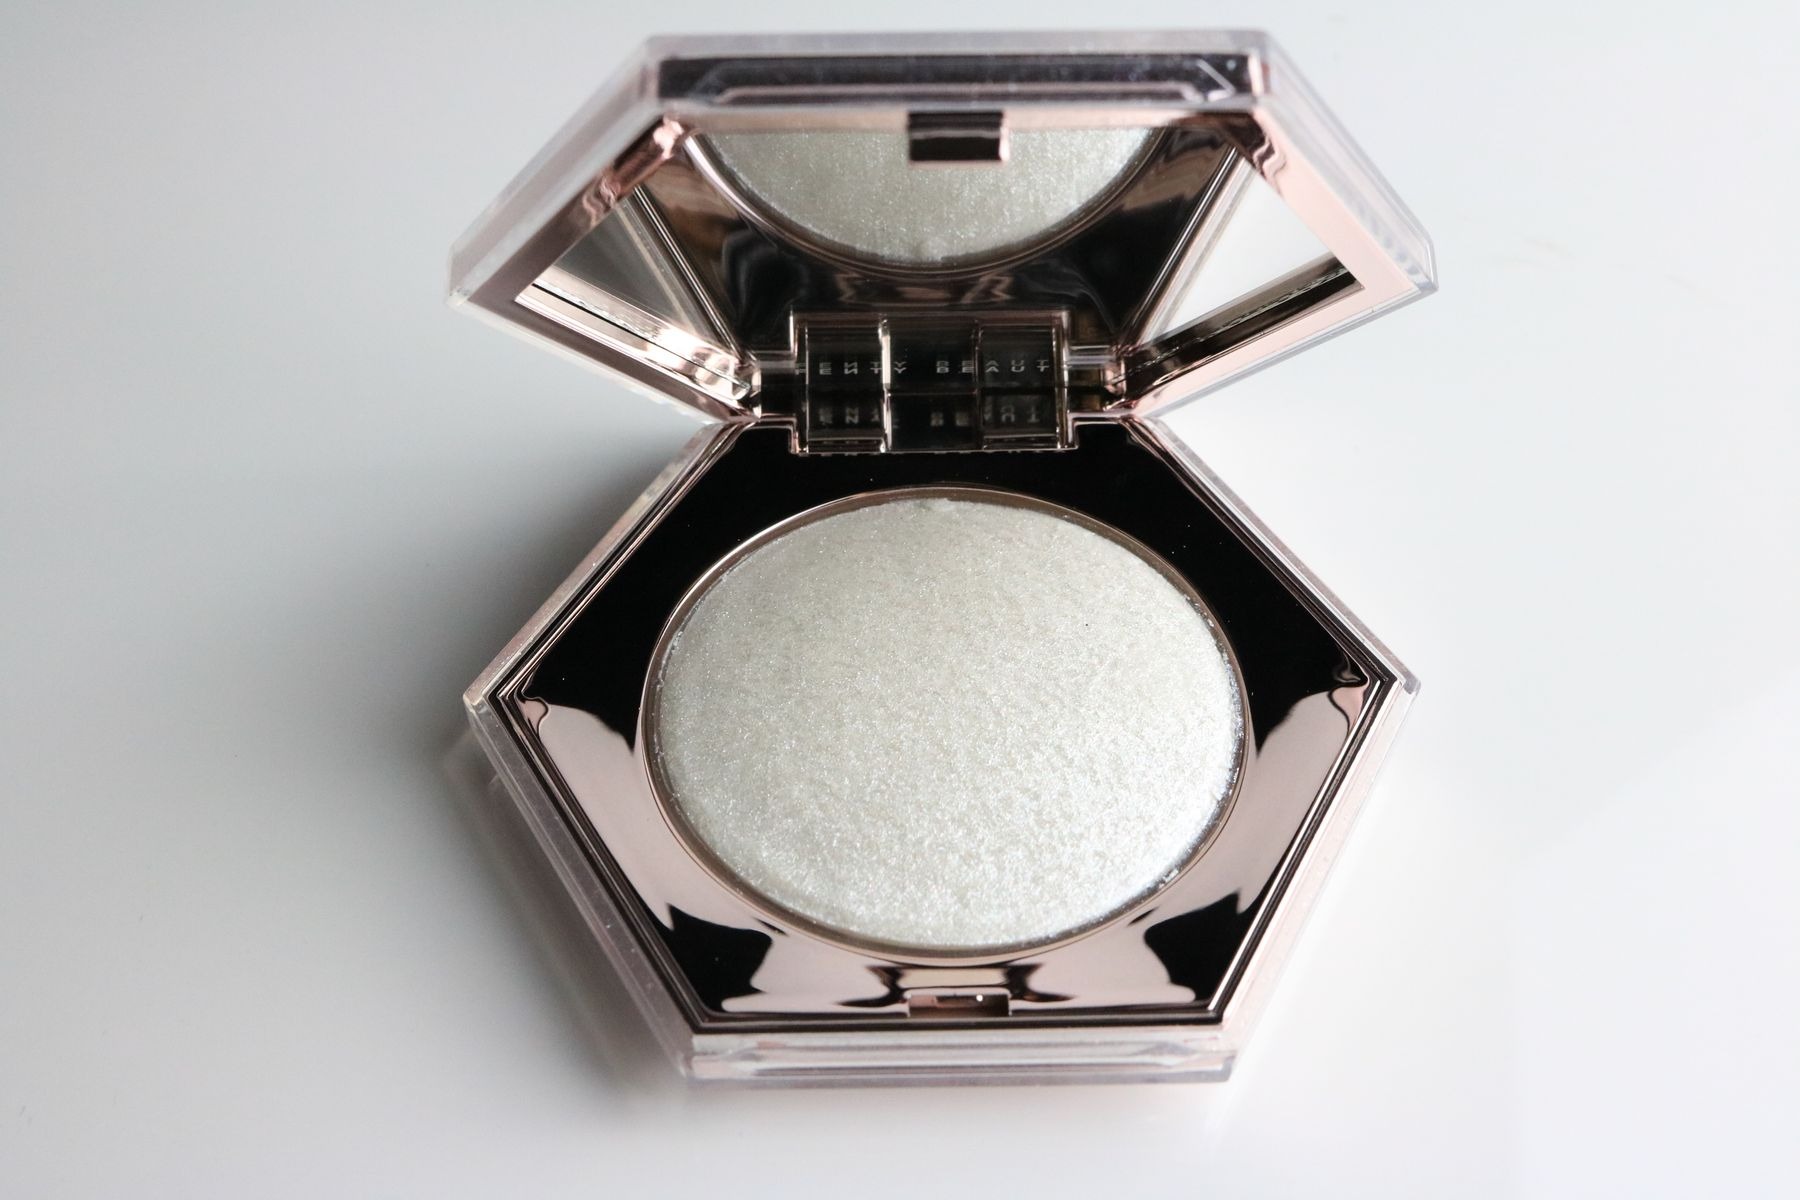
Begin with your usual makeup already settled and a highlighter intended for the area you plan to use it. Powder, cream and liquid formulas need different handling. Keep the first attempt limited to the cheeks so you can understand the finish before repeating it across the face.
Separate reflection from visible color
Look at the product on a small suitable test area in ordinary light. Some highlighters leave little visible color until the light catches them; others have a noticeable pearl, bronze or pink base even when viewed straight on. A shade that looks attractive in the pan may create a pale or dark patch at certain angles.
Choose the finish according to the result you want. Fine reflection can be quiet, while visible sparkle creates a more decorative effect. Neither is automatically better, but they are not interchangeable. If you want a subtle daytime reflection, start by checking the particles and base color rather than buying a larger brush.
Find the cheek area in your own light
Face a mirror near a source of soft, useful light and slowly turn your head. Notice where the cheek naturally catches brightness. You do not need to cover that entire area. Select a small section where added reflection will remain distinct from the center of the face.
Ignore fixed measurements based on someone else’s cheekbone. Face shape, glasses, hair and the lighting in the room all affect what remains visible. Keep the placement away from any area where you simply do not enjoy a reflective finish; the product is optional, not a required diagram.
Load less than the tool can hold
For powder
Use a clean tool appropriate to the formula and pick up a small amount. Apply lightly to the selected section without sweeping repeatedly from the nose to the hairline. You can add another controlled pass after looking from several angles. A heavily loaded brush makes that first assessment harder.
For cream or liquid
Follow the product’s directions for application over your chosen base. Place a small amount with a suitable fingertip or tool and blend the boundary gently. Avoid mixing it into a large area of already finished makeup unless that is the effect you want and the formula supports it.
Check the edge while facing forward
Turn back to the mirror and look straight ahead. If you can see a clear-colored patch even when the light is not reflecting, assess the amount and base shade. A clean tool may soften an obvious boundary, but endless blending can spread the product farther than intended.
- Look straight ahead for a visible stripe.
- Turn slightly to see the reflection.
- Step back to judge the size of the bright area.
- Compare both sides under similar light.
Do not demand identical brightness when one side of the face is closer to a window. Move your position or turn gently before deciding one cheek needs more product. Uneven lighting can masquerade as uneven application.
Keep other reflective areas deliberate
After the cheeks look right, decide whether any additional highlight is useful. You do not have to repeat it on the nose, chin and forehead. Existing shine from skincare or makeup may already provide enough contrast in those places.
Check the product’s intended-use information before placing it near the eyes or lips. A face highlighter is not automatically suitable for every area. Keep the routine focused on the location where you have already assessed both the texture and the reflection.
Correct quantity before adding another layer
If the finish looks too strong, remove or soften the excess locally using a method compatible with the base. Avoid covering the entire cheek with more foundation just to conceal a small reflective patch. For the next application, reduce the initial pickup or choose a smaller working area.
The useful endpoint is not a continuous shining line. It is a reflection that appears where you intended and disappears into the rest of the makeup when the angle changes. Checking the light gives you that control without requiring a complicated contour-and-highlight map.