
A tidy polish application depends partly on what happens before the brush touches the nail. Searching for remover with one wet hand, discovering lint on the surface or realizing the bottle will not open can interrupt an otherwise simple manicure. A short preparation sequence gives the color stage a calmer start.
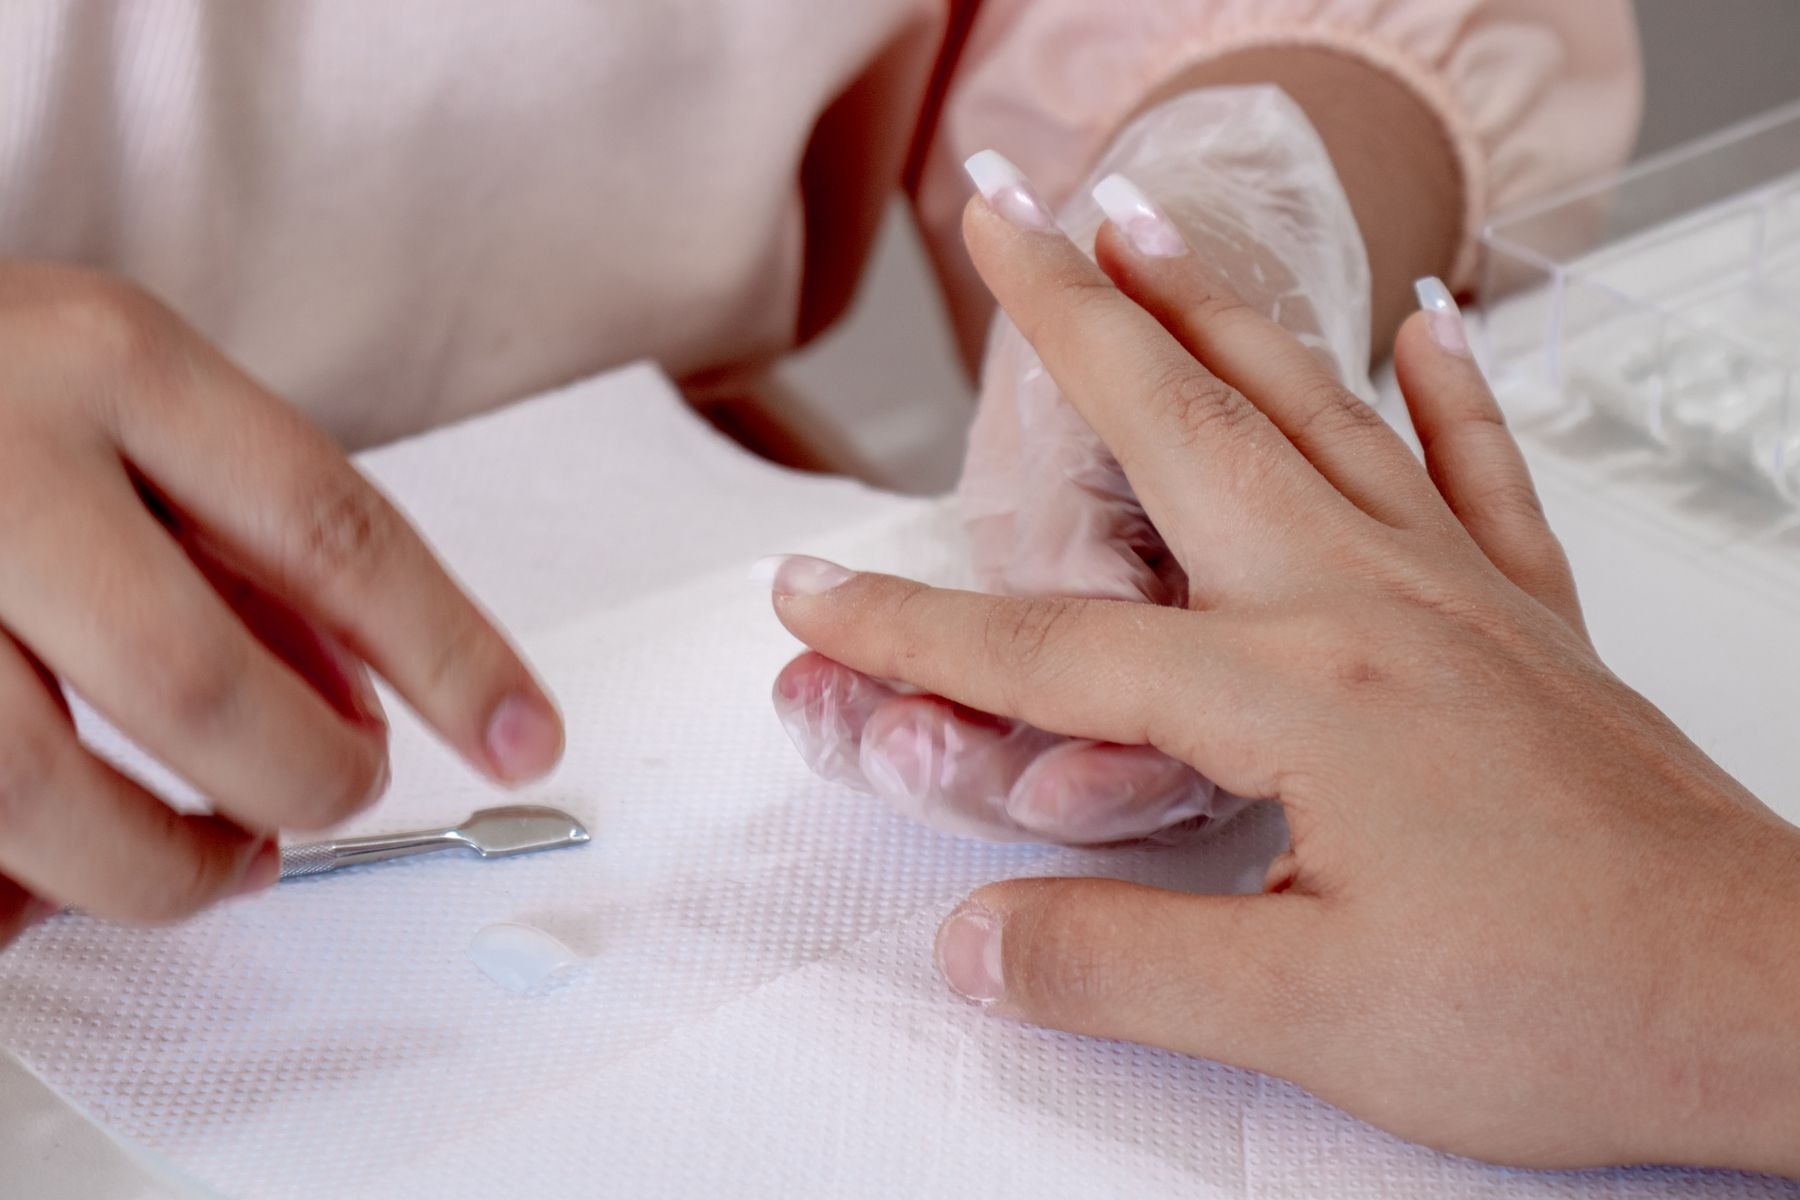
This is a setup for ordinary air-drying nail lacquer on natural nails. Gel systems, artificial nails and products requiring a lamp have their own instructions and are not interchangeable with this process. Use the directions on your chosen base, color and top coat as the final guide.
Set up the table while both hands are free
Choose a stable, protected surface with enough light to see the nail edges. Arrange the products in order of use and keep caps within easy reach. Open a window or use the ventilation specified by the products, and keep polish and remover away from heat or flames as their labels direct.
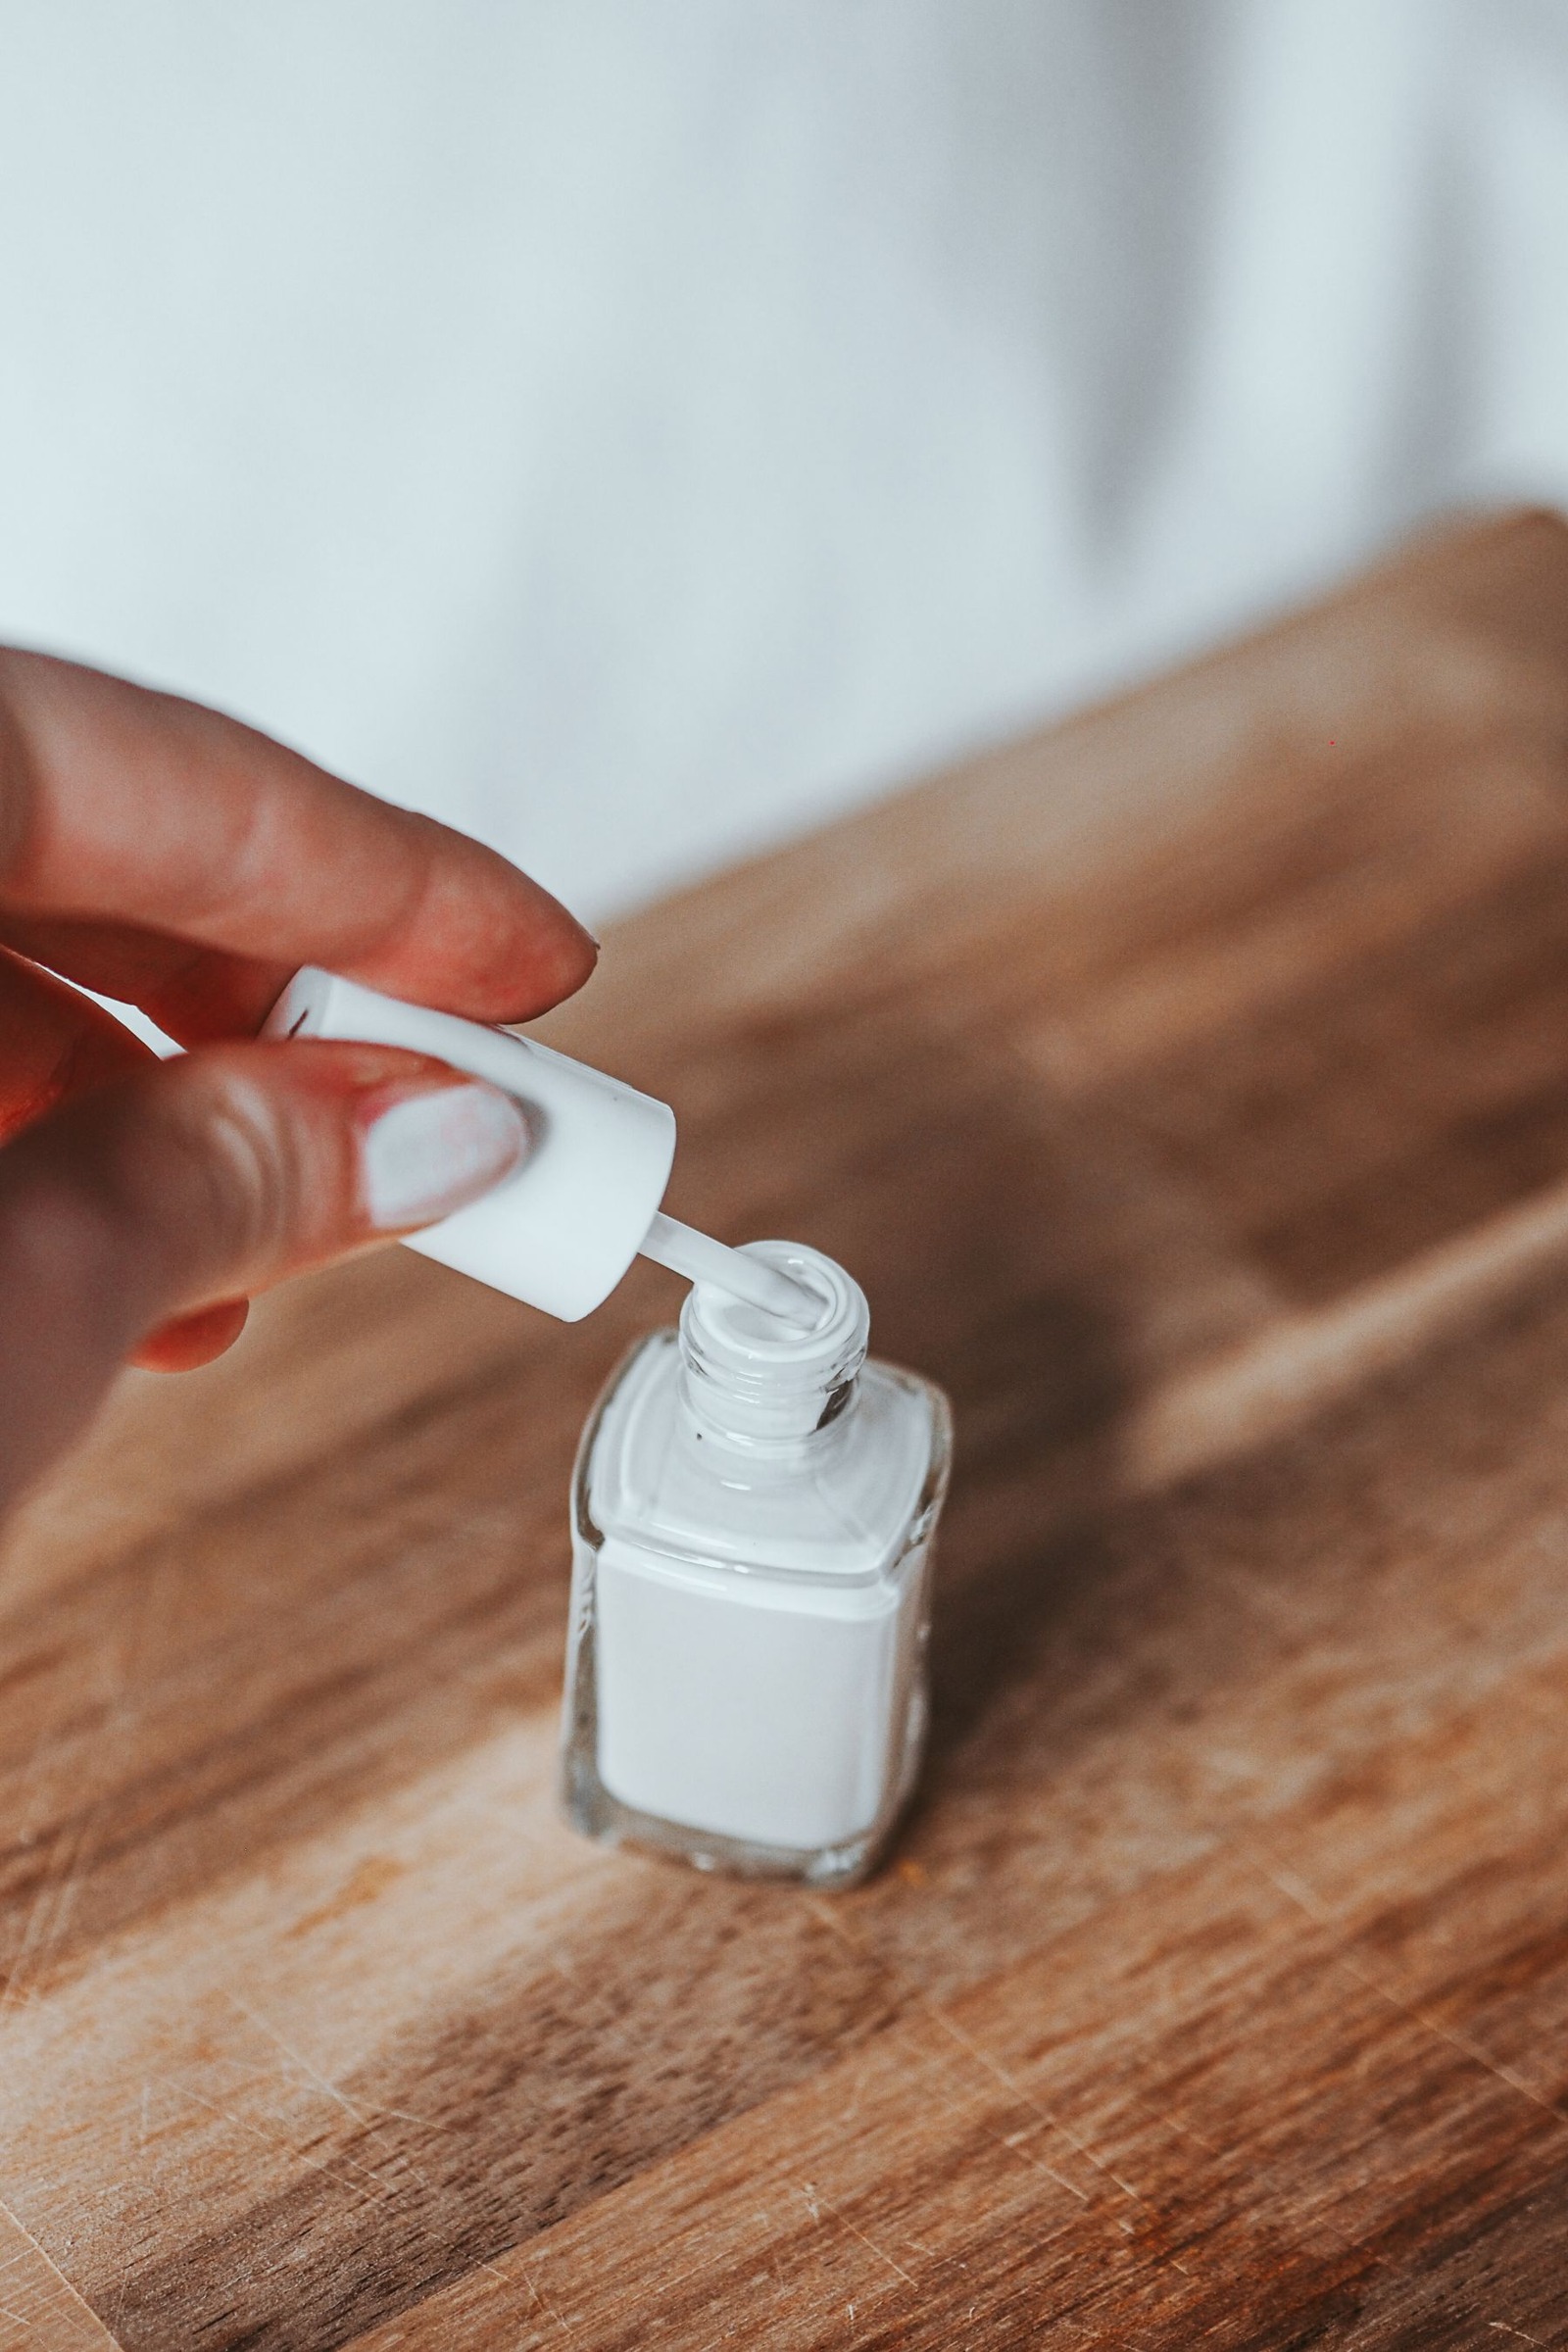
Check that the bottles open before beginning. If a cap is stuck, follow the manufacturer’s advice rather than gripping it with tools or using heat. A bottle that needs a wrestling match belongs outside the painting sequence. Place a small waste container nearby for used pads so they do not drift across the work area.
Remove the old color completely
Use a remover suitable for the polish and follow its directions. Give the product time to work rather than immediately scrubbing hard. Check the corners near the side edges and around the tip, where a thin strip of old color can remain after the center looks clear.
If you are changing from a dark shade to a pale one, look closely under good light. Old pigment at the edge can make the new color appear uneven. Do not scrape stubborn residue off with a sharp object. Use the removal method intended for the product, or postpone repainting until the old coating is properly removed.
Finish the shape before cleaning the surface
File the free edge to the outline you want and compare the nails as a set. Shaping after painting can disturb the finished edge and makes it harder to judge the outline through fresh color. Brush away the filing dust, then wash and dry your hands if the product directions call for it.
Leave the skin around the nail alone
You do not need aggressive cuticle work to apply a neat coat of lacquer. Avoid cutting living skin or pushing tools beneath the nail folds. A brush with a manageable amount of polish and a little clear space around the edges can create a tidy result without treating the surrounding skin as something to remove.
Separate conditioning from final preparation
If you use hand cream or nail oil, plan its timing around the lacquer instructions. A visibly oily nail surface is difficult to paint predictably. Some systems specify a particular preparation step; follow that rather than improvising with several solvents or household products.
Do not touch the prepared nail plates repeatedly to test whether they feel clean. Finish any tasks that require handling hair products, food or lotion before the final preparation. Once the surface is ready, keep your hands resting comfortably and move into the base coat without another tour of the bathroom cupboard.
Check the tools that will touch wet polish
- Use pads that do not shed obvious fibers across the nails.
- Have a suitable cleanup tool ready before opening the color.
- Keep remover separate from drinks and other liquids.
- Place the phone somewhere you will not need to pick it up.
A cleanup brush should be appropriate for the remover you plan to use. Do not sacrifice a valued makeup brush without checking compatibility. A small amount of preparation is useful only if the tools themselves will work as expected.
Make one last dry run
Rest both forearms on the table and check that you can reach each nail without twisting awkwardly. Turn the bottle label toward you if that makes the brush easier to return safely. Move sleeves, rings and loose hair out of the working area.
Finally, allow enough time after painting for the product’s drying instructions. Preparation includes choosing a moment when you will not immediately need shoes, keys or a tightly fastened jacket. Once the surface, tools and timing are ready, the color stage becomes a focused task instead of a series of interruptions.