
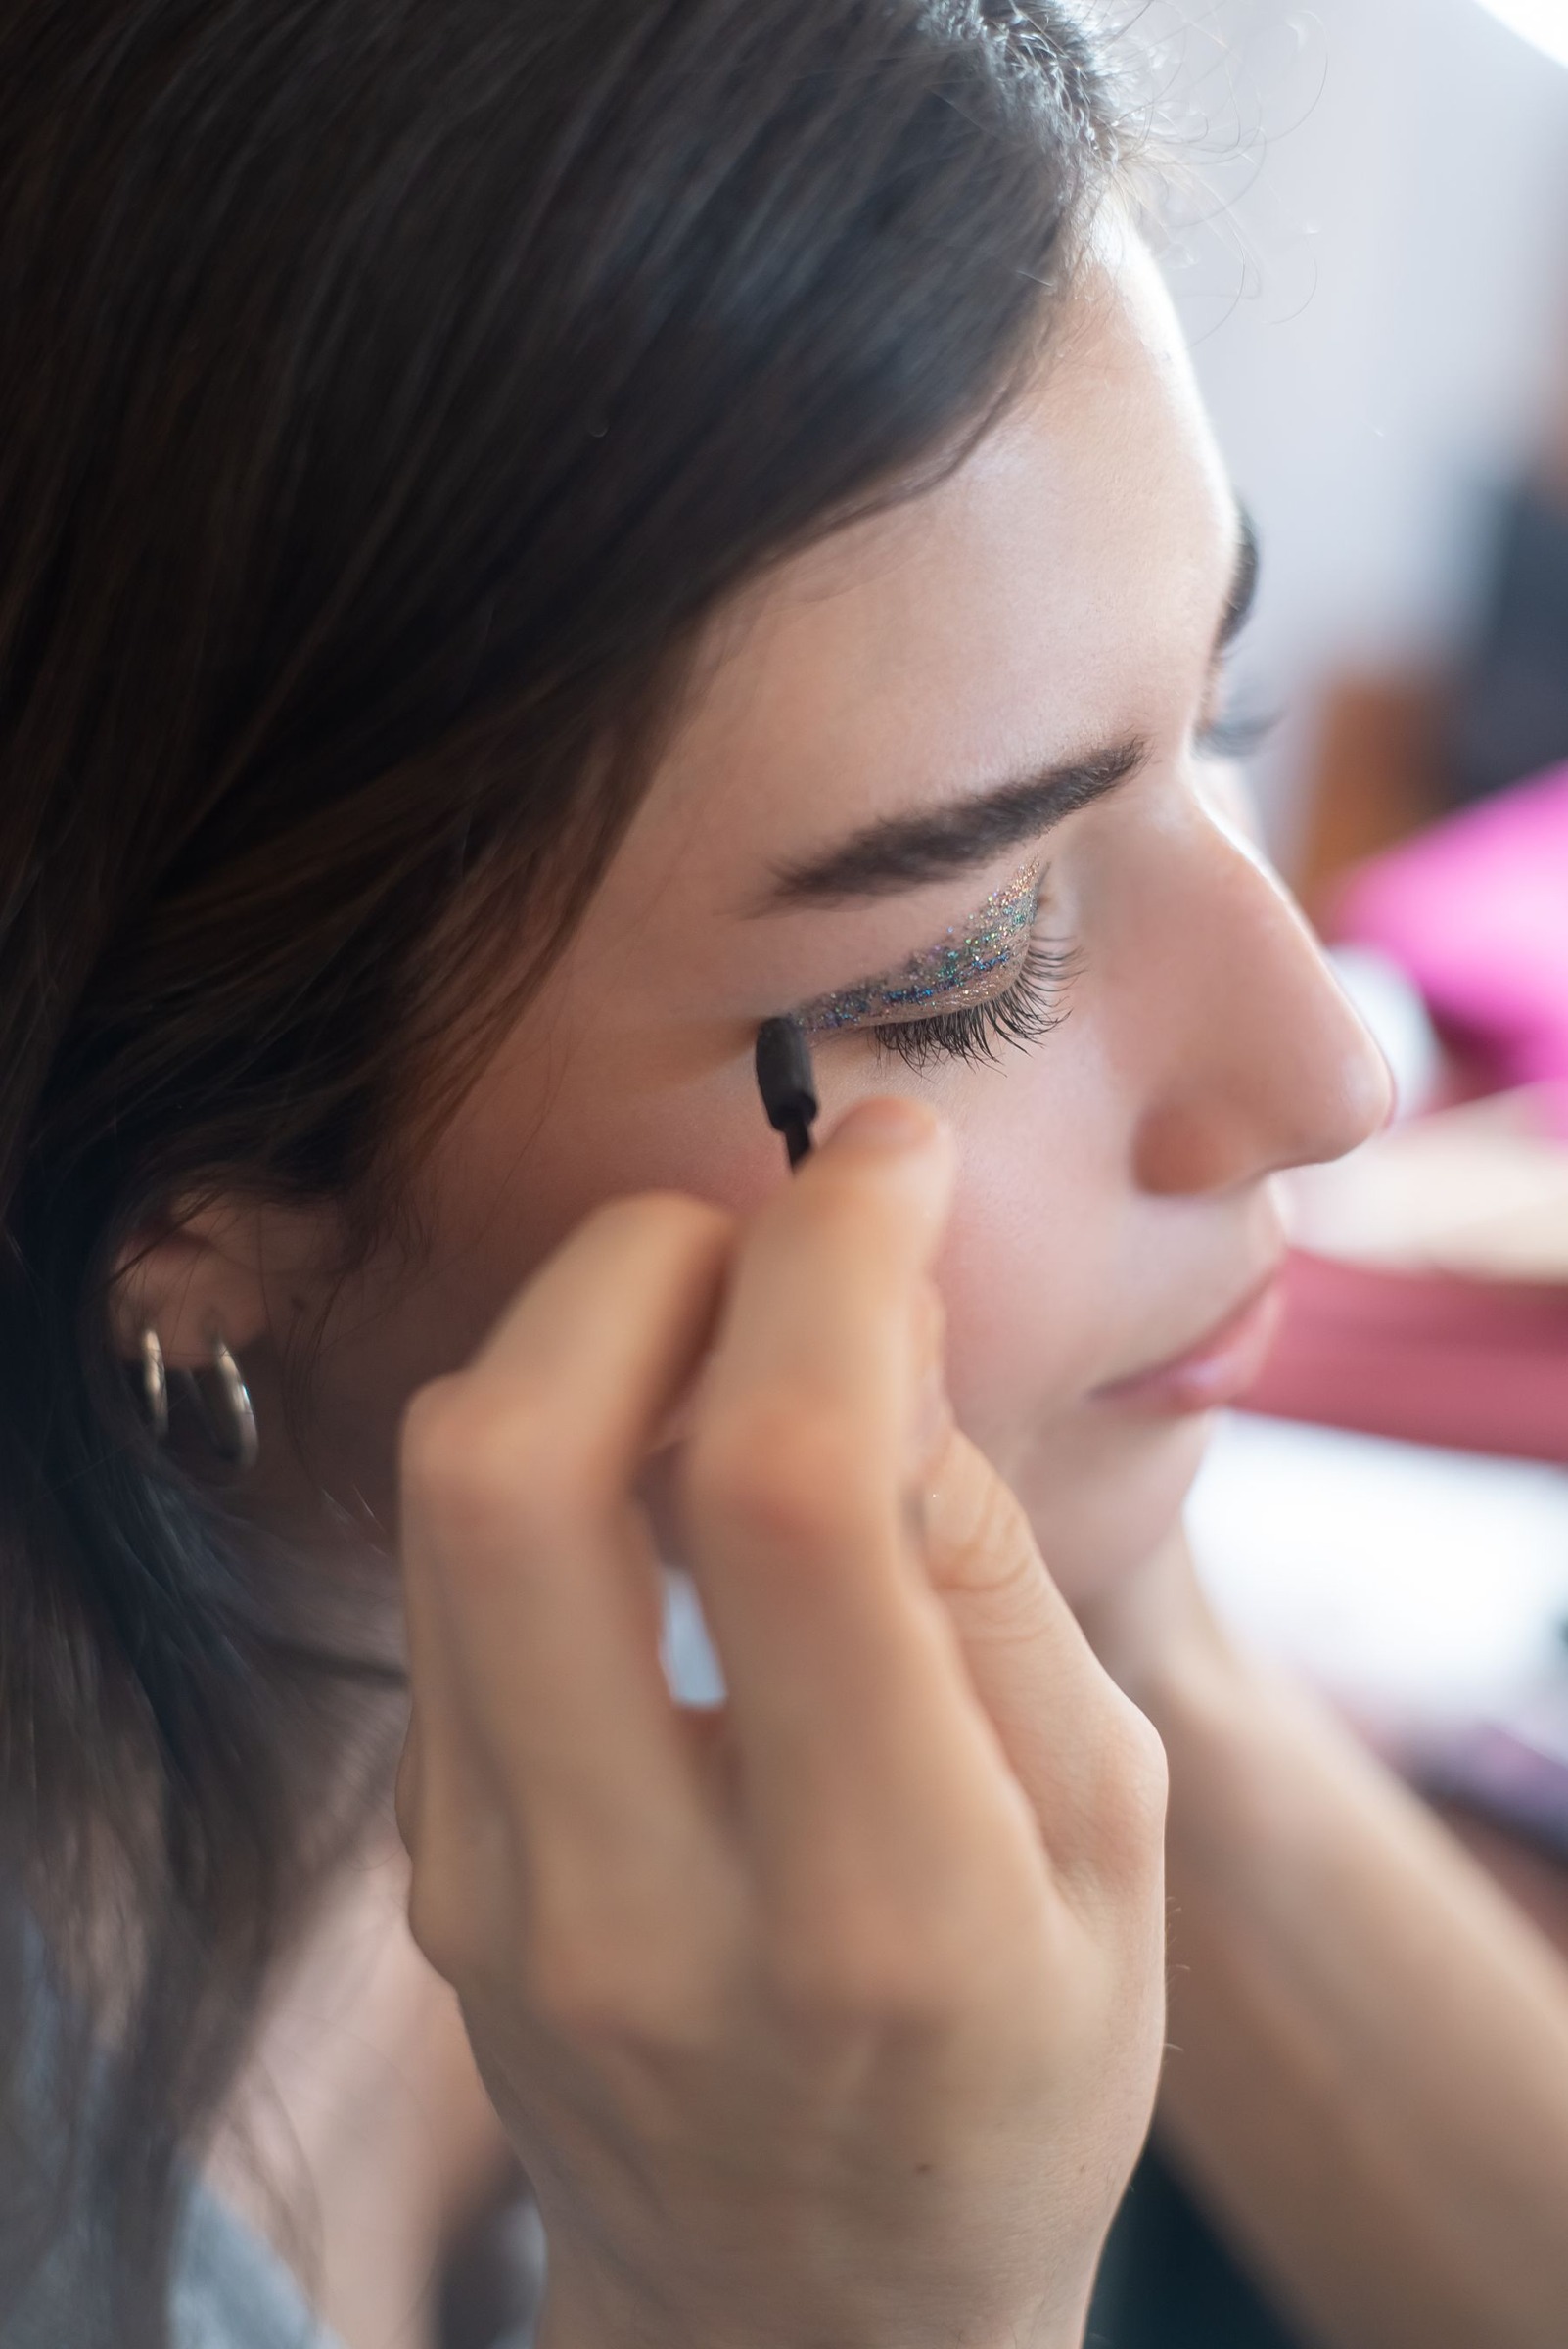
A clean upper eyeliner line does not have to begin with one sweeping movement. Trying to travel from the inner corner to the outer corner in a single pass can make the hand tense and the line wider than intended. Short connected strokes give you more opportunities to check placement before committing to extra thickness.
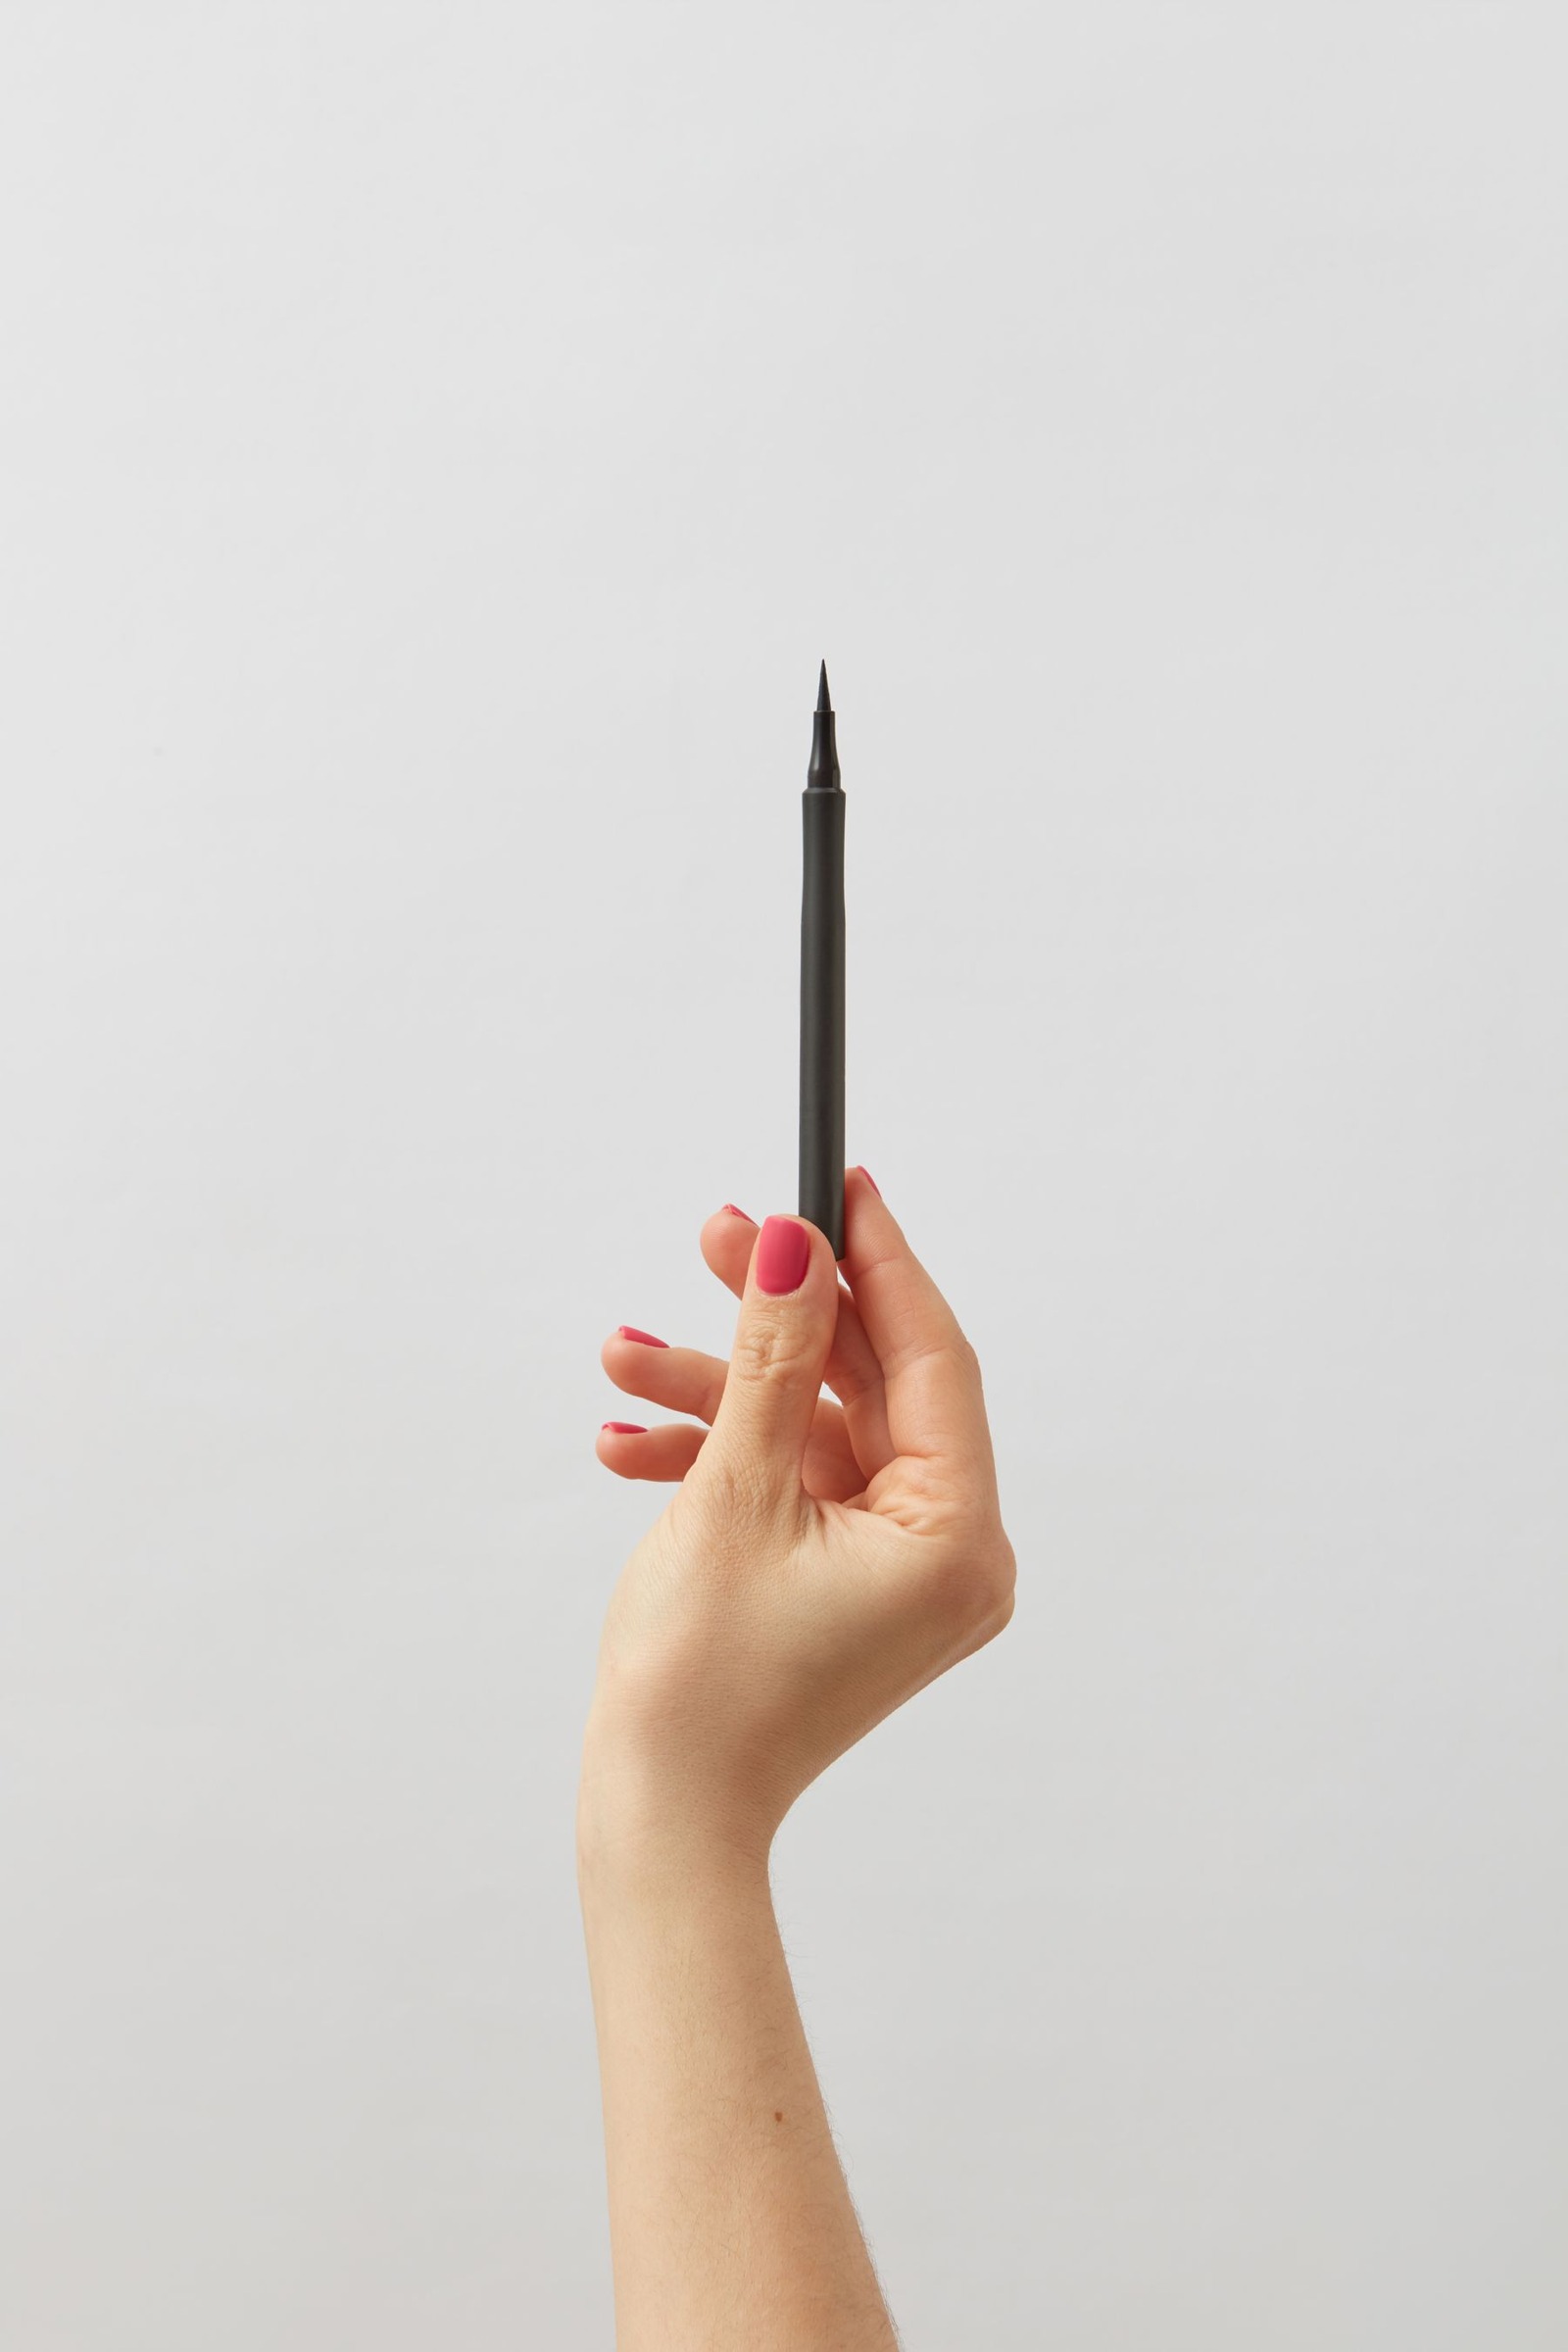
Use an eyeliner intended for the eye area and read its application instructions. Choose a familiar pencil, pen or brush format with a controllable tip. This is a guide to the visible upper lash-line area, not to applying product inside the eye or beneath the lashes.
Set up a view you can maintain
Place the mirror where you can look slightly downward without bending your neck awkwardly. Support the working elbow on a stable surface if that helps keep your hand comfortable. Good light from the front or side should show the lid without requiring you to lean so close that the applicator hits the mirror.
Keep the eye relaxed and avoid pulling the outer corner tightly sideways. A line drawn on stretched skin can look different when the hand releases it. Check the eye in its ordinary open position throughout the process rather than waiting until the entire line is finished.
Inspect the applicator before approaching
A pencil should have a usable tip without a sharp wooden edge. A pen should release product predictably, and a brush should not carry a large hanging bead. Follow the product’s directions for sharpening, shaking or loading instead of attempting to rescue an unreliable applicator while it is next to the eye.
Make a small test stroke on a suitable clean surface if the instructions allow. Notice how much pressure creates the line you want. Pressing harder is not always the solution to a dry or uneven tool; it may simply produce a thicker mark and less control.
Start where the hand feels most stable
Begin around the middle of the upper lid, close to the visible lash line. Make a short stroke, lift the applicator and look at the result. Add another stroke beside it, overlapping slightly so the line connects without leaving obvious gaps.
Build outward before deciding on an extension
Work toward the outer section in small movements. Stop at the natural edge first and assess the line with the eye open. An outward flick is optional. If you want one, plan its direction while looking straight ahead rather than extending a line blindly while the eye is closed.
Keep the inner section restrained
Use less pressure as you move inward, and stop where the applicator can be controlled comfortably. There is no requirement to carry a visible stripe all the way into the inner corner. A line that begins a little farther out can still look complete.
Match the second eye in stages
Repeat the central section on the second eye before making the first substantially thicker. Compare both eyes open at normal distance. Natural differences in lid shape mean that identical lines measured on closed lids may not look identical when your face is relaxed.
- Compare where the line begins.
- Compare its visible thickness with both eyes open.
- Check the outer endpoint before adding a flick.
- Make one small correction at a time.
Do not keep thickening both sides to chase a minor mismatch. The correction can grow until the result no longer resembles the simple line you intended. A slightly softer edge may be more useful than another heavy layer.
Practice the same modest shape on an ordinary day before using it for an important occasion. Keep the mirror height and applicator format consistent. Familiar setup makes it easier to notice whether a change in the result came from placement, pressure or the product itself.
Correct locally and let the area settle
Use an eye-area remover suitable for the product, following its directions. Remove only the misplaced section with a clean, appropriate tool and keep remover out of the eye. Allow the area to dry before attempting to redraw; a wet patch can make the new line behave differently.
Finish by checking the line from conversation distance. If it gives the definition you wanted, stop without automatically adding shadow, a wing or a second formula. The short-stroke method is valuable because it makes a modest result repeatable. It lets the hand work in manageable pieces while the mirror provides frequent, useful feedback.